Configure a FreeRADIUS server to use WPA2 and WPA3 Enterprise on WiFi
WiFi networks usually use a type of encryption WPA2 or WPA3 Personal, or also known as PSK (Pre-Shared Key), where we will have a password to access the wireless network, and all WiFi clients must use this key to access and to encrypt / decrypt the information that travels through the air. FreeRADIUS is the software par excellence to set up a RADIUS server and authenticate clients with username, password and a digital certificate, in order to configure WiFi networks with WPA2 or WPA3-Enterprise, using different protocols such as PEAP, TLS , TTLS and MSCHAPv2 among others. Today in RedesZone we are going to explain how we can configure a RADIUS server with FreeRADIUS in a pfSense to authenticate wireless clients.
What is a RADIUS server?
RADIUS comes from the acronym in English Remote Authentication Dial-In User Service, it is an authentication and authorization protocol for access to the network, by default, it uses the 1812 UDP protocol to establish connections between computers to authenticate. RADIUS servers allow both to authenticate users of Internet connections, making use of PPPoE, but it also allows to authenticate wired users, users who want to authenticate against a NAS server or a service, and even allows to authenticate WiFi wireless clients making use of WPA2 / WPA3 Enterprise.
RADIUS servers usually make use of different authentication protocols, PAP, CHAP and EAP are some of them. One of the most interesting features is that it allows us to control the sessions, when the authentication begins, when the connection ends, and many other parameters. Depending on the use of the RADIUS server, it will be configured to provide one service or another.
What is FreeRADIUS?
FreeRADIUS is the software par excellence to mount a RADIUS server, it is modular, free and provides high performance and great security. FreeRADIUS supports all common authentication protocols, in fact it is the foundation of many commercial RADIUS products and services, plus we have a large number of modules included and others that can be incorporated. For example, the included modules allow LDAP, MySQL, PostgreSQL and even Oracle and other databases, regarding authentication types, it supports EAP, including PEAP, EAP-TTLS and also EAP-TLS.
FreeRADIUS allows it to be managed through additional tools, so as not to have to configure it manually by editing complex text files and later loading the configuration. pfSense has a complete graphical user interface that will allow us to configure all the parameters in detail, in addition, we will have the possibility to see the raw configuration text files, in case we have to make any modifications ourselves.
What is the use of setting up a RADIUS server for the WiFi?
When we talk about WiFi networks, we usually use WPA2 or WPA3-Personal, where we use the same password for each and every device. This key is pre-shared, that is, all WiFi clients that want to connect must know it. These types of networks are usually attacked by brute force or by dictionary, although logically WPA3 networks are more secure and better resist different attacks. If we mount a RADIUS server, we can configure our WiFi router or WiFi access point to use WPA2 / WPA3-Enterprise authentication, where we will not have a pre-shared key for all users, but each user will have their own username and password to access to the WiFi network.
A RADIUS server makes use of a certificate authority (CA), because there are some authentication protocols that make use of a public key infrastructure for client authentication, in addition, this is very important because all clients should always have the CA certificate to verify that we are indeed connecting to a legitimate WiFi network. Some attacks on WiFi networks consist of impersonating the legitimate access point, in this way, the victim could be sending their credentials to a cybercriminal. For this reason, it is highly recommended that we not only have the username and password of the WiFi network, but that we should use this certificate from the CA to verify that the WiFi network to which we are connecting is legitimate.
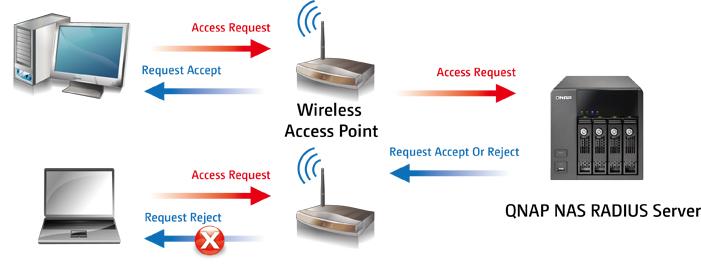
The operating scheme of a RADIUS server, located on a QNAP NAS server or any other manufacturer, would be the following:
In our case, we have installed FreeRADIUS in the pfSense operating system itself, and we will authenticate the wireless clients that connect to the AP directly from here. The configuration of the access points is different with each manufacturer, but the only thing that we will have to take into account are three parameters:
- RADIUS server IP, in this case, pfSense itself
- RADIUS server listening port, configurable, but by default it is 1812.
- Authentication key of the access point with the RADIUS server.
The authentication process of a WiFi client with WPA2 or WPA3-Enterprise is as follows:
- A WiFi client connects to the WiFi network through an access point. You will be asked to enter some user credentials (username and password), and also to upload the CA certificate, to protect against possible MitM attacks.
- The WiFi access point will send the credentials to the RADIUS server in pfSense, which we have previously configured. If the credentials are valid, you are allowed to connect to the Internet, if the credentials are not valid the authentication will fail and give us an error in the WiFi client.
Of course, as soon as you are allowed to enter the network because the credentials are valid, you will be provided an IP address by DHCP and will access all the resources on the WiFi network.
Once we know a little what a RADIUS server is, and what FreeRADIUS allows us to do, we are going to start with the configuration of the FreeRADIUS server in pfSense.
FreeRADIUS installation on pfSense
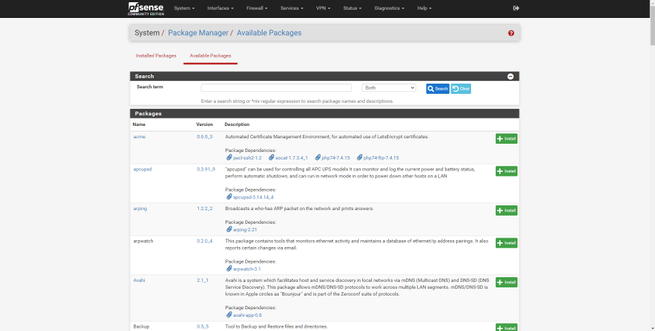
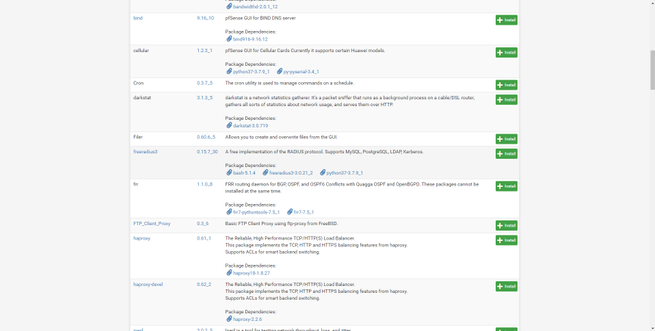
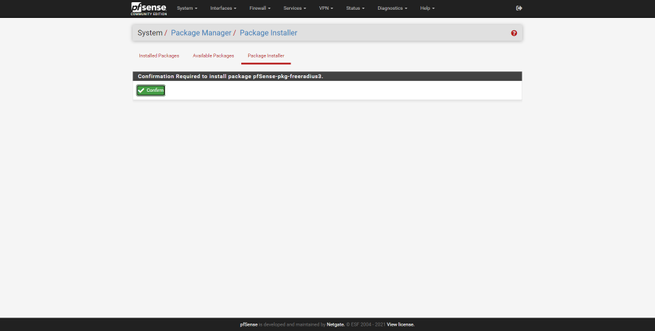
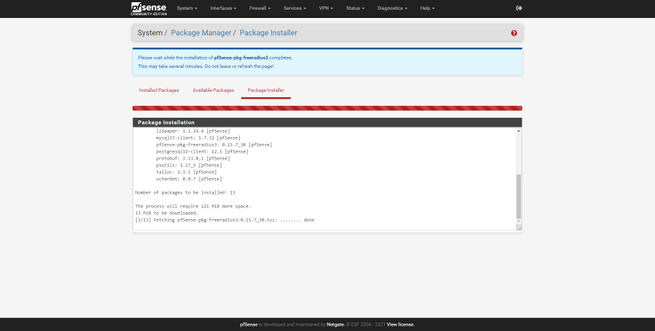
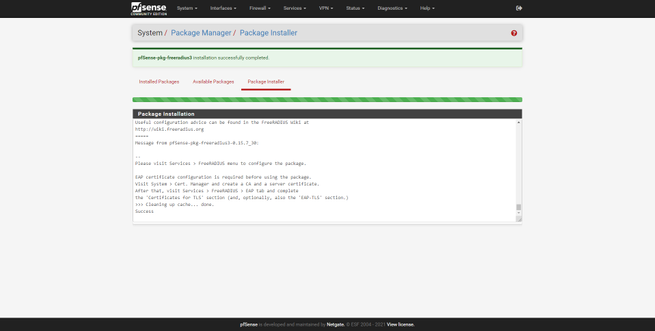
The FreeRADIUS software is not installed by default in pfSense, to install it we must go to the “System / Package Manager” section, and look for the freeradius3 software that we have in the list of available packages. We click on «Install» and confirm the action. Once we have it installed and ready to start working, we will get the typical green bar, indicating that everything has worked correctly.
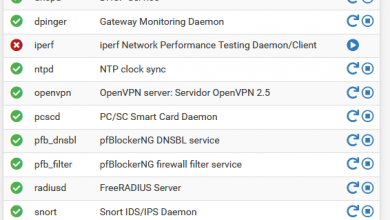
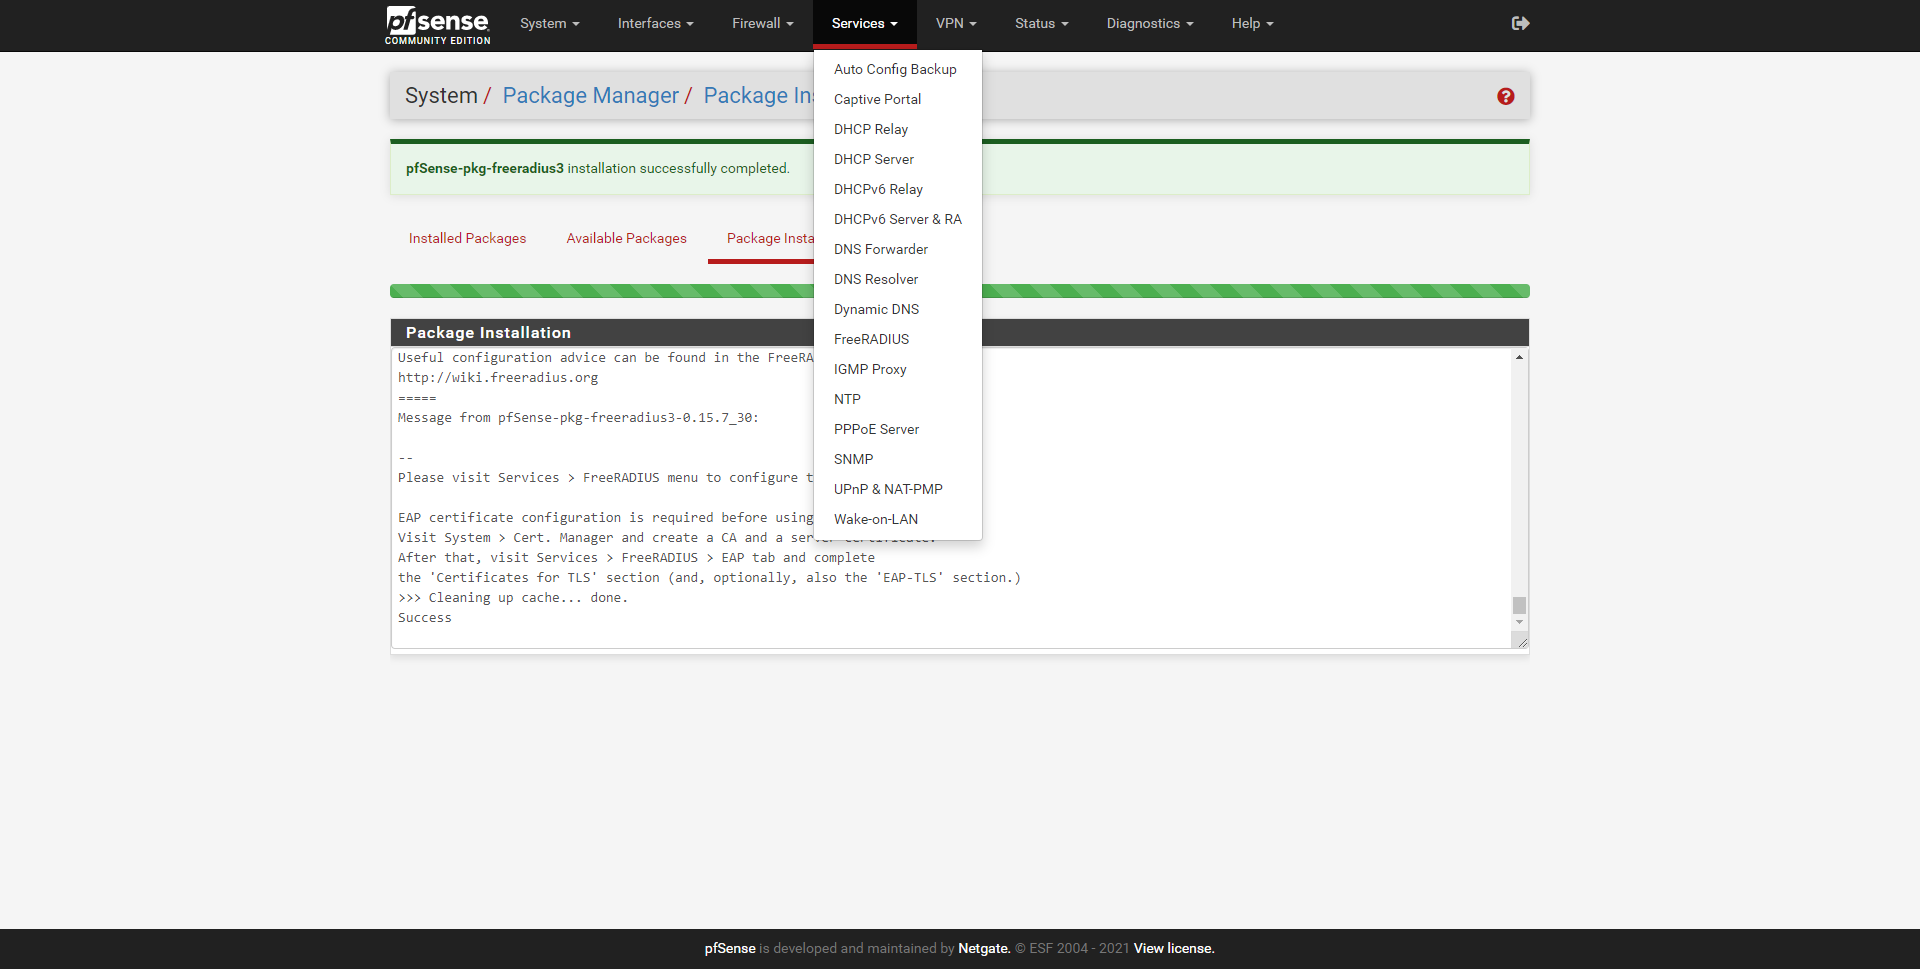
As soon as we have installed it, we can see that in the “Services” section we have it available, to start configuring it:
Now is the time to configure it, to register the users and also the different WiFi access points to authenticate with the RADIUS server.
Configuration options available in pfSense
If we enter the «FreeRADIUS» configuration in the «Services» section, we can see the graphical user interface to configure the RADIUS server in detail. In this menu we will find different tabs to configure different aspects:
- Users : we will configure the users that will be authenticated via WiFi, we will be able to define user / password and many other advanced parameters.
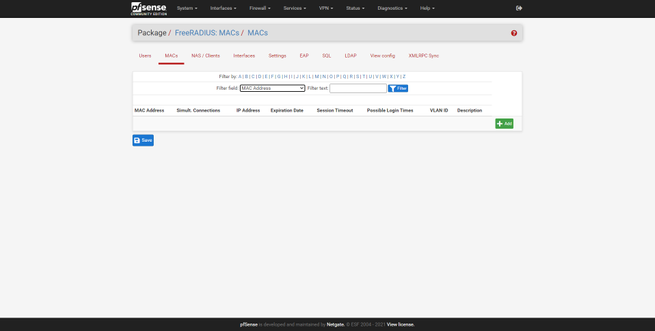
- MACs : we can define the behavior of the RADIUS if it finds a specific MAC, providing the same IP address, a specific VLAN ID, limiting the bandwidth, expiration time and other advanced settings.
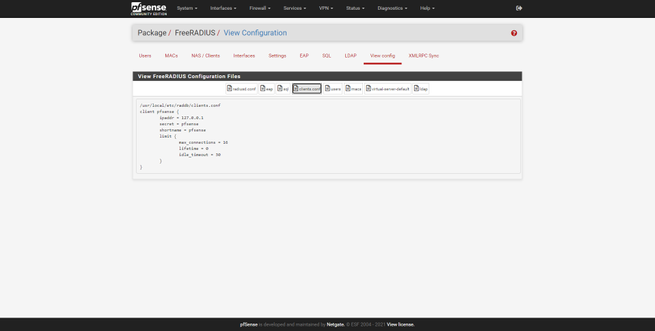
- NAS / Clients : this is where we will have to configure one or more access points that are going to authenticate against the RADIUS server. If we have a total of 4 professional WiFi access points that allow WPA2 / WPA3-Enterprise, this is where we will have to enter their IP address and also the PSK key.
- Interfaces : we can define the physical or logical interface where the RADIUS server will listen, and also define the listening port, it will always use the UDP protocol.
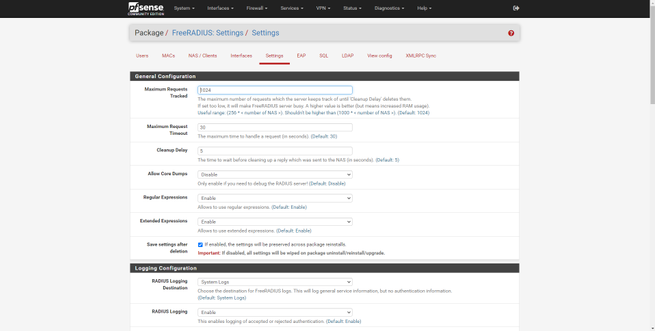
- Settings : we will be able to configure global server options, including the registration of the different users and the complete logs of the server.
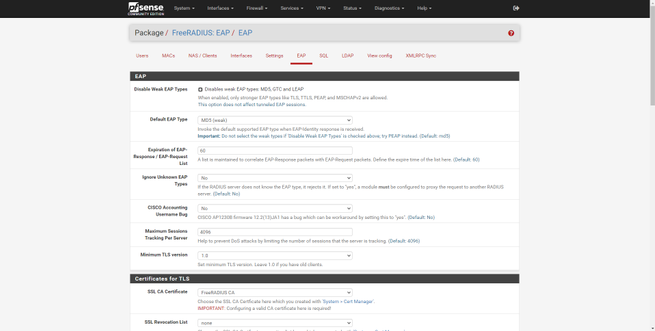
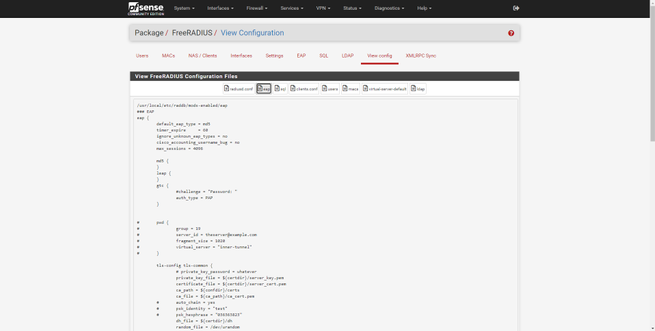
- EAP : global parameters of the EAP authentication protocol, it is recommended to disable weak EAP types that are susceptible to attacks. This is where we will have to load the CA for TTLS and TLS.
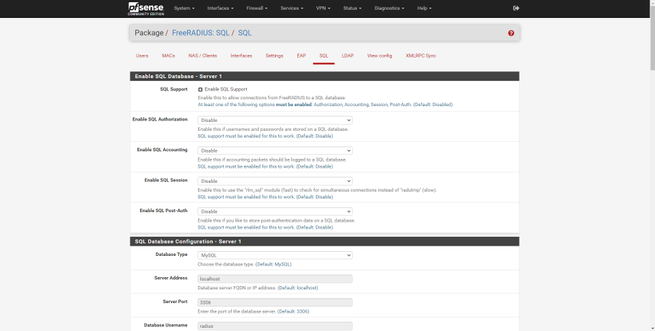
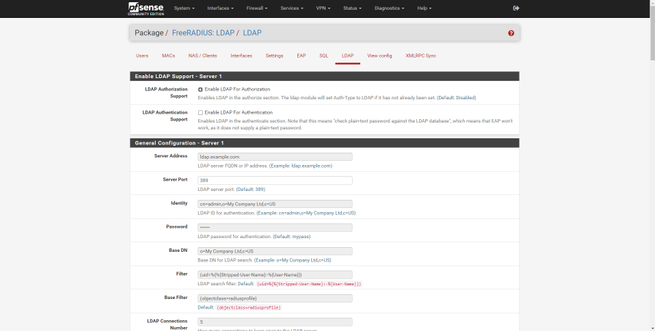
- SQL and LDAP : allows the integration of the software in a database and also in the organization’s LDAP.
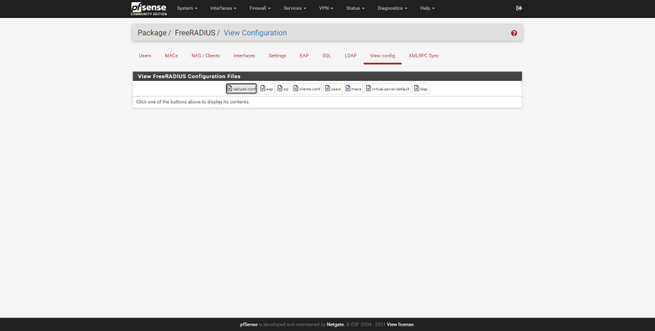
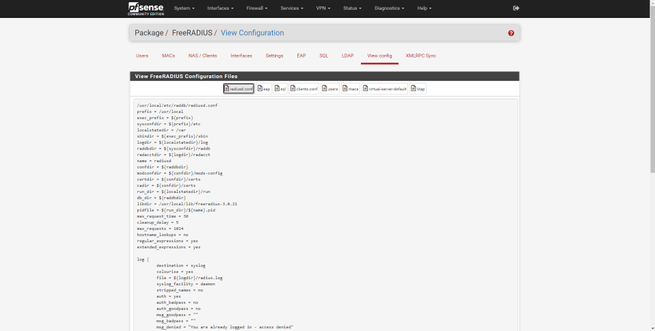
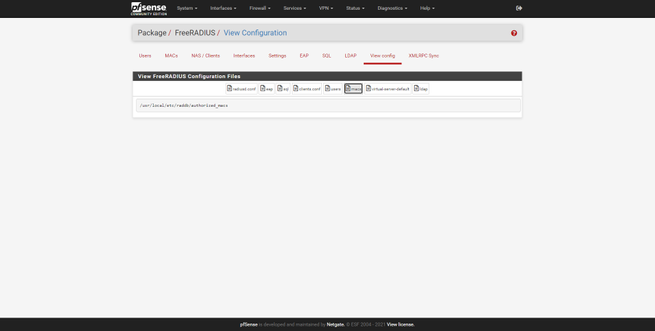
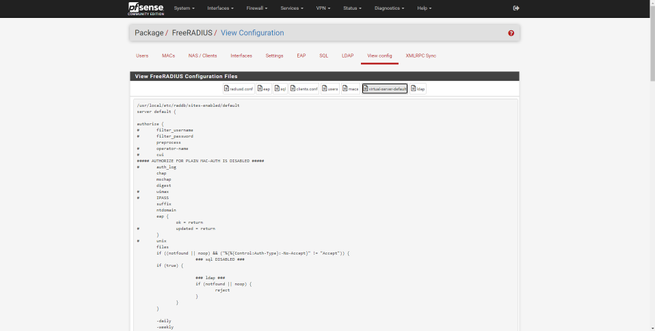
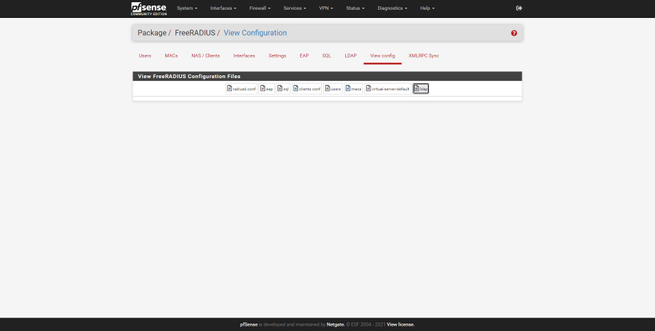
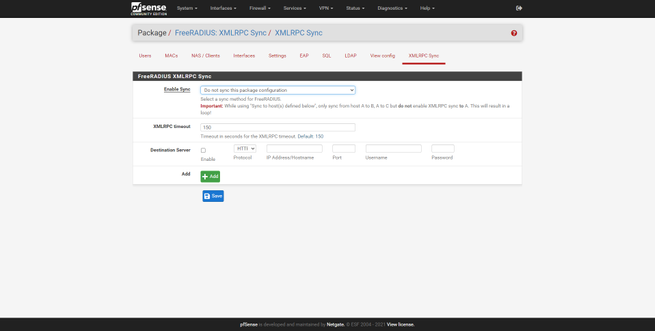
In the “View config” section we can see the different text files with the raw configuration of the FreeRADIUS server, if you are used to configuring it through editing the text file, then this will allow you to check that the configuration is correct. Finally, we can also see the XMLRPC Sync configuration, in case we make use of this.

Once we have seen the configurations that the graphical user interface allows us, we are going to configure it in detail.
FreeRADIUS Server Configuration in pfSense
To correctly configure the FreeRADIUS server we will need to register the APs, register the different users, configure the server’s listening interface, and, finally, configure EAP authentication.
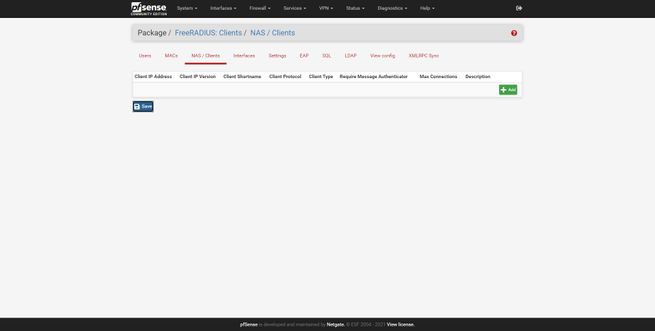
Configure NAS / Clients
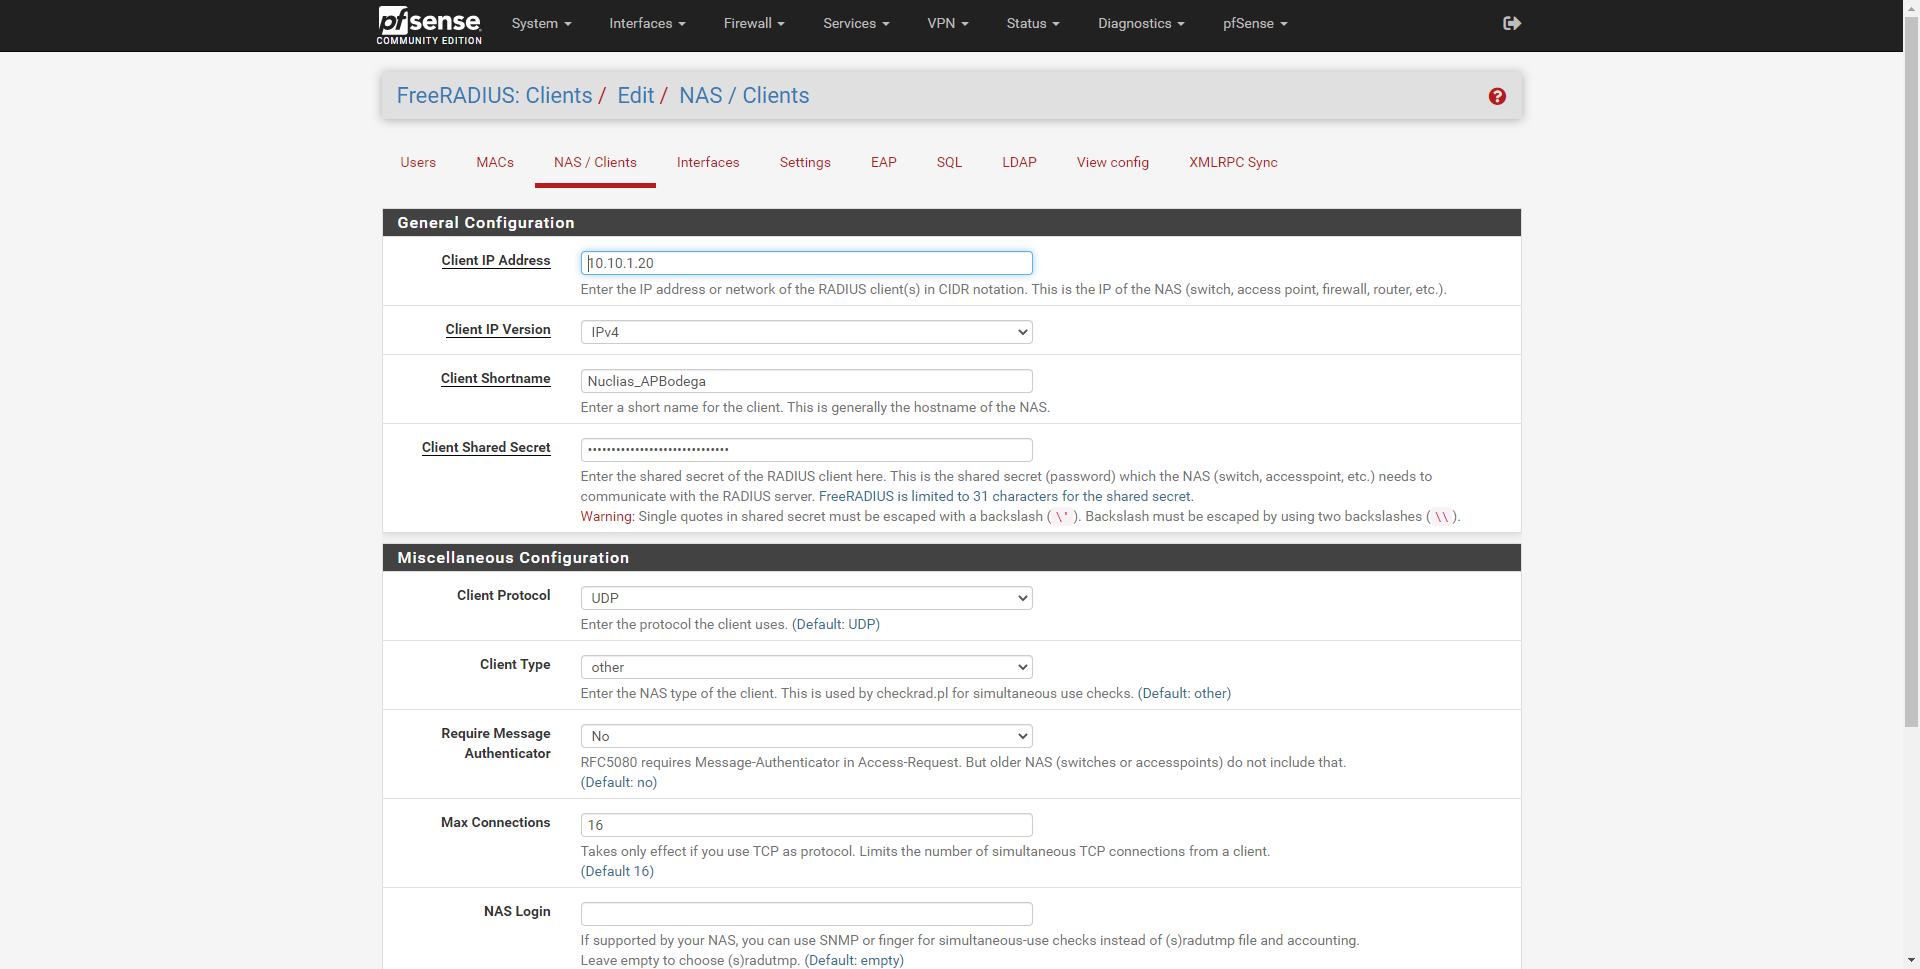
The first thing we must do is register the different APs so that they authenticate correctly with the server. We have to go to the “NAS / Clients” section to register the different APs that the RADIUS server will use to authenticate wireless users. In the following gallery you can see all the available options that we have:

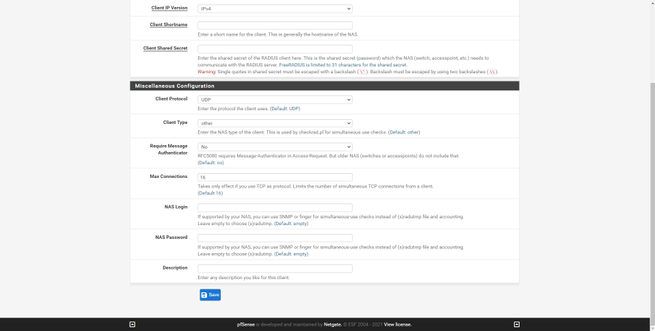
We will have to enter the following information:
- IP address : the IP address that the professional access point has on the network, normally we have a management subnet where all these computers are.
- Client IP version : IPv4 normally, but also allows IPv6.
- Client Shortname : an identifier of the access point that we have registered
- Client Shared Secret : the shared password, both the AP and this «NAS / Clients» must have exactly the same authentication password. Allows up to 31 characters.
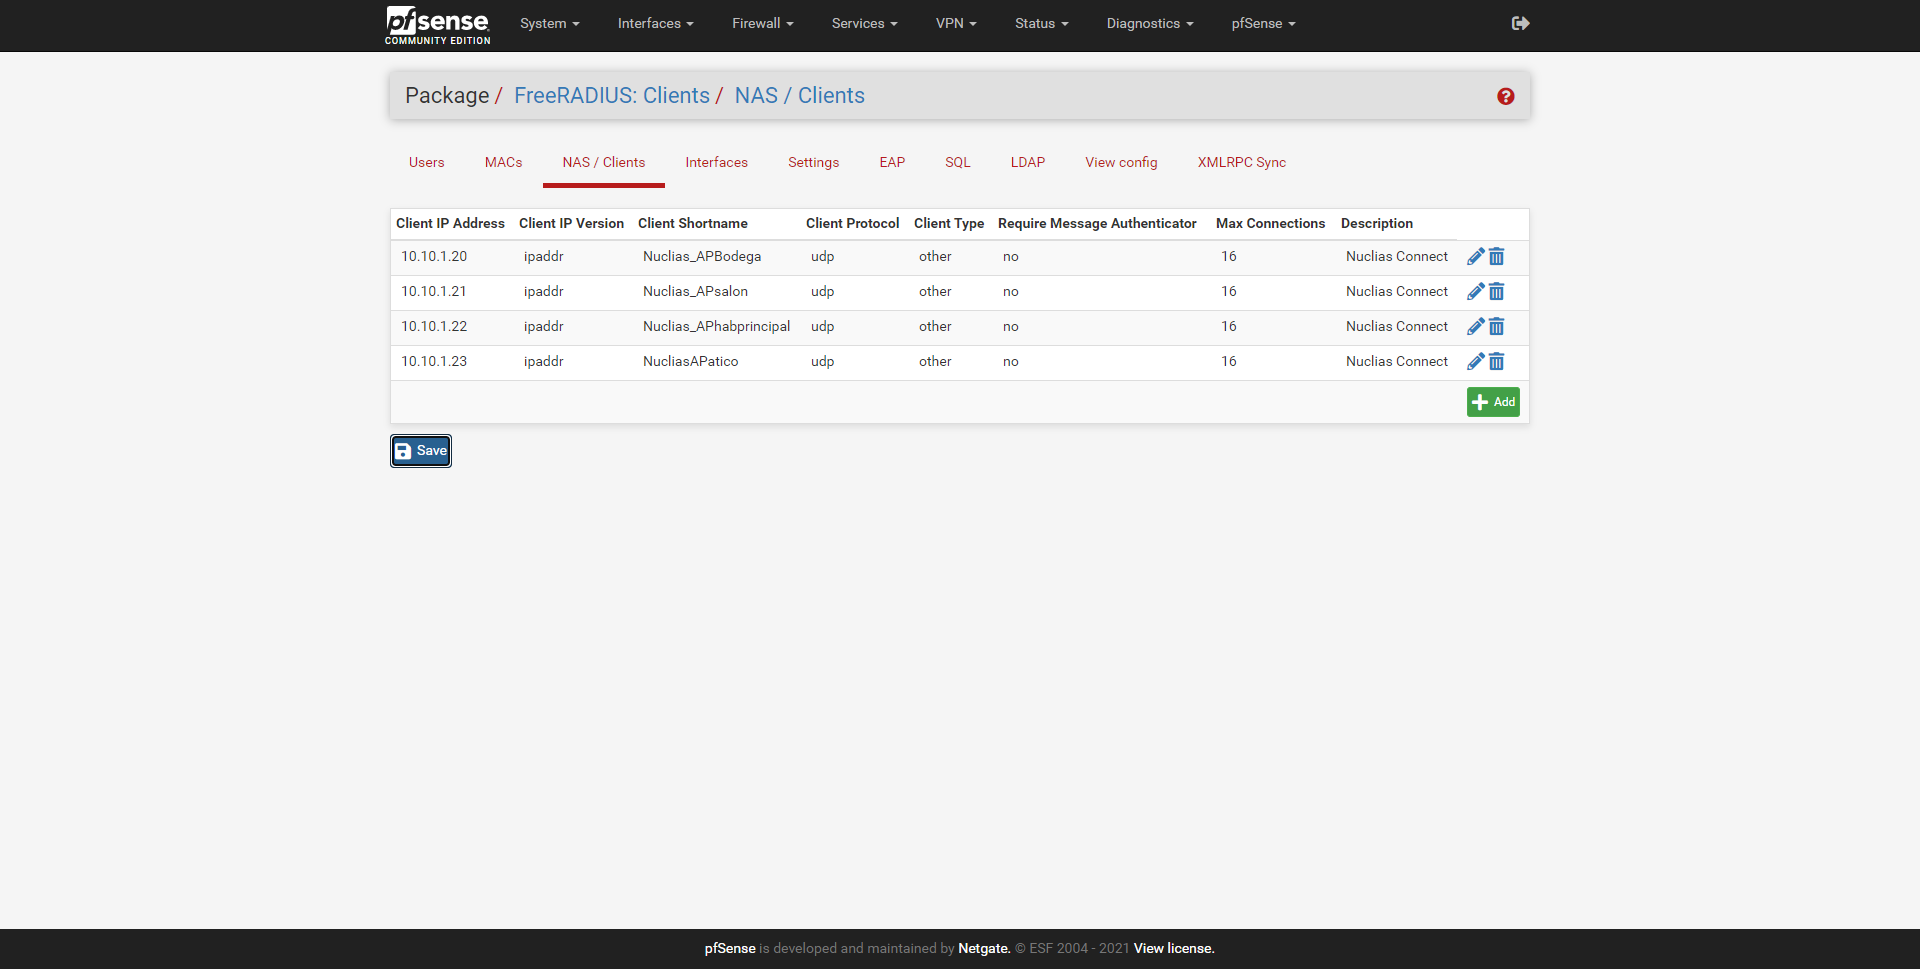
If you are in an organization where you have a WiFi controller, and you manage, for example, 4 WiFi access points, you must configure it as follows:
- Register all APs with their corresponding private IP
- Put in all the APs registered here, exactly the same password.
- Put this same password in the WiFi controller, and all APs will authenticate against the RADIUS server with this password.
The rest of the options can be left by default:
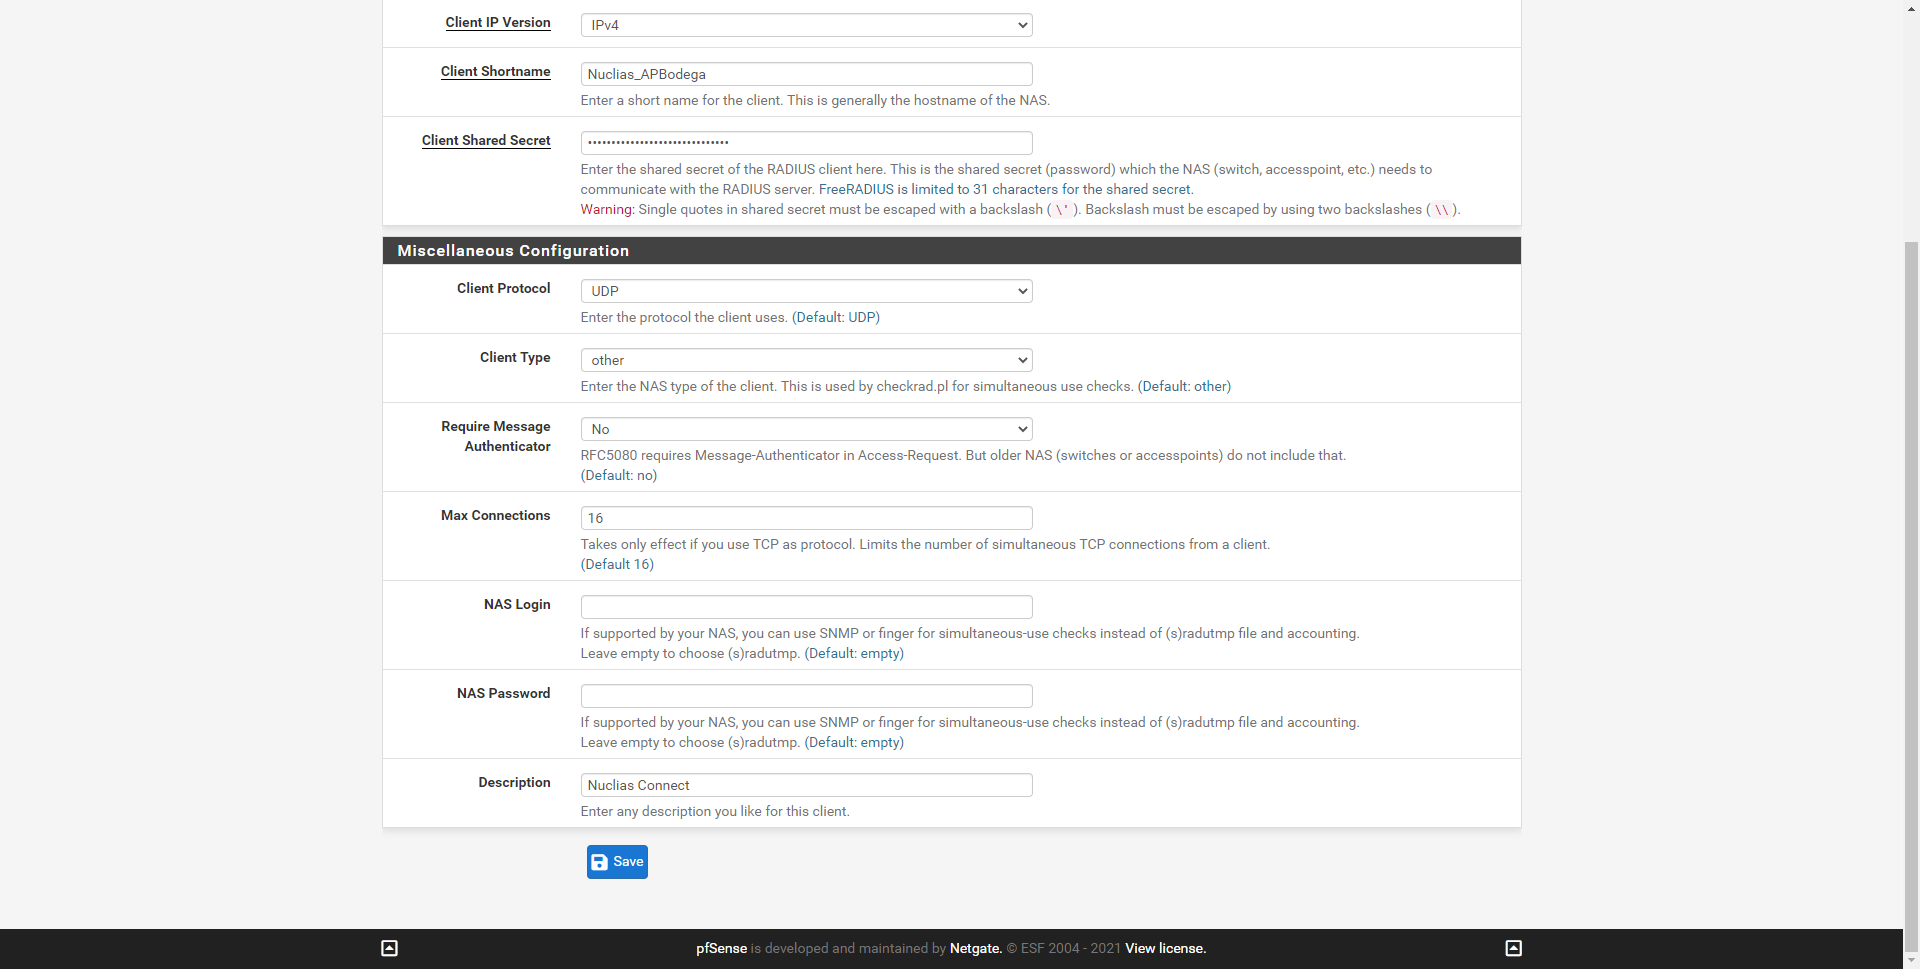
In our case, we have configured a total of 4 WiFi access points, all of them controlled by the Nuclias Connect controller.
Once registered, we are going to configure the «Interfaces» section, which is where you will listen.
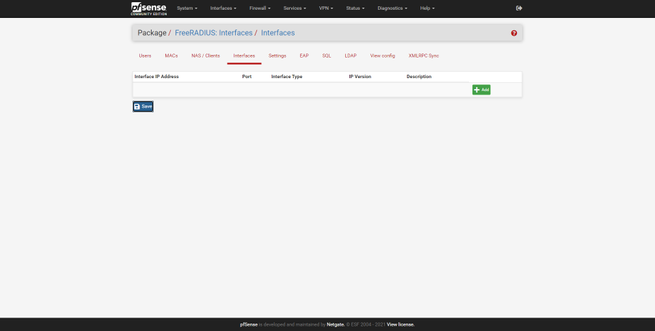
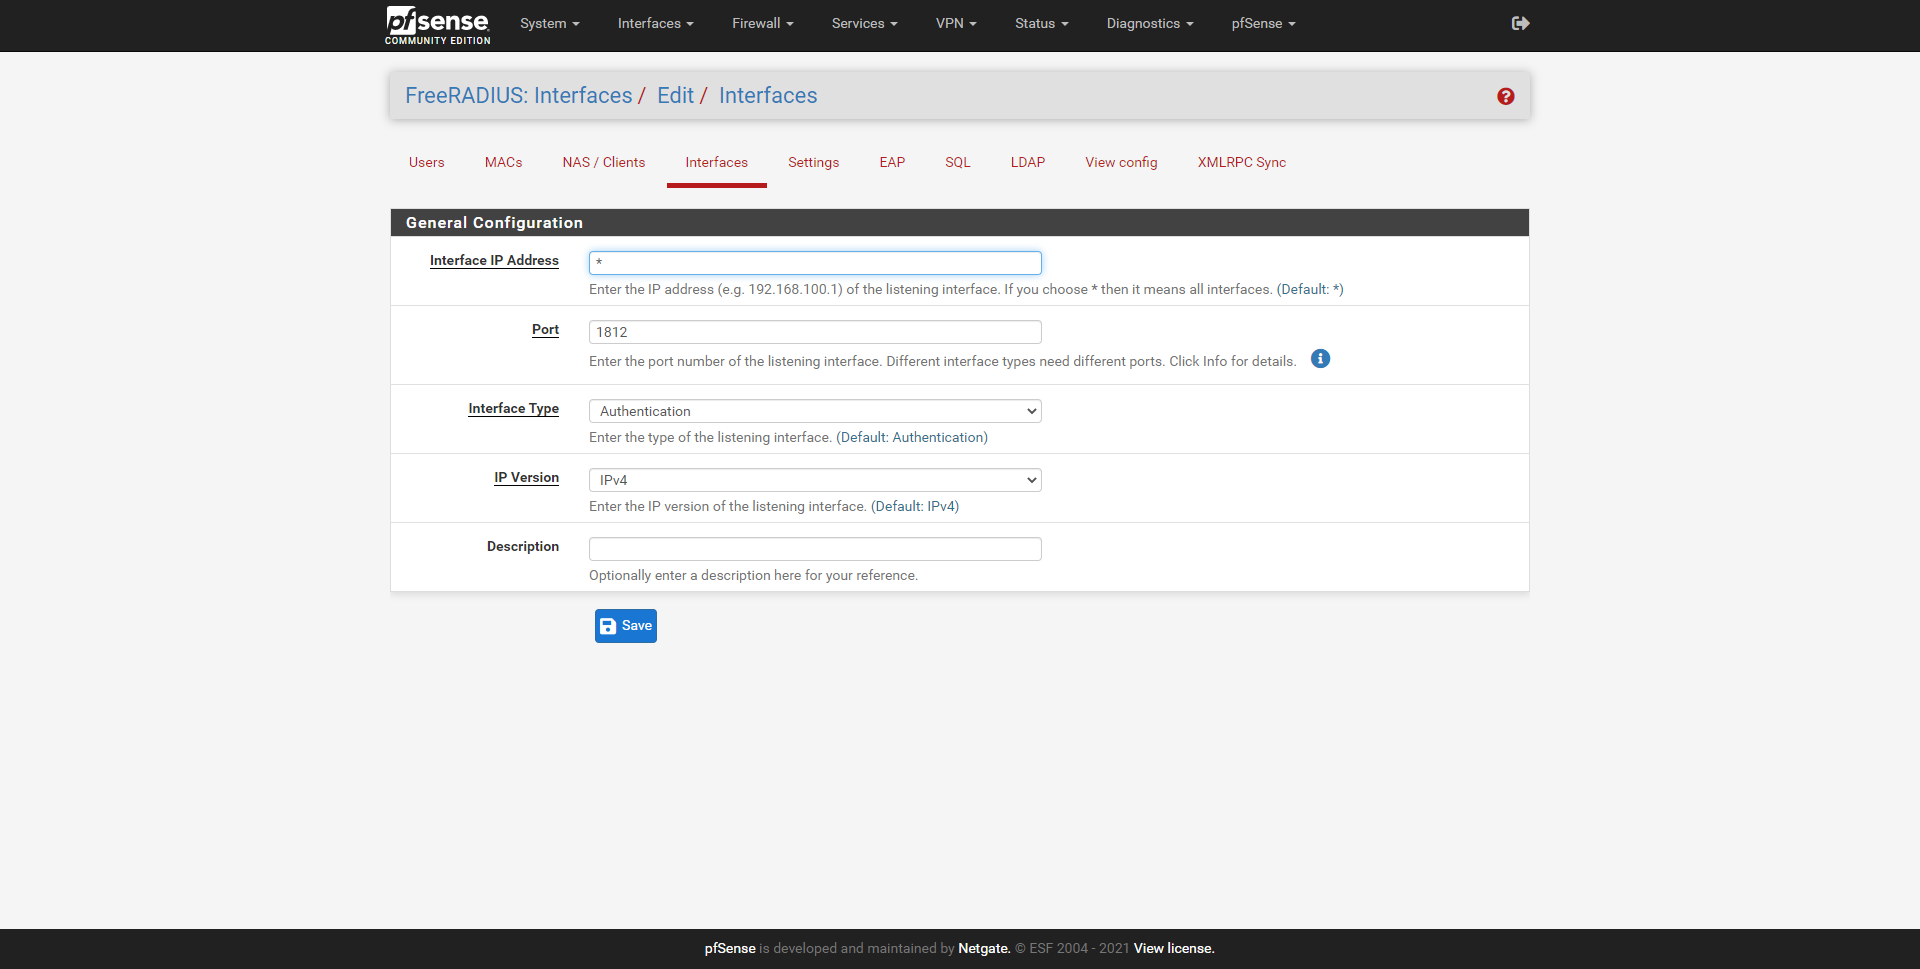
Configure «Interfaces» where you will listen
In the Interfaces section is where we can configure the server’s listening IP address, if we put * it means that it will listen on all interfaces. We must also indicate the listening port, the type of interface (authentication, authorization, etc.), the IPv4 version and a brief description.
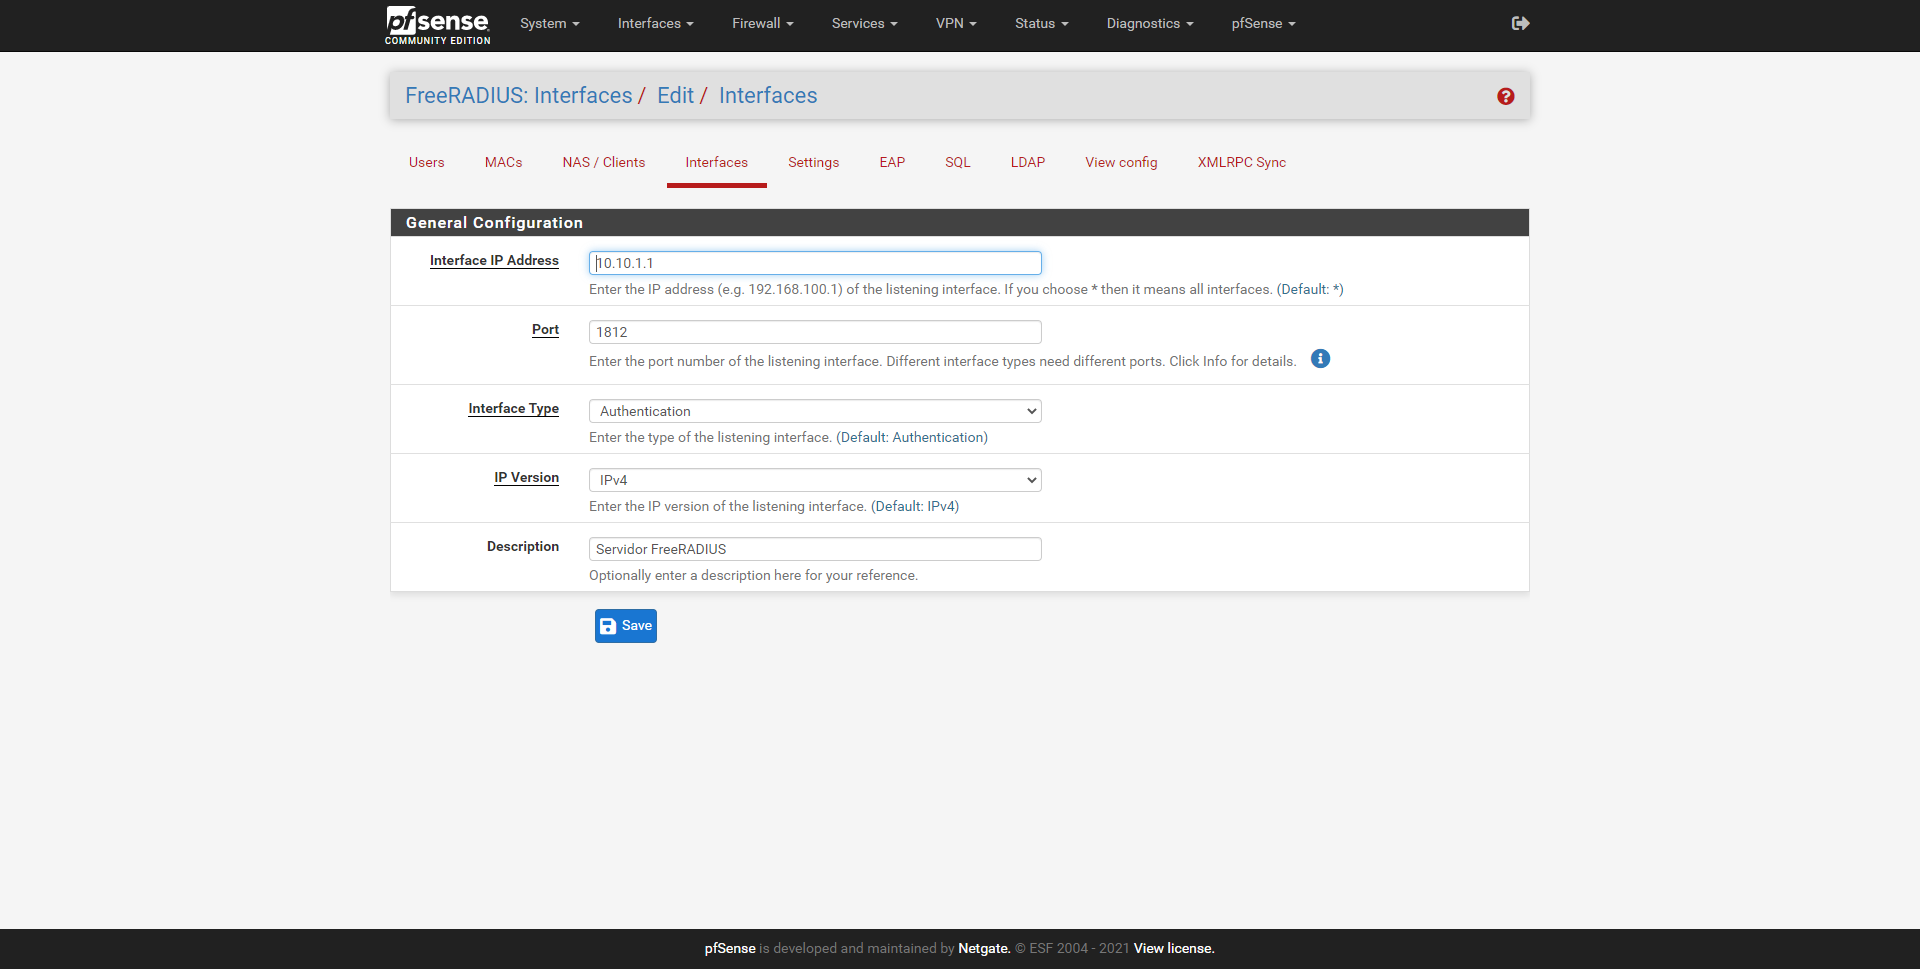
In our case, we are interested in it only listening to the IP address of the management network, in the rest of the interfaces we are not interested in having the RADIUS server listening.
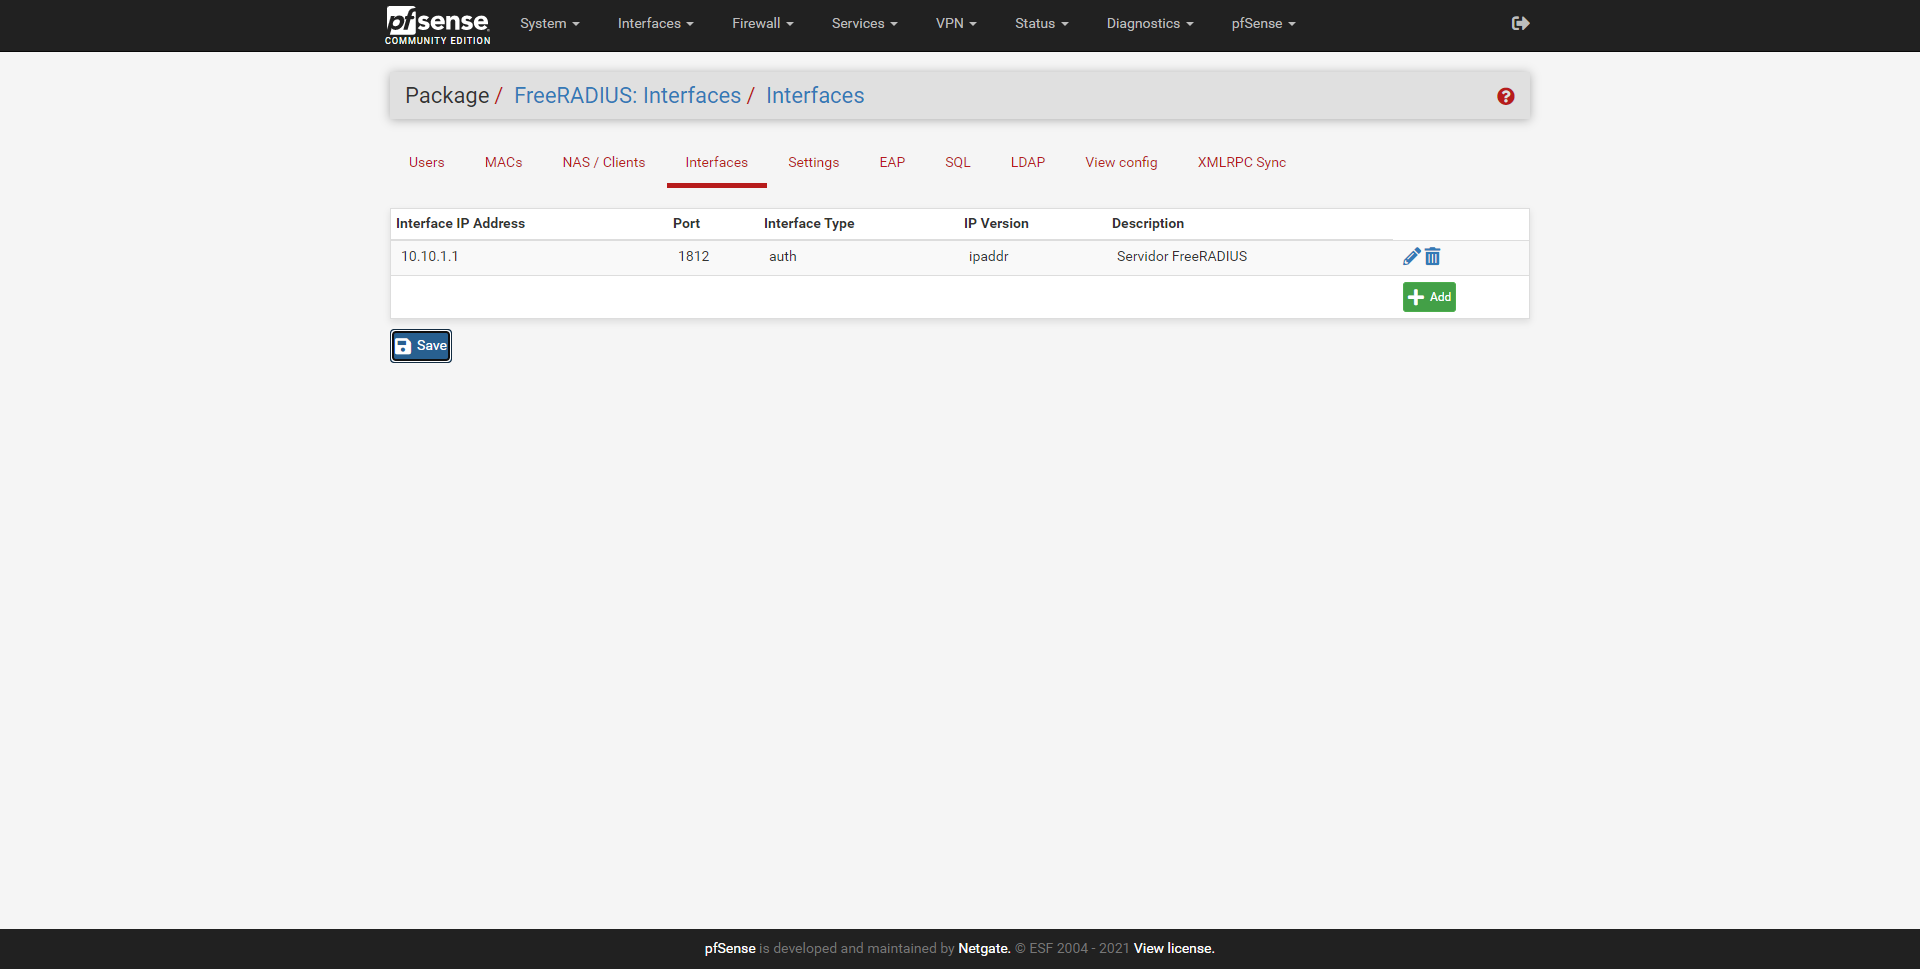
We can add several interfaces manually, and not just one of them. In the main menu of «Interfaces» we can see the summary of the configuration.
Once we have defined this, we proceed to configure the users to authenticate.
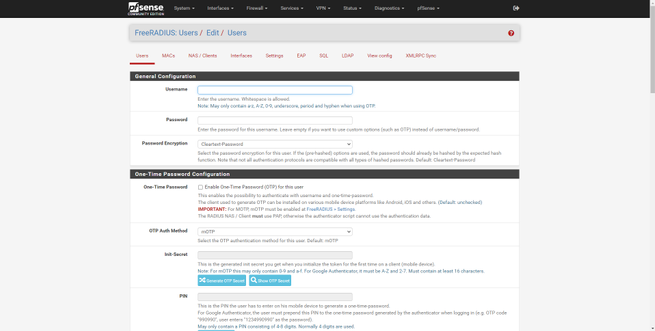
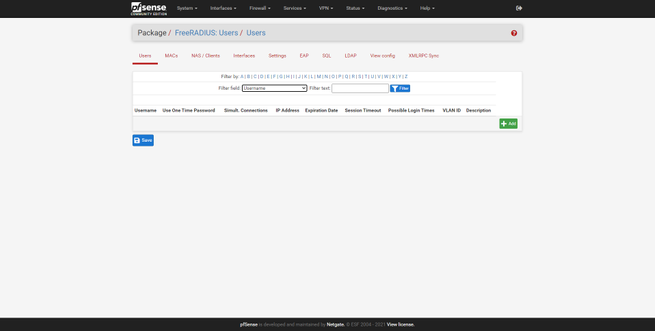
Register the different users to authenticate
To register the different users, we must go to the «Users» section. In this menu we will have many configuration options, but if we only want to perform authentication via WiFi with WPA2 / WPA3-Enterprise, we must fill in this:
- Username: the username, it is not recommended to put spaces.
- Password: the access password that this user will have.
- Password-Encryption: we put cleartext-password.
Other configuration options are the possibility to enable multi-factor authentication, define a redirection URL after authenticating, always provide an IP, a specific VLAN ID, configure the maximum bandwidth and traffic, and the expiration time of the session and other advanced parameters.