How to remove blanks in Excel with SPACES function
As a database is handled in Excel, it may be necessary to transfer it to another program or platform and this may be prevented due to errors found within the text.
One of the most common cases, clearly when the content of the data is manually transcribed, is the presence of extra spaces before, after and between words.
Thanks to this, various softwares are unable to assimilate the content that is transmitted through this office program, since the presence of these spaces totally changes the structure of the information.
In case of witnessing this slight problem, you will be pleased to know that this medium has a brief explanation of how you can solve it using a simple formula provided by this program.
What is the easiest way to remove excess spaces from Excel cells?
This type of problem does not only occur in textual transcriptions, since many times when numerical data is inserted into the cells of the sheet, one or another space can escape that goes unnoticed at first glance.
Due to this, many users who try to add these cells have to force the calculation, omitting errors , without knowing where this slight problem comes from.
The easiest way to eliminate these spaces, no matter where they are, is manually, but this implies a significant waste of time when handling a wide range of data, this even though Excel has useful shortcuts for its Easy to use.
That is why programs like Excel have multiple functions that are responsible for helping and facilitating a large number of tasks for users who use their tools to work.
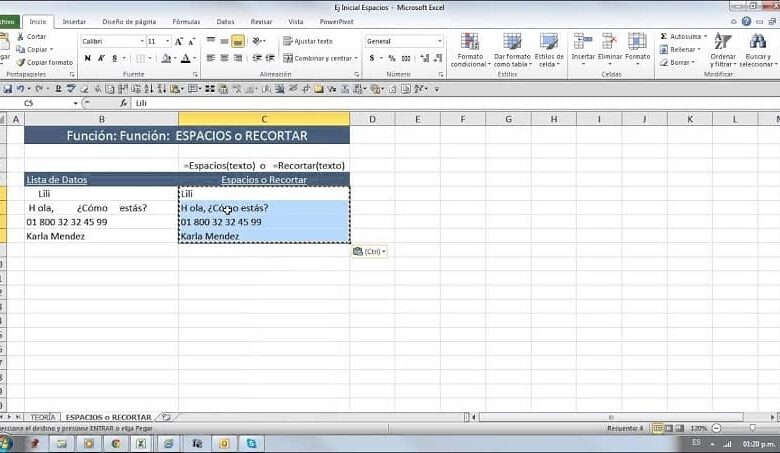
We teach you how to use the SPACES function
Gone are the days of having to hide the content of cells so that these types of problems go unnoticed within other data interpretation programs, since this famous spreadsheet has the solution to this particular problem.
For versions prior to Microsoft Excel 2010, the function was named “Clip”, but for today it is characterized as “Spaces”. Your task is none other than to eliminate those excess spaces within a cell, no matter where it is.
In this way, it will only be enough to insert it into the spreadsheet so that it automatically takes care of interpreting the text, which will be relocated in a new cell, without the extra spaces that announced the error.
How do you insert this formula into Excel?
Despite the fact that the toolbar has many tricks, inserting this type of function is very simple, as it can be done manually or transcribed directly into the sheet.
In other words, you can search for the “Formulas” option and locate the “Spaces” function, and then write the content of the cell to be modified or select the range on which you want to apply the task.
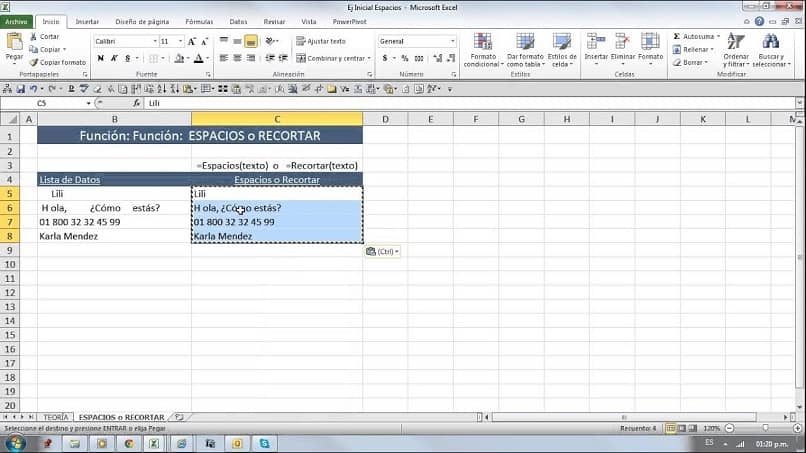
If, on the other hand, you want to insert yourself directly into the sheet, and save a significant amount of time, simply write the following “Cell = SPACES (Cell) “. The first reference to the cells must be replaced by the place where you want to place the result of the content already modified.
On the other hand, the second reference implies that the user determines the cell that has the text to be modified, or in that case the range of rows or columns from which the spaces must be eliminated.
Once inserted into Excel and pressing the “Enter” key, the program will automatically display the amount of text arranged that is requested by the user, without any spare spaces in any part of the cell, so that it can be interpreted comfortably within from any other program or email.
In the same way, you can now try to count the cells based on other characteristics , since you will no longer have to attach the idea of omitting errors to try to obtain a satisfactory result.