How to make a hole or hole to objects in 3D Studio Max – Step by step

We know that with so many tools in Studio Max it is somewhat difficult to find the right one to do a specific job, such as making a hole or hole in an object. Doing this becomes even more complicated when, after making the hole, malformations appear in the object.
This is because the object is abstract or does not look very good. Regardless of what the cause is, here we will explain 4 very easy ways to make a hole or hole in Studio Max 3D.
Make a hole or hole with the ‘Chamfer’ tool
Before starting, make sure that the object is an “Editable Poly”, since for all the forms that we will explain, it is necessary that it be with that modification.
- Connect the vertices of your object with the central vertex forming an “X”, that is, the point where the vertices meet is where our drilling will go.
- Then in “Modifer”use the “Chamfer” tool. With it, you will form more vertices at the point where the others meet, a polygon will be formed.
- Then we will select that polygon and with the “Extrude” tool create a sag.
- Then erase the polygon and as you will see you will have the perforation.
- Select the outline of the piercing and with “Chamfler”, make it look more marked.
- Go to “Modifer List” and with the “TurboSmooth” tool increase the resolution.
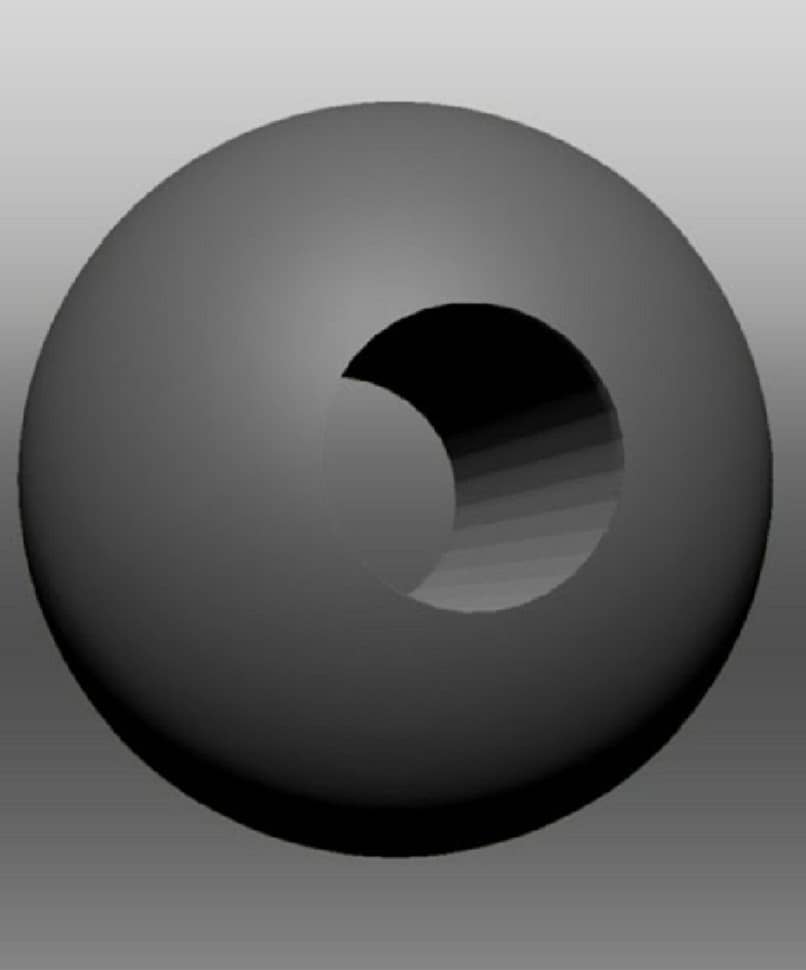
Ready, with these steps you already have a perfect hole and using the Studio Max viewers you can see that there are no malformations in the work, now let’s move on to the second way.
‘GeoPoly’ tool
- Select the polygons that are in the area where we want the perforation to be.
- Then with the “Inset” tool create other polygons within the ones you selected.
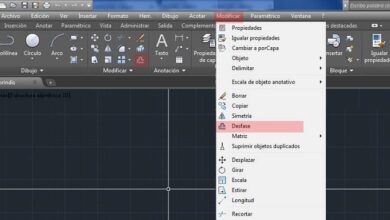
- Delete the internal edges of these polygons and in the top bar of your screen select “Modeling”.
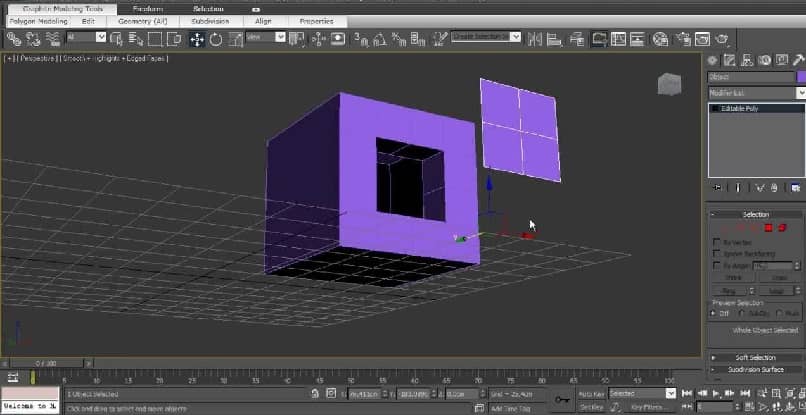
- Then in the “Geometry” area select the “GeoPoly” tool.
- A polygon will appear, modify it until you get the size you want.
- Now with the “Extrude” tool erase that polygon.
- With “Chamfler” make the outline look more marked and with “TurboSmooth” increase the resolution.
It is likely that with this technique you will not have the same measurements in all your perforations, since with the “GeoPoly” tool it makes you work each perforation independently, making the measurements different in each of the holes of the object. , let’s move on to the 3 form that is much simpler than the previous ones.
LoopTools tool for making holes with 3D Studio Max
- Select the polygons that form the place where we want the perforation to be
- And with the “Inset” tool you create other polygons within these
- Now, delete those polygons that you just created, select the edge of the perforation and in the upper bar select “Modeling”
- In the “Loops” area select “LoopTools”
- A dialog window will appear, click on “Cirde” and where our selection is, we will modify the size to what suits us best.
- Now as in the previous forms we will use the “Chamfler ” tool so that the contour is more marked and then “TurboSmooth” to increase the resolution.
And so we have another successful drilling, and as you will notice, learning to handle one tool will help you to handle the others, so each time we explain the different ways to make a hole you will use the same tools such as “Chamfler” and “TurboSmooth”, with this clear let’s move on to the 4 and last form.
Using the ‘Plugins’
Using Pluing to add more functionality to Studio Max is very common among designers and here we are not going to miss out on the advantages of installing these tools. That is why we will teach you how to use “Regularize” which is a plugin that you can download for free.
- As we did in shapes 2 and 3, select the polygons where we want our perforation to be, then delete them.
- Now access the pluing menu in Studio Max and select “Regularize”.
- As you will see, you will have the polygons that make up the perforation, erase it to obtain the hole.
- Then as in the previous forms with the “Chamfler” tool mark the edges and with “TurboSmooth” increase the resolution.
This Pluing is very easy to use and as you will see in the object the finish is the same, a perfect perforation and without malformations.