How to create or draw a grid in Paint step by step
Windows applications
Each of the most used operating systems around the world today, such as Windows, Mac OS and Linux, have a series of applications or programs installed by default that will help you to fulfill different types of tasks until you do the installation of your favorite programs.
In the case of Windows, you will find, mainly, with word processors that will help you to solve any contingency until the installation of an office program with more complex and complete functions and tools.
Exploring Paint
If there is a program that has been left aside as a result of the development and updates of programs for image editing, without a doubt, it is Paint. This program has been part of Windows applications since its version 1.0 . Today, with the existence of Windows 10, this application continues to be present on the computers of users of this operating system.
For some years now, Windows understood that this program was being forgotten, which is why it decided to make certain improvements to optimize the drawing tools. In addition, as if that were not enough, they implemented a version for Android devices.
Featured tool
Now, regardless of whether you have the version of Windows you have, it is indisputable that this program saves truly useful tools for all those fans of the art of drawing using their computers.
In this sense, one of the most striking tools in Paint, and that probably few know, is the ability to create or draw grids . These elements optimize the way you can draw, since it assigns proportions to each area of your drawing, having greater accuracy in what you want to capture on the canvas.
Create a grid in Paint
As has been repeated previously, Paint does not have, precisely, very advanced tools that automate this type of procedure. However, if you need a grid, there is a way to make it through this program.
The procedure, although it can become somewhat tedious, will be worth it, since it will serve you for future projects in which you want to make drawings with great precision. Do you dare to try it by following the instructions that will be shown below?
Step by Step
Once you have accessed Paint from your computer, you just have to pay close attention and be careful with each of the steps indicated.
Of course, in case things do not go as expected on the first try, be patient. Use Paint’s “Undo” tool and keep trying until you can correctly draw your grid in Paint. Prepared?
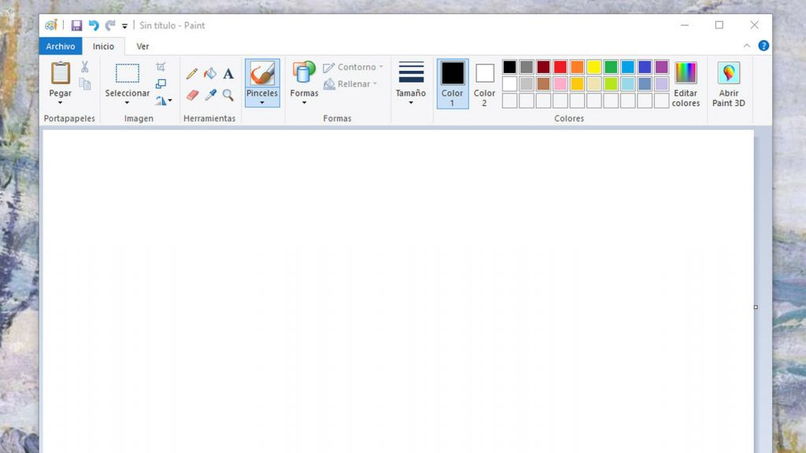
- It is important that you choose well the type and size of the brush with which you are going to draw your quad.
- Using the list of shapes, draw a straight line on your canvas. Hold down the “Caps Lock” or “Shift” key to make sure there are no distortions.
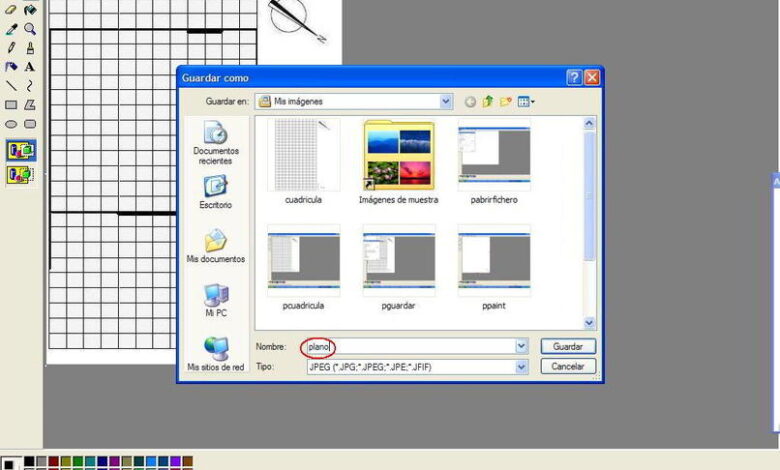
- Click on the “Select” option and go to “Rectangular selection”.
- Draw a box on the line, and then drag the line to a new position.
- Repeat the previous two steps until the box is closed.
- Later, repeat this procedure for the interior area that has been left empty, drawing both vertical and horizontal lines.
You already have your grid!
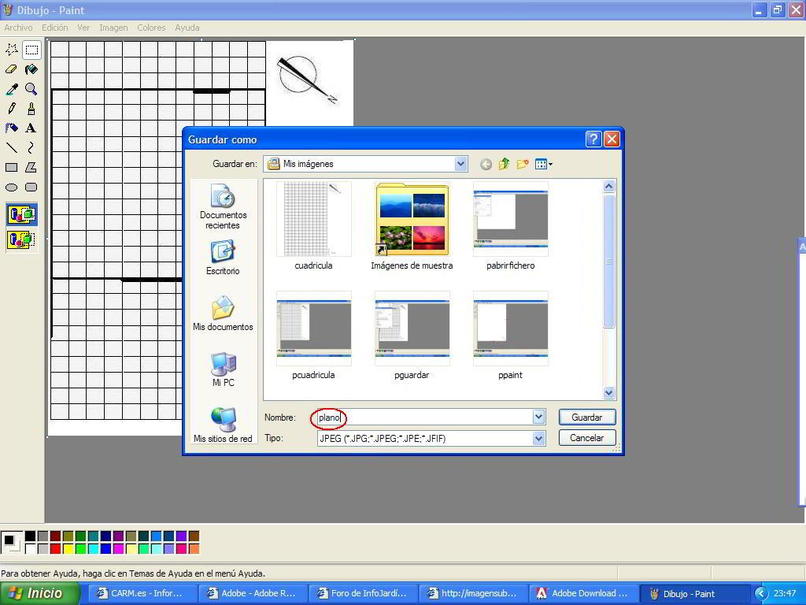
To improve the distribution and positioning of the grid you have drawn; You can click on the “View” tab, and check the “Grid ” box to check that everything is in order.
Although it can become a bit tedious, there is no doubt that Paint, despite being a basic program, puts at your disposal tools that allow the creation of this type of elements in a simple way. What are you waiting to put it into practice and draw your own grid in Paint?