How to transform or convert text to vector with Photoshop
Since its inception, Adobe Photoshop has been widely used and known for photographic retouching, but it is not limited only to that, it has many applications in the field of design and photography due to the multiple tools it provides.
It has become such a popular program that its name is used synonymously in image editing. It is common to hear expressions such as “photoshop” when someone refers to the retouching of an image.
It is common for designers and photographers to make use of this software for retouching and digital editing processes in photographs, web designs, photocomposition and many other activities that require the treatment of digital images and even edit photos online in Adobe Photoshop without being downloaded .
What is a vector in Photoshop?
Images in bitmap are composed of pixels, while offering advantages in color themes, it has as disadvantages to changing the size of the graphical object, getting to distort the image.
Unlike these, vector images are composed of strokes, in turn these strokes are based on numbers. For example, the vector image of a circle would be represented by X2 + Y2 = R.
This allows that when enlarging the image is not distorted, which makes them ideal for texts and images where precision is important. Text can be converted into a vector image using Photoshop.
It may seem difficult, but in this article we will explain step by step how to do it, continue reading to learn how to use this Photoshop tool.
What steps should you follow to vectorize text with Photoshop?
You must first access the Adobe Photoshop program on your computer as you normally would.
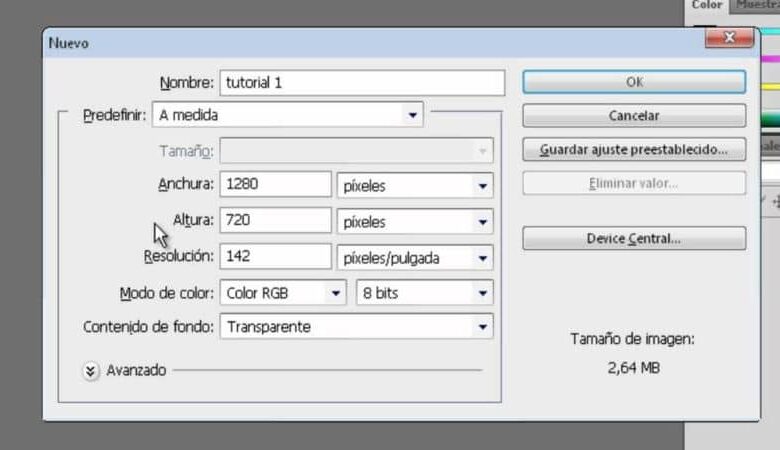
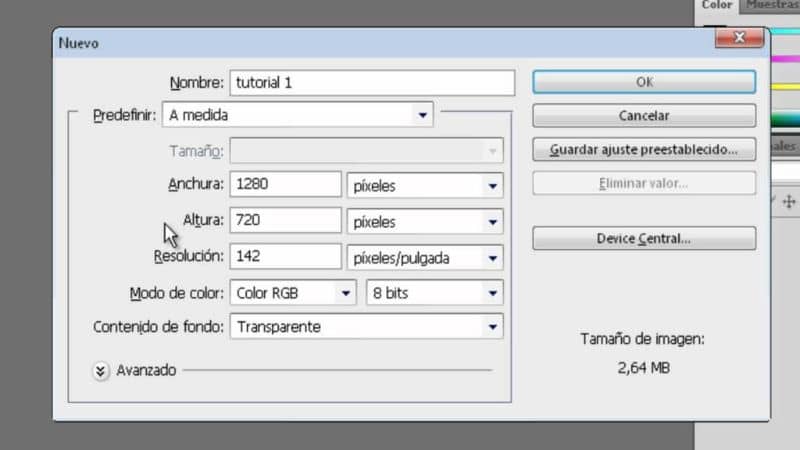
Once inside you must create a new document, you can choose the size you want. To do this , click on the File menu , then click on New, and once you choose the desired parameters, press the Create button.
Another option to do it on Mac is by pressing the key combination Cmd + N, while on Windows it would be Ctrl + N. With the new blank canvas, select the text tool, write what you want, select the text and modify it to your liking, giving it the size and font style that you like the most.
With the text already created, select it and go to the Text menu and then click on the Create Outlines option . The key combination would be Shift + Ctrl + O for Windows and Shift + Cmd + O for Mac.
After doing these steps, enter the View menu and then press Contour, to do it with the keyboard press the Ctrl + Y keys in Windows or Cmd + Y in Mac.
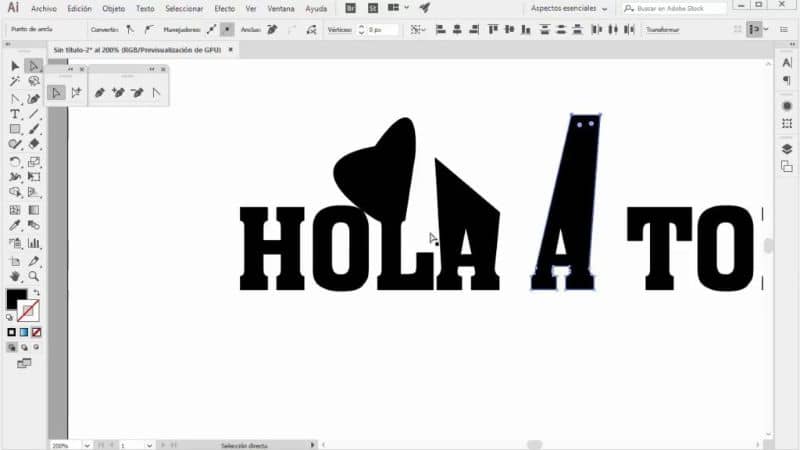
Next, you will observe in each of the letters all the contour points that will allow you to work individually on each of them. Through these points you can modify the shape of your text and personalize each letter to create a unique design.
When you press the contour point in any of the letters and modify it by stretching it, you will notice that the image is not distorted, as it is a vector it will keep the line. With the help of tools, such as the anchor point control, you can give the shape you want to each of the letters.
Additionally, you can change the fill and outline color separately, as well as their thickness, to further customize it. You can also change the size and resolution of an image with Photoshop
This technique is useful for creating new types of typography, since you can modify each of the alphabetic characters to give the desired shape and save it as a vector. That will make your job easier when you want to keep using your new design. Since you will not have to work on the same character again to modify it.
We hope that this tutorial has helped you to learn how to transform or convert text to vector with Photoshop easily.
Learn about the best Adobe Photoshop alternatives for editing images.