How to create custom option buttons in microsoft excel? Step by step guide
This software belonging to the Microsoft Office suite is undoubtedly one of the best programs, in it you will have the opportunity to work with numerical data . Being able to work with numbers will allow you to carry out advanced functions such as arithmetic calculations, complexity mathematical functions, statistical functions among many others.
Each of these functions will facilitate your work in a large percentage, especially because when working with numbers and calculations the task is not easy at all . As if all this were not enough, it also allows you to create a large number of functions that will make working in it much easier, such as the creation of custom option buttons.
Being able to create these buttons will help you to get tools in an easier and more direct way, which will allow you to be able to work at a higher speed, achieving better performance . In accordance with all this, here we are going to teach you how to create these buttons in your Excel spreadsheet .
What is a custom options button and what is it for?
Working in Excel will undoubtedly give you a large number of advantages, since simply with the basic tools of the program you will be able to carry out a large number of tasks in a very simple and fast way . However, it is important to have at least a basic understanding of the program in order to get the most out of it .
In addition, this software has several extra functions that can be added to the program, one of them is to insert the custom option buttons. These buttons are intended to facilitate data entry, making this process much faster, less tedious and user performance much higher.
It is worth mentioning that you can create both check boxes which work very well for forms with several options , the option buttons that are better for when you have only one option and the toggle buttons that indicate a state between an enabled state or disabled .
All this means that the buttons will simply help you save time when performing certain tasks, so assigning macros to custom buttons will allow you to save much more time since some tasks will be performed only with a single click .
Steps to create buttons with custom options in Microsoft Excel
Knowing all the aforementioned, the next thing will be to start creating the buttons with personalized options in the program, bearing in mind that these tools are intended to make each of the tasks that you perform in the program much easier for you.
Therefore, follow each of the steps that we are going to teach you below:
- To begin you must select the arrow that points down and that is located in the “Direct Access Bar” of the program.
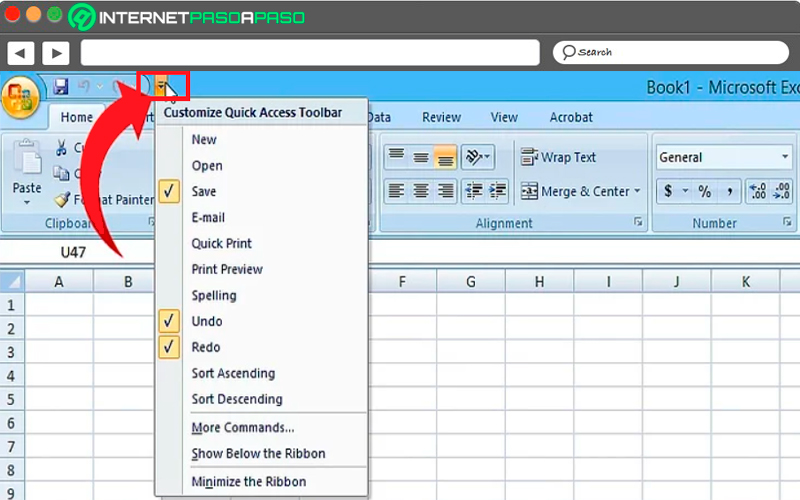
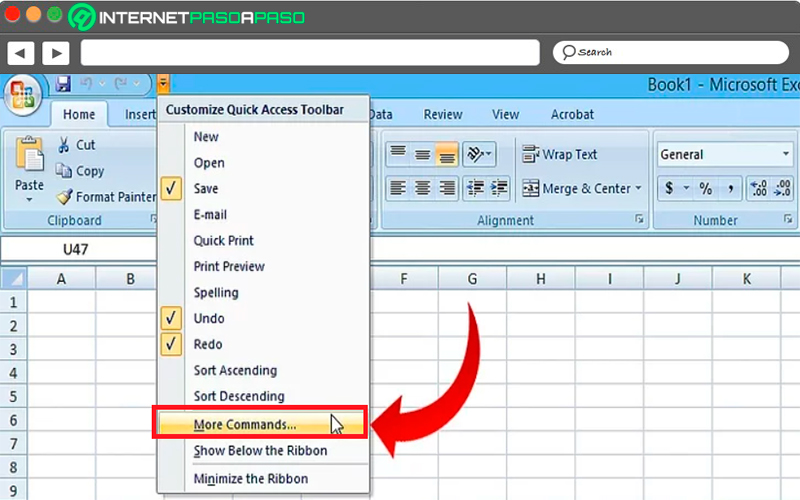
- In the menu that appears on you screen you select the option of “More Commands”.
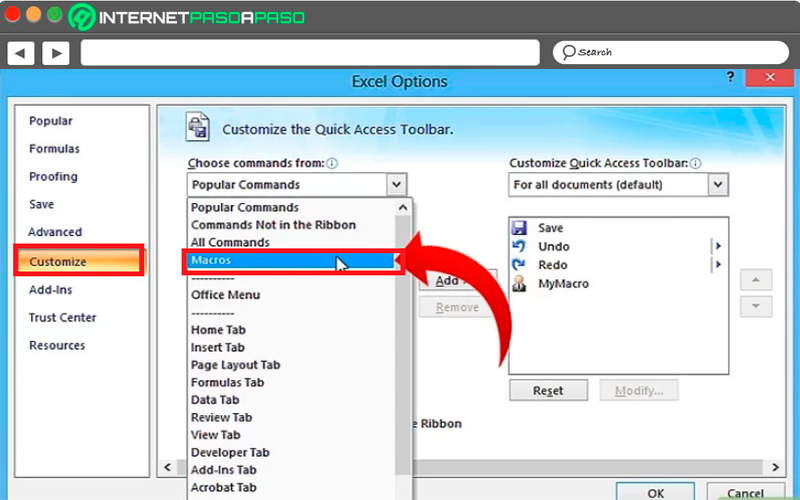
- Now in the “Choose commands from” section, you must select the “Macros” item.
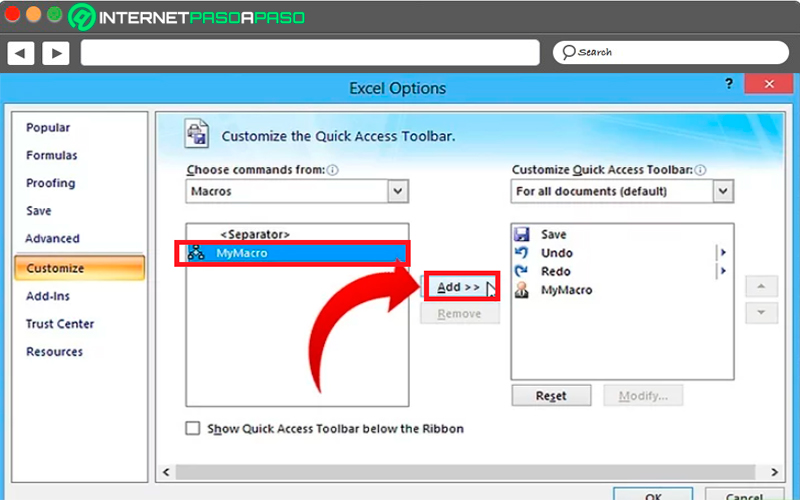
- In the left column that appears on the screen, you must select your macro and click on the “Add” option .
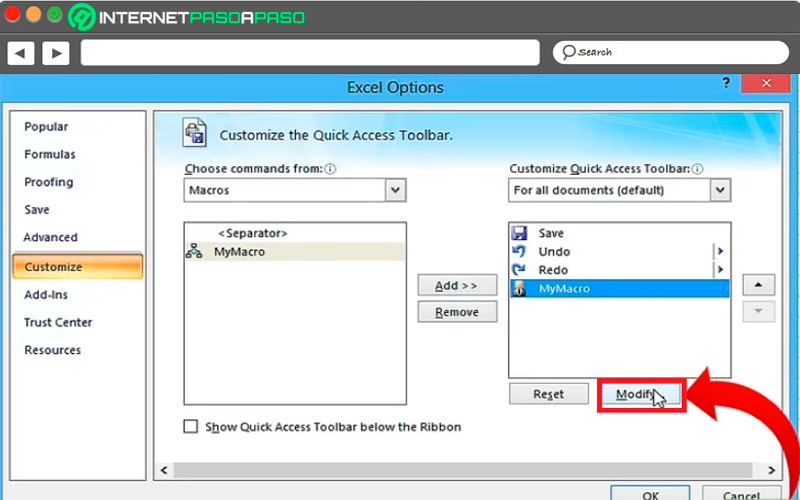
- The next thing will be to select the macro that you just added to the column that appears on the right side, and there you must click on “Modify”.
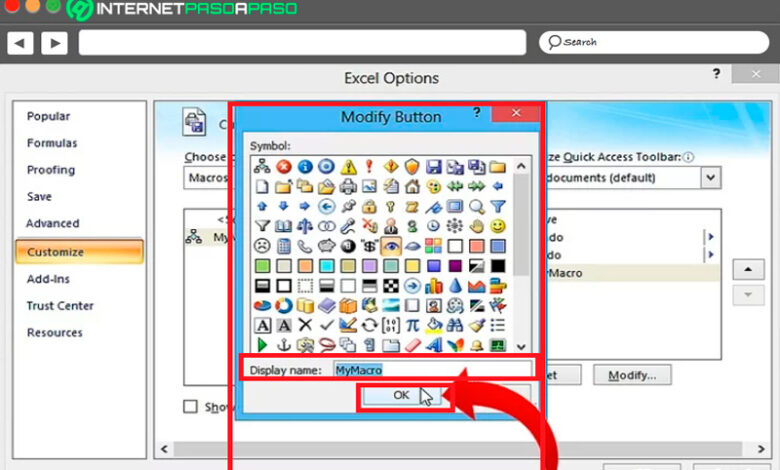
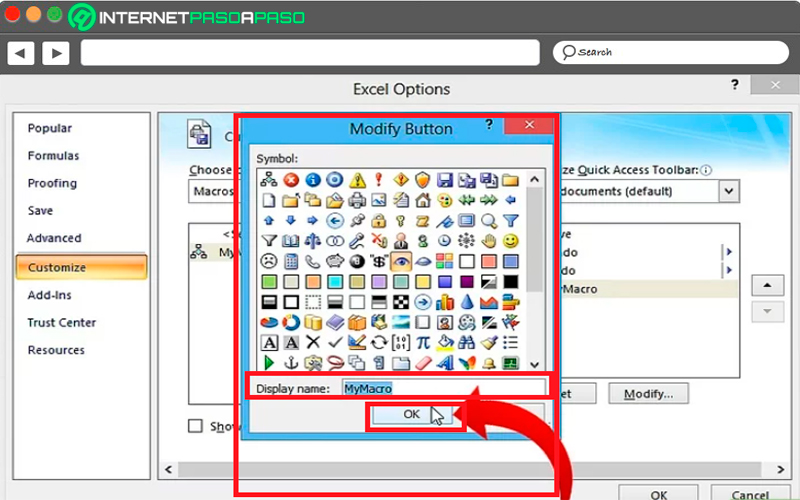
- At this point you must click on the image that you like the most for your button, since this will be the one that represents your macro . Here you must enter the name you want to give it and finally click on “Ok”.
Once all this is done, you will be creating your custom buttons in a very simple and fast way.