Convert gimp to photoshop with tha me simple steps

GIMP is one of the most faithful alternatives to Adobe Photoshop that we can find on the net. This program is completely free and open source and allows us to do almost the same things that we can do with Photoshop, but without having to invest in Adobe software. However, despite its power, its interface differs greatly from Adobe software, so users who are already used to using Photoshop often do not feel completely comfortable with this software. Unless we change its interface.
One of the characteristics of GIMP is that it offers users an immense amount of customization options. Thanks to them, we will be able to customize practically all aspects of the GIMP interface. And, with the right settings, we’re even going to be able to turn this photo editing software into a nearly identical copy of Photoshop.
Prepare GIMP for conversion
Obviously, the first thing we need to have on hand is this program. We can download the latest version of GIMP for free from its main website. If we use Linux, GIMP comes by default in most distros, and in which we cannot download it for free from their official repositories.
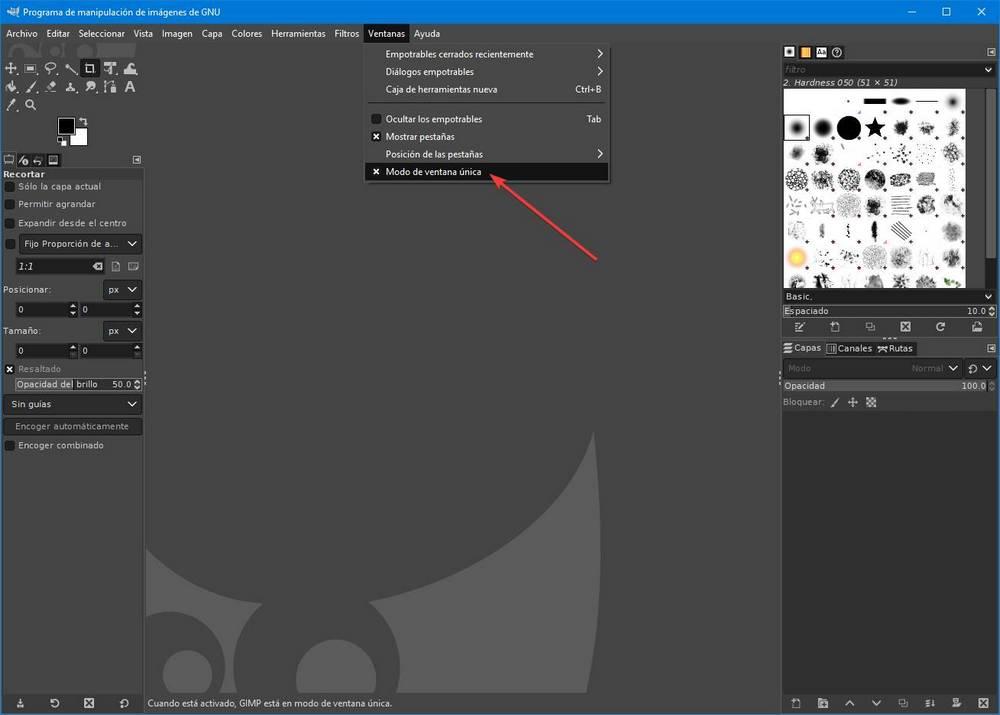
Once we have GIMP installed on the computer, the next step will be to configure the « Single window mode «. The latest versions of GIMP generally come with this option already enabled by default. But, if not, we can activate it manually from the “Windows” section.
Change GIMP theme and icons
Once we have our GIMP already in single window mode, the next step will be to imitate its appearance. To do this, we are going to manually change the theme that this program brings by default, and its icon pack, for others more similar to the original Photoshop ones.
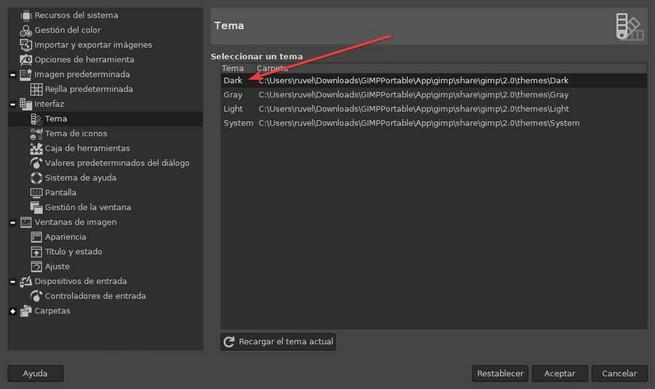
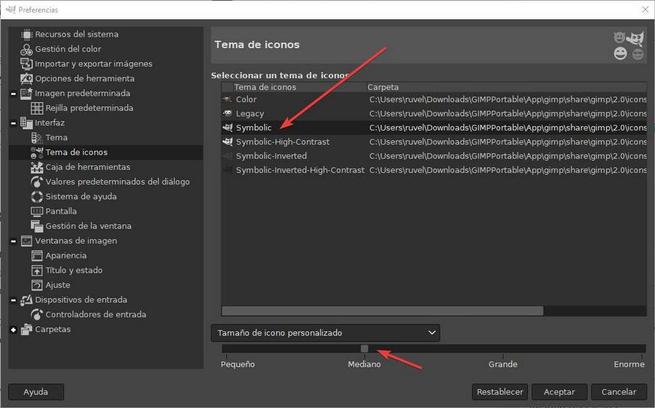
Both the theme that we are going to see and the icons are included by default in GIMP, so we will not have to download or install anything additional on our PC. We simply open the “Edit> Preferences” section, move to “Interface”, and from here we can configure both the theme and the icons.
What we recommend is:
- Theme: Dark.
- Icons: Symbolic.
- Icon size: Medium.
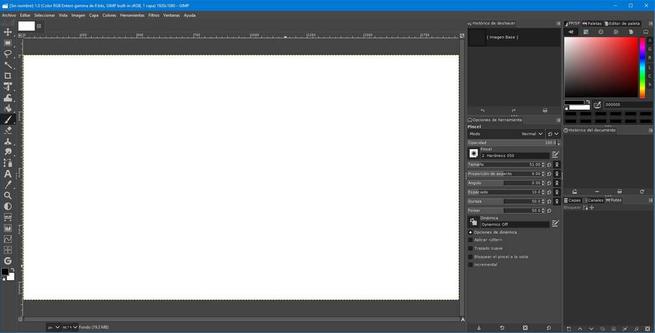
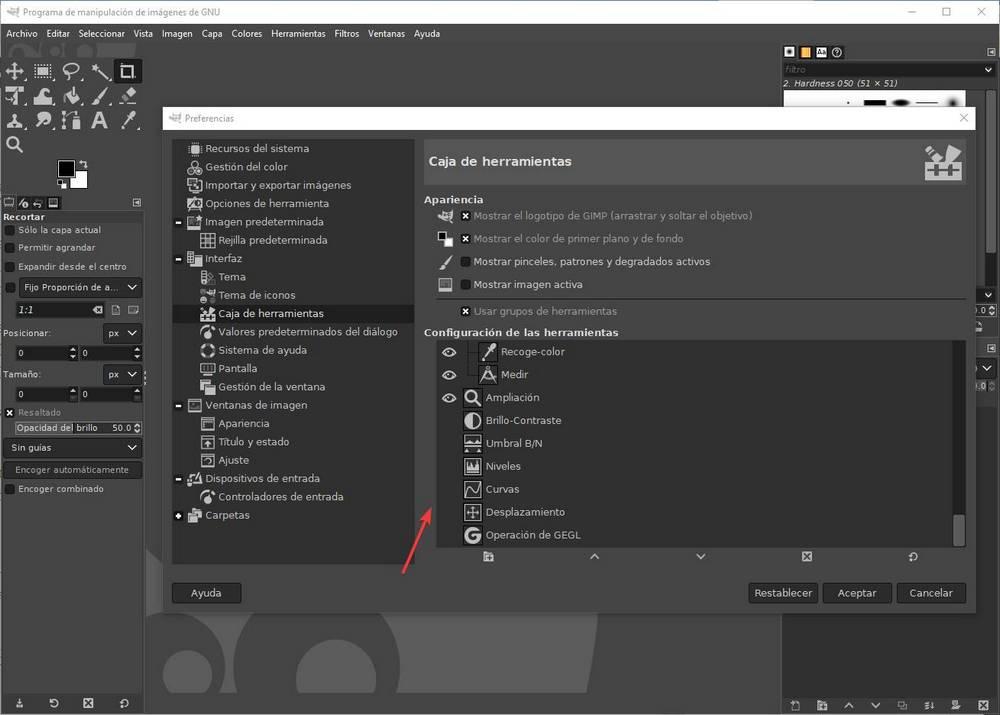
As we will see, GIMP will begin to look a bit like Photoshop, although we still have a lot to do. Before continuing, taking advantage of the fact that we are in the program’s preferences menu, we go to the « Toolbox » section and we are going to add all the tools that are deactivated as standard.
Organize the GIMP interface
Right panel
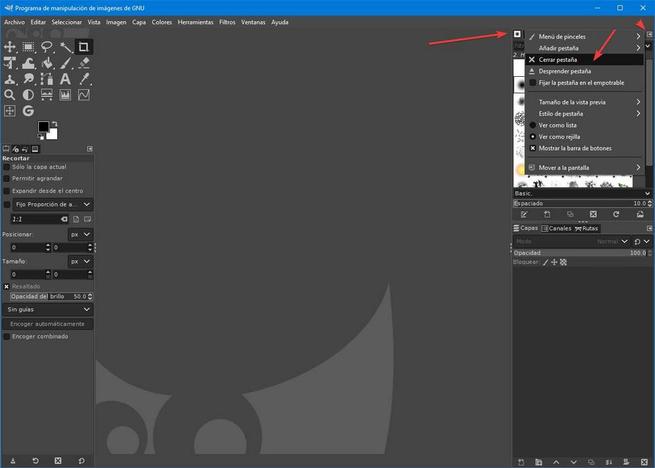
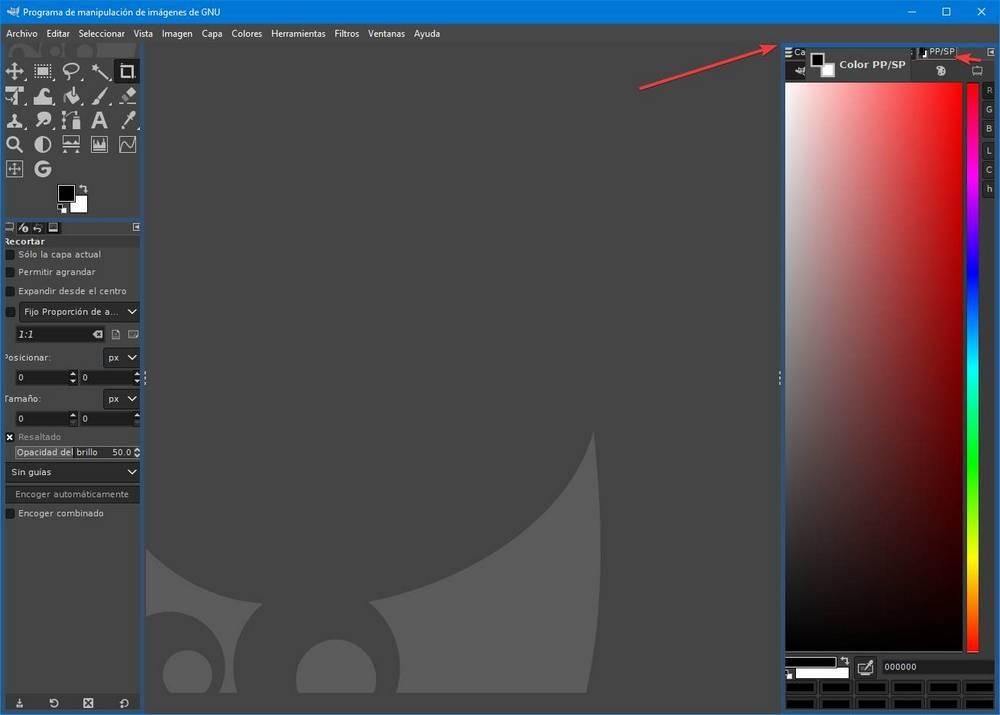
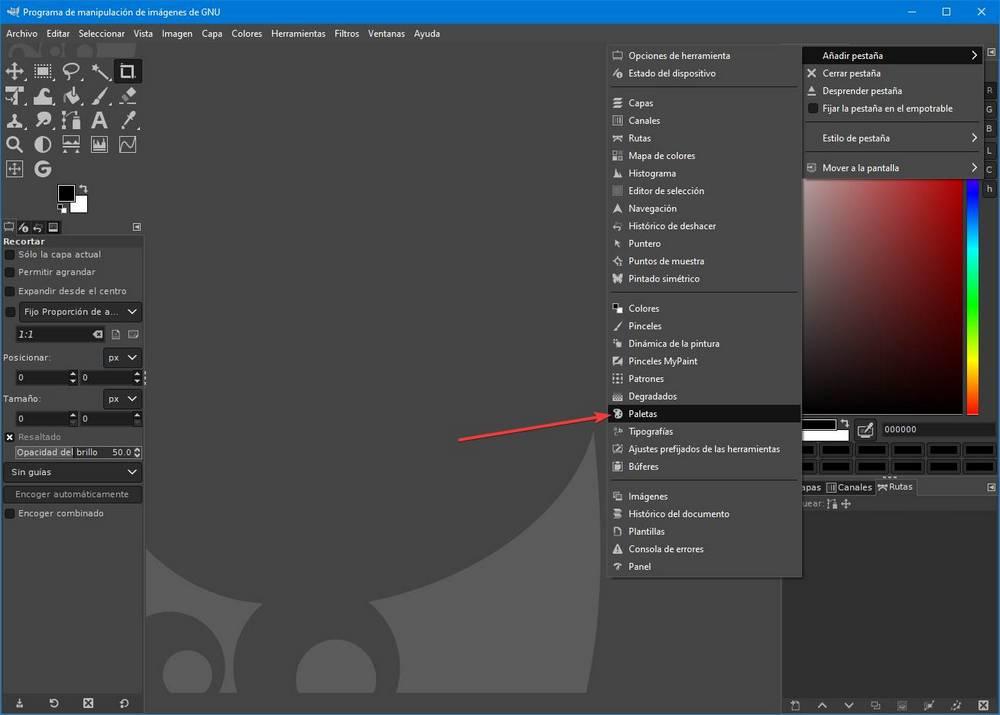
The next steps will be to organize the elements that are part of the GIMP interface so that it can resemble Photoshop as much as possible. In the upper right part we will see a series of tabs with tools and functions of the program. But in Photoshop this part is reserved for color. Therefore, what we will do is close these tabs from the menu that appears.
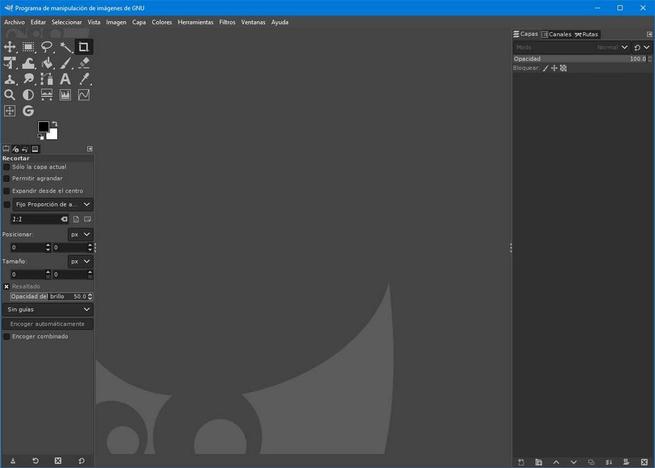
And then we’ll add a new color panel.
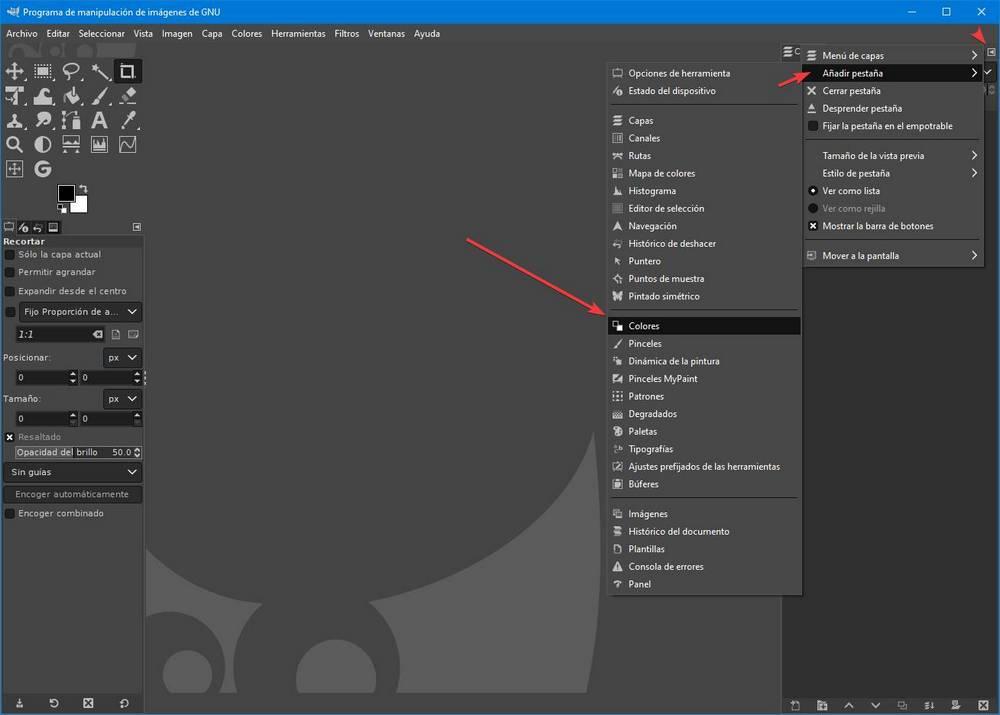
To place this new panel in a similar way to Photoshop, what we must do is click on the color tab, and drag it just above the tabs that we have now. In this way, this new panel will be placed there.
We are also going to add a new palettes tab, to have them handy just like in Adobe software.
Our GIMP is starting to look a little more like Photoshop, although there is still work to do. We are going to continue organizing the right toolbar of the program. The next thing we will do is add a new tab, this time ” Document History “. This is very useful since it allows us to have our documents at hand. Once added, we drag it and place it in the center so that we have a new frame.
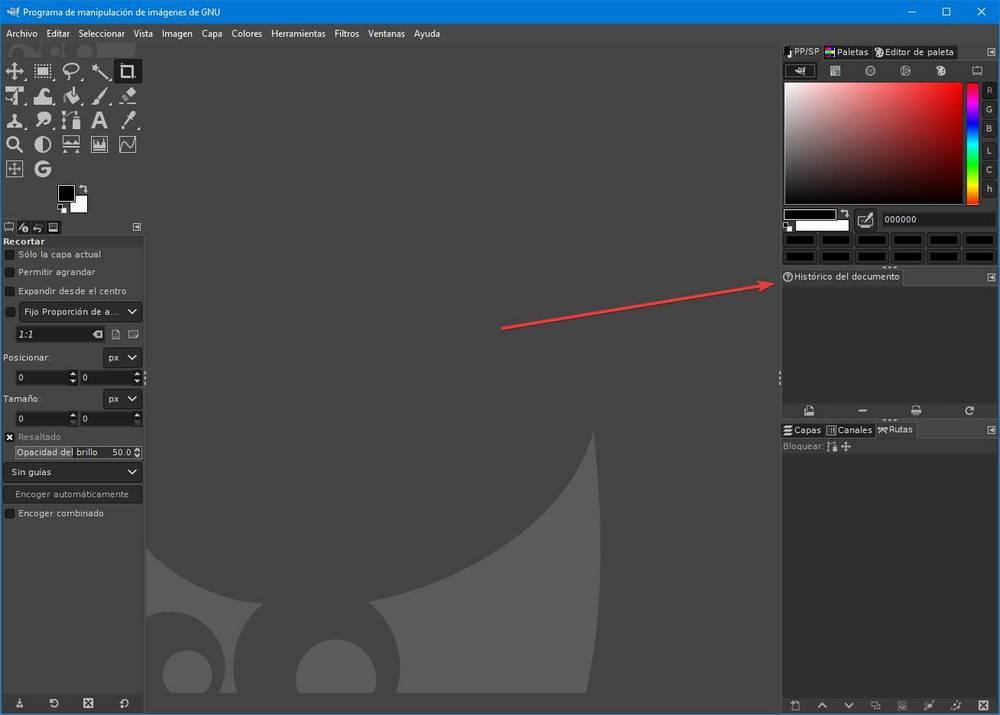
In case of not being able to place it directly in the center, we can place it in the “layers” box, and, once it is added there, move these sections to the bottom, creating the new panel that can be seen in the previous capture. We can also adjust the size of each of these panels to make them larger or smaller.
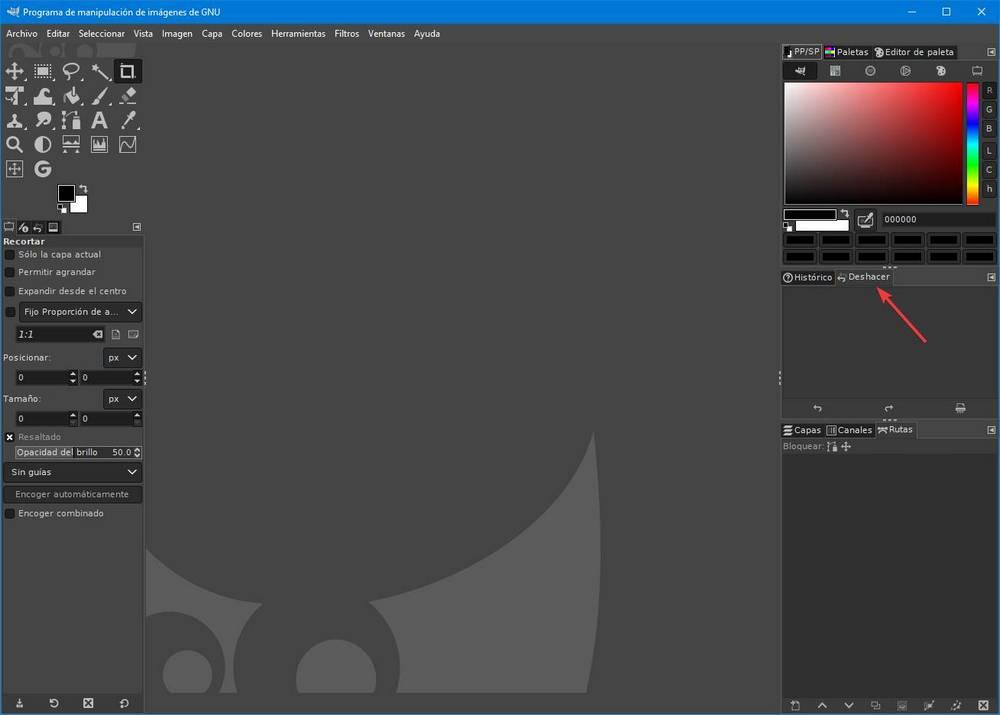
Along with the document history, we are also going to add another useful panel called « History of undo», which will record all the changes and will allow us to easily go back when we want to revert any of them.
Left panel
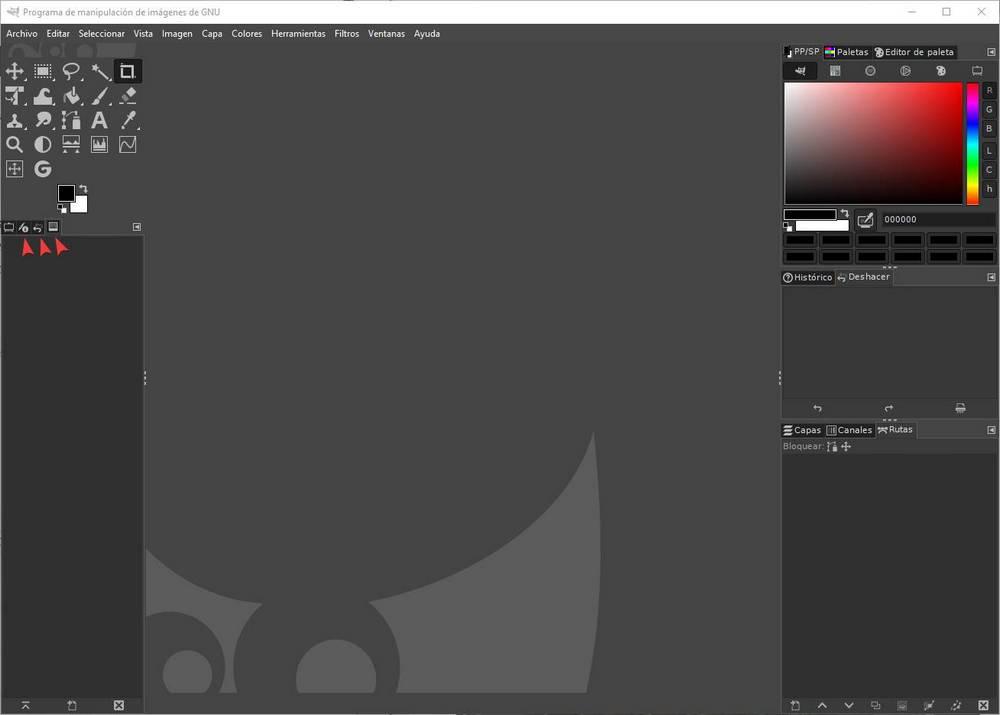
Once we have the right panel more or less organized, we go to the left panel. The first thing we will do is close 3 tabs that, in addition to being redundant, are not very useful nor are they present in the Photoshop interface.
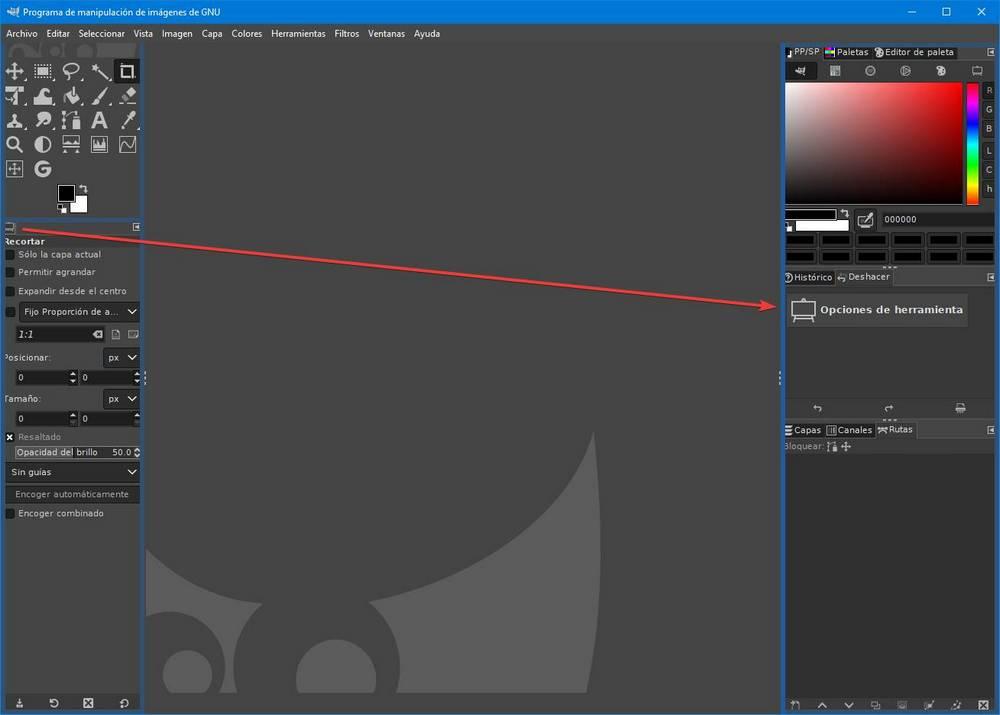
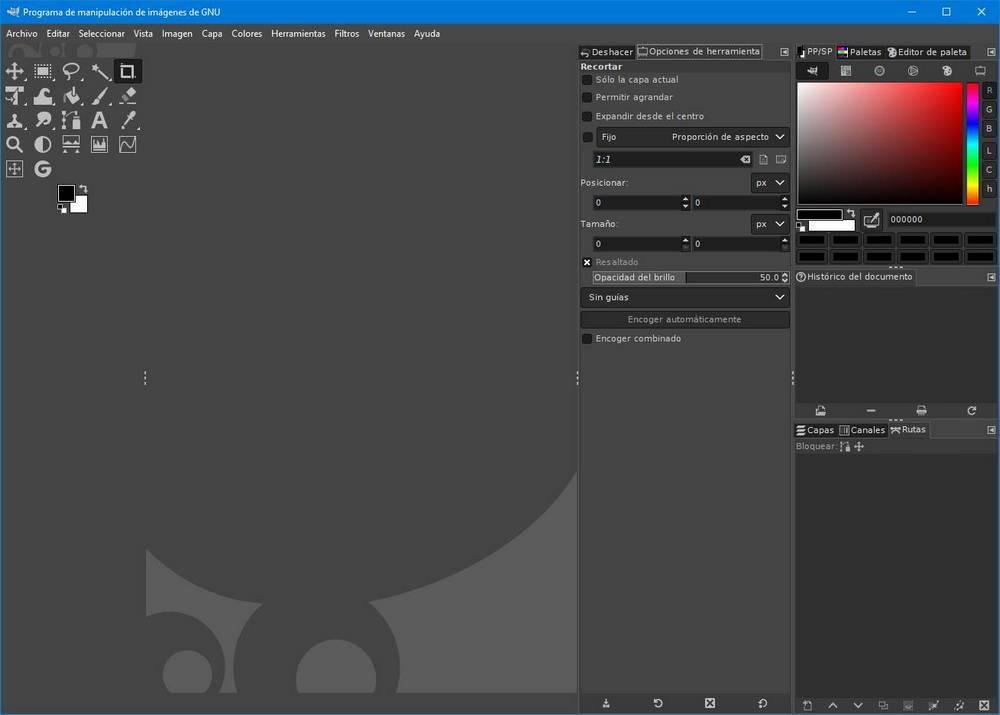
Now we will only have the ” Tool Options ” tab . This tab can be placed in a panel to the left of the left panel so that it is as similar to Photoshop as possible. We click on the tab and drag it right to the line.
We now have a new panel to the left of the panel on the left. If we want, we can move the “Undo” panel to this new column to make it even more faithful to the appearance of Photoshop. Where it is most useful to us.
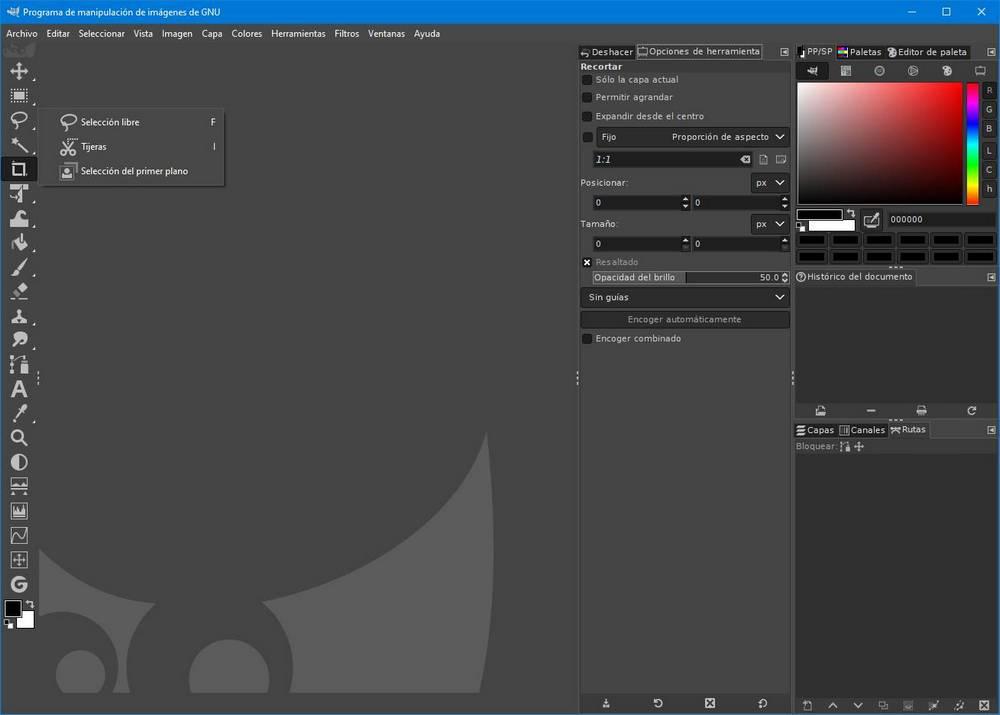
We only have one more step left: adjust the tool panel (the one on the left) so that all the icons fit in a single column, as in Photoshop.

We remember that, as in Adobe software, some tools have other tools within them, and we can display them by clicking with the right button.
Save changes and compare with Photoshop
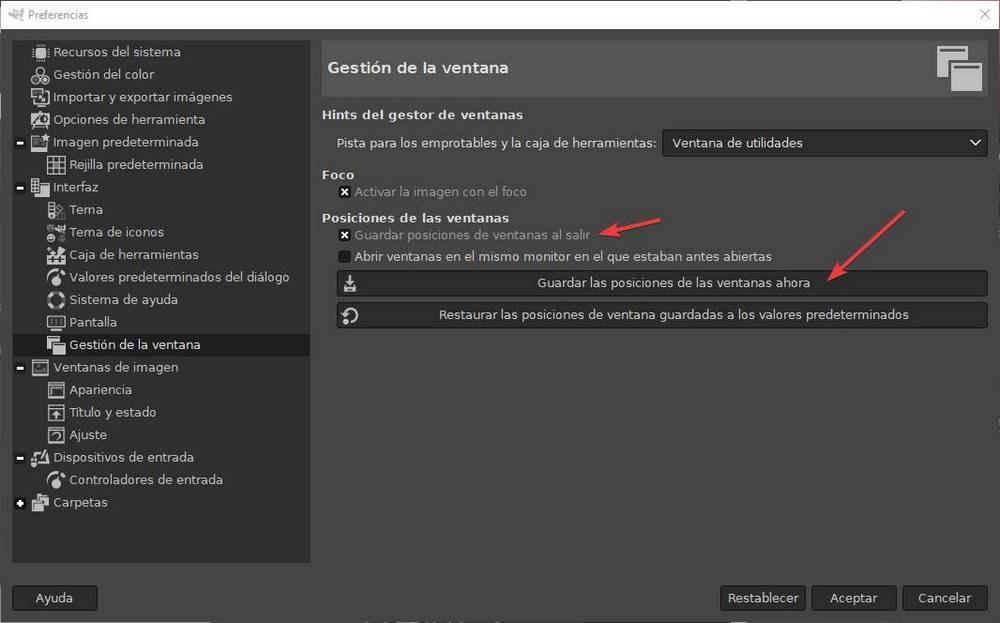
We already have the GIMP interface configured to mimic Photoshop. First of all, we are going to make sure to save the changes so that, when the program is closed, they are not lost. We enter the Edit> Preferences menu, and in the ” Window management ” section we click on the save positions button. We can also check the box to save positions when closing.
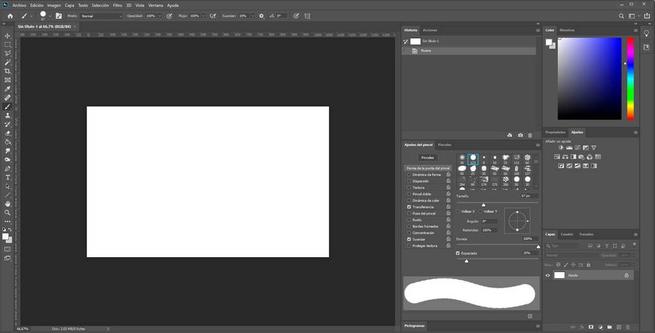
Clever. Now we are going to buy GIMP with Photoshop, to see that, although it is not identical, the new look is very successful. Any user accustomed to using Photoshop will have no problem, nor will they miss anything when using this GIMP.