How to insert a new page in WordPad fast and easy

Do you use this tool on your computer or on a laptop and want to include a new page? And you wonder how it can be done? In this article, we are going to teach you with practical and easy steps that will allow you to execute this action without problems when you are writing a document and require more sheets to write.
Stay with us, so you can discover in a guided way what you should do to have more sheets in your “WordPad” document.
What is WordPad and what does it work for?
This tool is designed based on a basic word processor, which includes most of the Microsoft Windows functions from Windows 95 to version 10 . Basically, it is like a Notepad but with more improvements and advanced options, but also simple to use, unlike its text counterparts Microsoft Works and Word.
This is how the design of this notebook allows you to format a supported text in RTF format (rich text format, according to its acronym in English).
In previous versions, it could record in the format for Word 6.0 documents and at the same time it also supports plain text such as the “TXT” format, also known as “texfile / text file”, this being a computer file with a structure in series of lines of text.
This is encoded in “ASCII, ISO-8859-1 ” Unicode format , which WordPad uses today, although it leaves it without table handling, spelling correction, but leaves the option of speech recognition.
Although it allows you to open files in Word , sometimes you have problems with some of its formats to open them because it does not allow you to save documents. In fact, in Windows Vista, WordPad dropped support for reading Word files due to performance and format compatibility issues.
How should I insert a new page in WordPad?
As mentioned above, WordPad is a blog with tools similar to Word that received many of the features of the program already mentioned and in which, although it is not usual, it is possible to add a new page.
- Now, we will go step by step in the Windows system, locating this tool to perform the page break in a document:
- Go to the bottom of the screen to locate the Windows icon in the “Start” bar.
- Next, open the “Start” menu and look for the folder with the name “Windows Applications” or, type in the “Search Magnifier” that appears next to the Windows icon in the “Start” bar. and, within the window that appears and type “WordPad” this will quickly locate the program.
- Inside the “Windows Applications” folder you can view various system applications and among them you will see “WordPad”, as long as you have it installed on your PC .
- Once the icon is displayed, proceed to click or double-click (this will depend on your system configuration) and followed by this, the program will open.
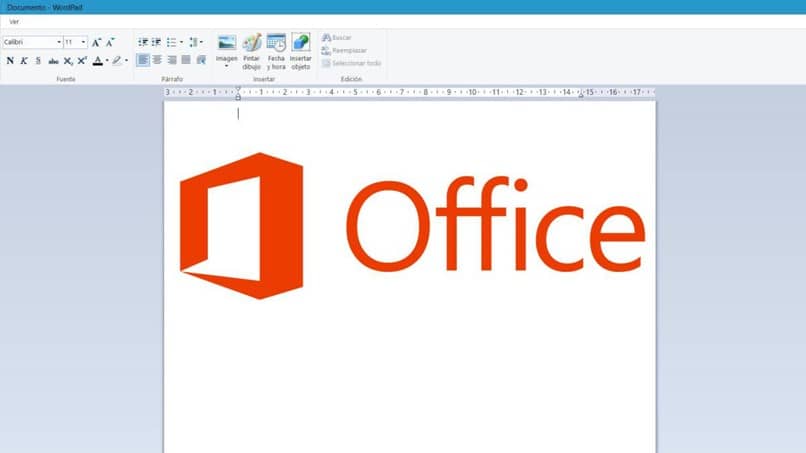
- As you can see, its interface is similar to that of Word, so you can add images and perform other types of actions, although this tool has fewer options than the aforementioned program.
- At the top left you see that there are three options; “File, Start and View.” Click on “File” and a window with nine options will appear; “New, Open, Save, Save as, Print, Page setup, Send in email” and last but not least “Exit”.
- Open the document in the Notepad program, you can access the document directly from this tool or you can right-click on the document in “Open with” and then in “Notepad”.
- The document will be displayed with the text format labels that are hidden in WordPad (don’t worry about this). Find where you want to add the break to the text.
- When you locate it, just type “\ page ” this will add the rich text format tag necessary for a page break.
- When returning to WordPad; Go to the “File” menu and “Print Preview”, now you can see the new page in the current document.