How to create and manage a budget in Microsoft Project step by step
This discipline consists of establishing specific actions that help meet a specific objective in a previously established period of time. Keeping track of the resources and time required for each stage is more likely to achieve the goals that are set and minimize risks and extra expenses.
In this sense, the Microsoft company has put in the hands of its customers a tool that, in combination with the Office suite, makes it very easy. And in case you don’t have it, you can learn to install Microsoft Office online in Windows 10
This application has features that adapt to all types of companies and projects. It allows to plan step and with many details the work that must be done to achieve a proposed objective.
Create and Manage a budget in Microsoft Project
Among the different resources that you can manage using the Microsoft Project application are budgets, these help companies to determine the approximate cost of a certain project before starting it. You just have to follow the steps listed below to do it easily.
Before starting you must have a project created in the application. To do this, press the View option from the main menu and select the Grantt Diagram section. Now select the Tools option and then Options.
Steps for effective management
In the menu that appears below, select the option Show summary of the work project, and press accept in the following dialog box:
1. Resource creation
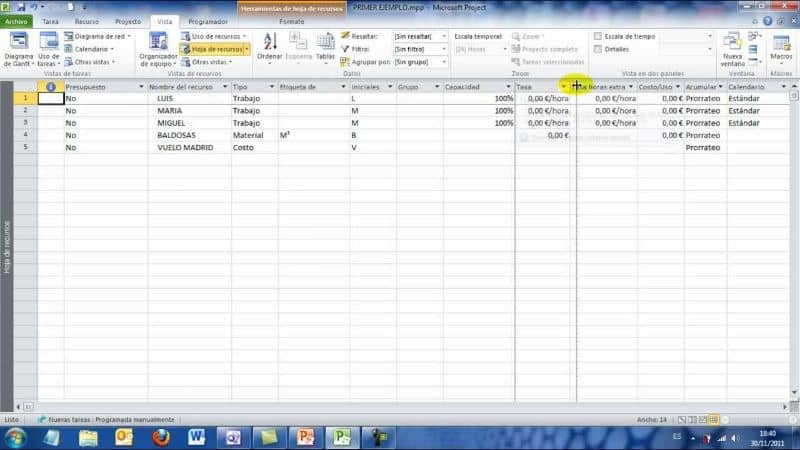
Once the application is open on your desktop, open the project you are working on. In the resource sheet, click on the next available box and create the Budget resource. In the box next to it, assign the type of resource, which in this case will be Cost.
2.- Mark the resource as a budget
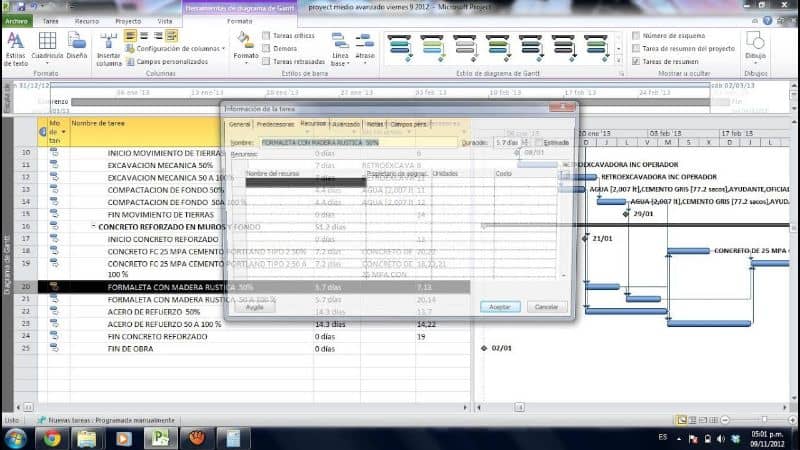
Double click on the box where you have created the resource. This action will open the window corresponding to Resource information where you must select the Budget check box, in order to assign the task in the project summary and that there are no errors later. Press the OK button to save the changes.
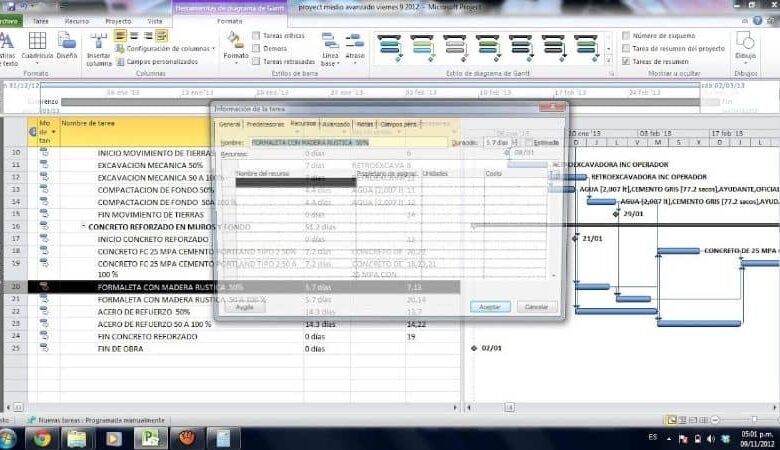
3.- Assigning a resource to the project summary task
Back in the project summary, place the mouse over the box corresponding to task 0 and click twice. In the Summary Task Information window, select the Resources tab and select Budget or the name you have previously assigned, in the Resource Name section .
Select Task Usage or Resource Usage view
This section depends on the user’s preferences. You can select the type of view by pressing the buttons on the right side of the bottom bar:
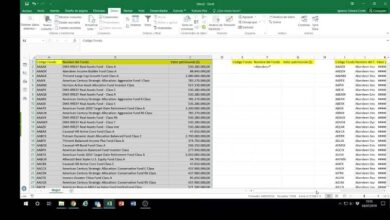
1.- Add columns for budgeted cost
Positioning yourself at the top of the columns, click with the right mouse button and select the Add column option, and assign it the name Budgeted cost. In both the task and assignment boxes you should see the value 0.00.
2.- Assign the value of the budget in the allocation of the resource
In the box next to Budget you must enter the total amount budgeted for the project. The application will be in charge of dividing this amount equally to the days that you have established as the duration for the project.
3.- See the budget distribution
If you want to see how the budget was distributed, finally place the cursor over the empty boxes on the screen and click with the right mouse button, this will display a menu in which you must select the Detail Styles option.
In this new window, look for the Budgeted cost column in the Available fields section. Select it and press the Show button, press OK to save the changes. With this action you will see the rows corresponding to each day of the project duration, with the amount available for each of them.
By following these simple steps you can start to get the most out of the Microsoft Project tool for the management of your work or educational projects, at the same time that you can learn to convert a Microsoft Project MPP file to PDF , since at any time you might need do it.