Install and configure iperf3 in pfSense to test speed on local network
iperf3 is one of the best tools to measure the speed in the local network, be it a wired or wireless network. This program uses a client-server model, therefore, it is necessary to have both a computer that acts as an iperf3 server, so that the computer that acts as an iperf3 client can check the speed in the local network. The pfSense operating system allows the installation of iperf3 to check the speed of the local network, today in RedesZone we are going to show you how to do it to check the performance.
In RedesZone we have been using the popular iperf2-based jperf program for many years, but the new version of iperf3 is completely different from the second version, therefore, they are not compatible with each other. iperf3 will allow us to measure the performance of a local network in LAN, and we can even perform LAN-WAN tests and also WiFi easily and quickly, without depending on external Internet speed meters, everything will stay in our own local home network. This iperf3 tool allows the use of the TCP, UDP and SCTP protocols to perform performance tests, and it is also compatible with IPv4 networks such as IPv6 networks.
Why install iperf3 on pfSense?
pfSense is a firewall-oriented operating system, which can also do router functionalities, both in “advanced” home environments and in small and medium-sized businesses. When we have a router-on-stick network architecture, and pfSense itself is the one that manages all the VLANs that we have in the network, it is possible that the trunk link between the pfSense and the main switch falls short.
Thanks to the possibility of installing iperf3 in the pfSense, we can check the maximum speed that we will achieve in a local network computer, taking into account the cabling from the beginning to the end, the power of the hardware where we have installed pfSense and if it really is capable of managing the traffic that we throw at it. When in pfSense we have multiple services, such as hundreds of rules in the firewall, an IDS / IPS configured in the LAN and / or WAN, or utilities like ntopng to see all data flows in real time, it is possible that the performance of the pfSense not suitable for lack of power, and we have to fine-tune the different rules. It is in these cases when iperf3 takes center stage, both to measure performance in the local network and also to measure inter-vlan routing performance.
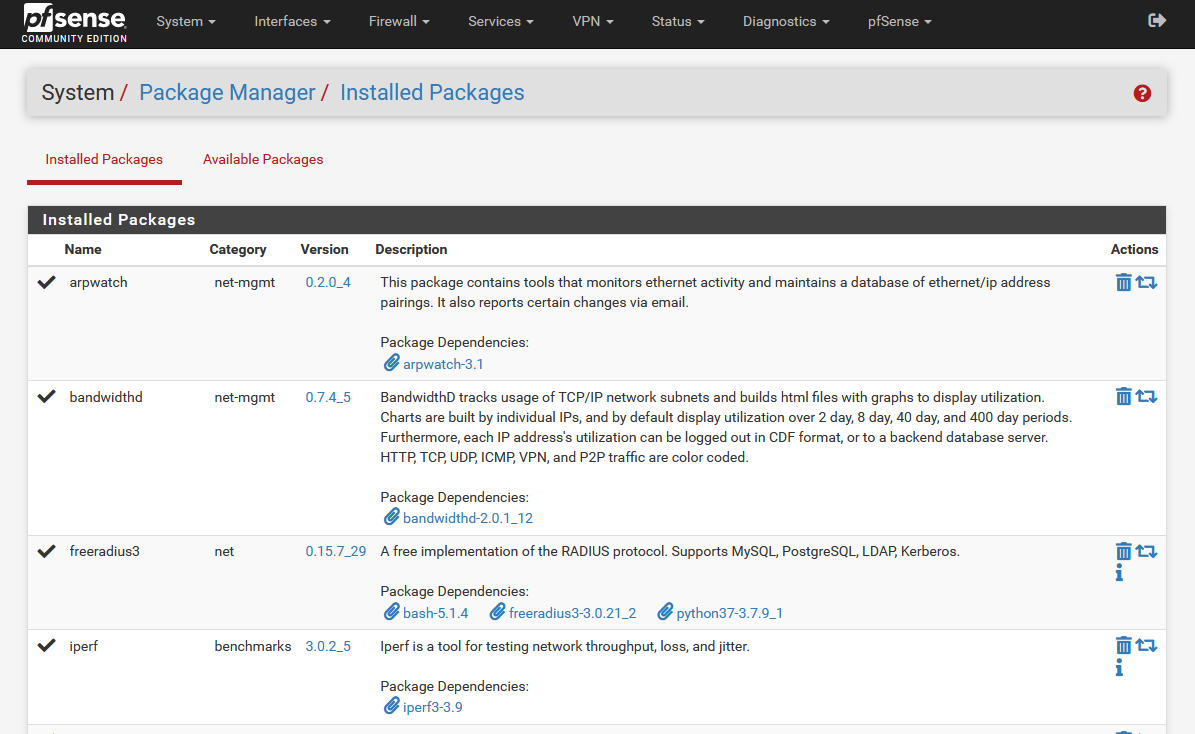
To install it, we simply have to go to the “System / Package Manager” section, in the “Installed Packages” section we will have all the packages currently installed, by default this tool is not installed.
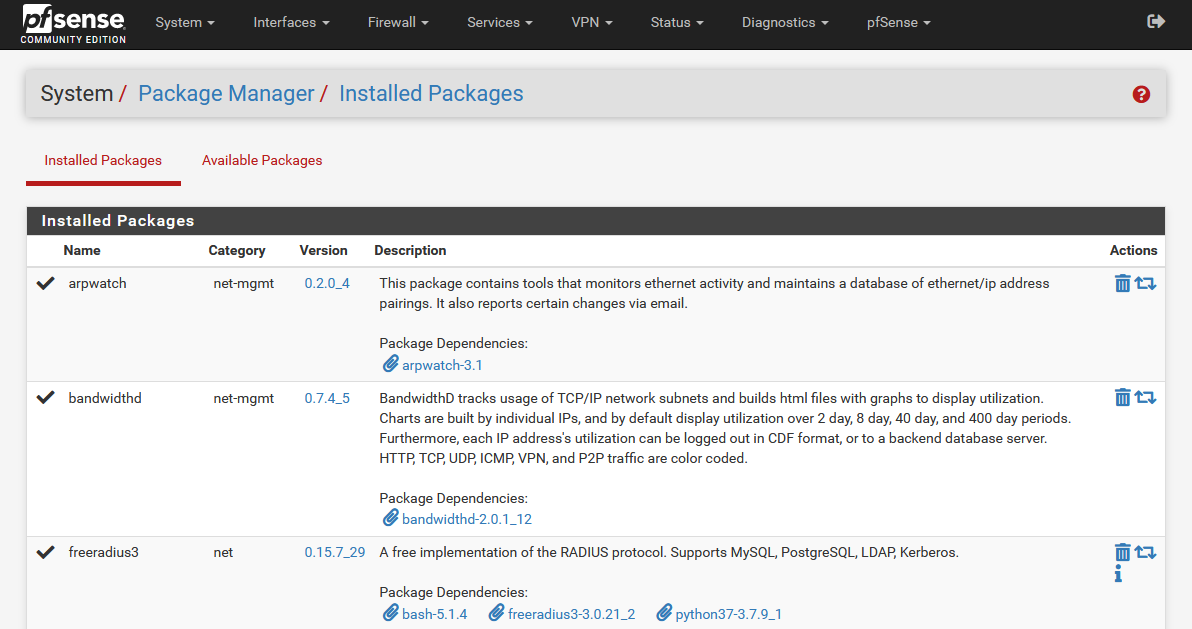
We go to the ” Available Packages ” section and search for “iperf”, and proceed to install it like any other tool.
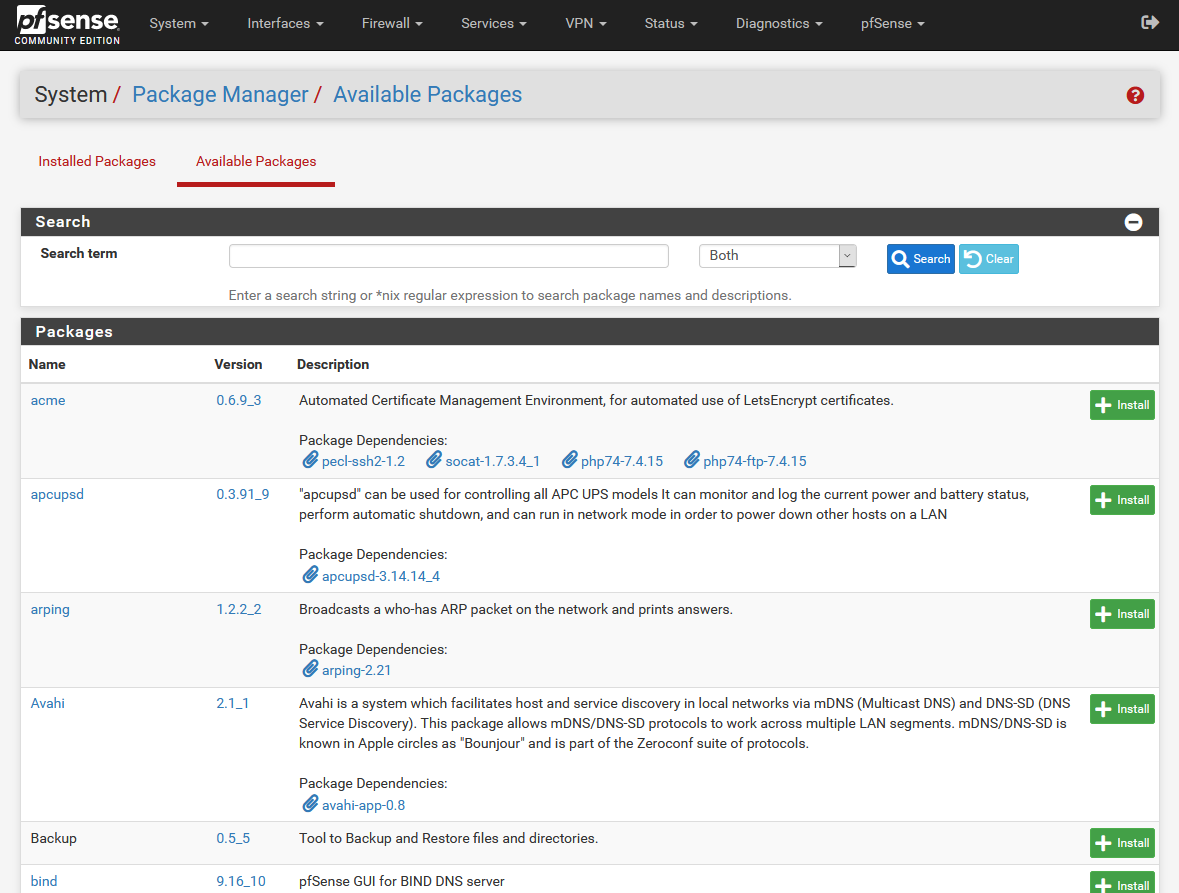
Once installed, we can see in the “Installed Packages” section that we already have it, specifically we have the iperf3 3.9 version.
Once installed, now we will have to run it.
How iperf3 works in pfSense
In the « Diagnostics » section we can run both the iperf3 client and the server. If we run the client, on our computer we will have to configure the iperf3 server, and vice versa, if we configure the iperf3 server in pfSense, on our computer we will have to configure the iperf3 in client mode to perform all the performance tests.
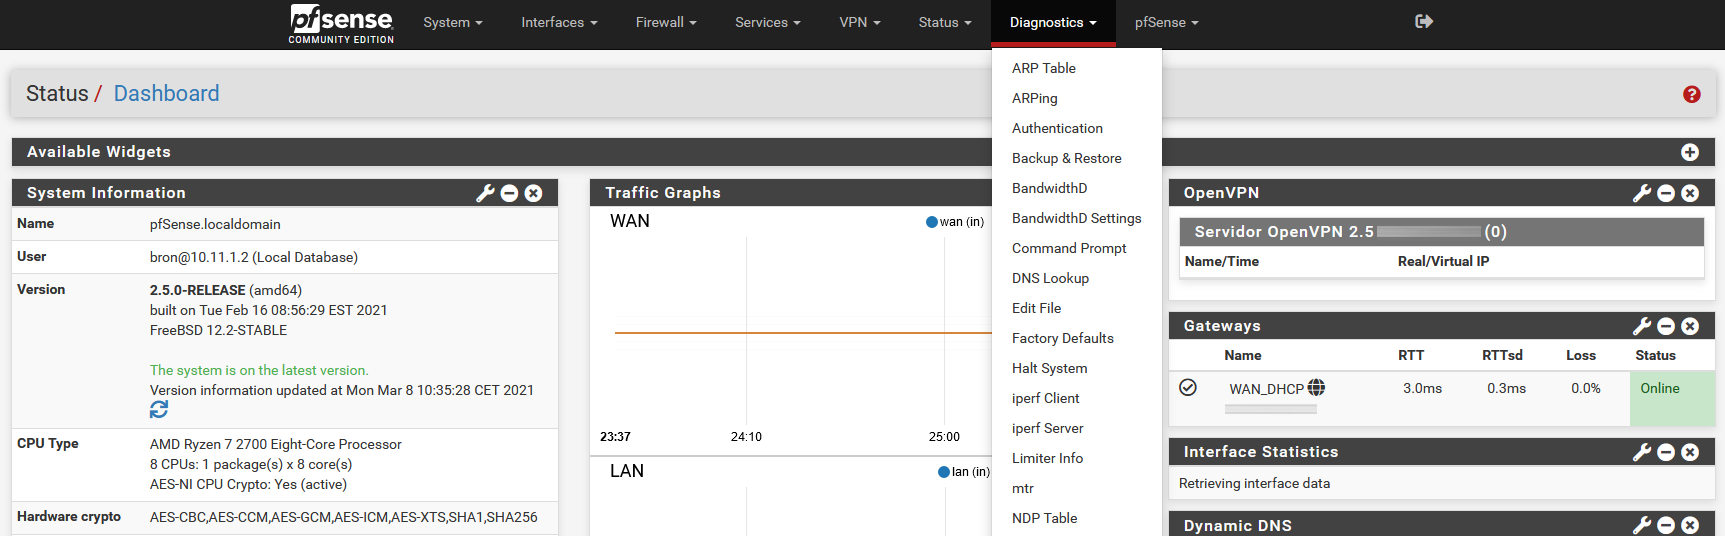
Both tools, both the client and the server, can be accessed from the «Diagnostics» menu, but later from either of them we will be able to access the client and server.
Client
In the graphical user interface menu we will have the main configuration options that the iperf3 client has:
- Server IP
- Server TCP or UDP port
- TCP or UDP protocol
- Output format, bits / sec or bytes / s.
And other options related to the buffers that we can leave empty so that it takes the default values. Once we have entered all the data for the iperf3 server that is already running, click on “Run iperf client” and the performance test will be run.

Here we only have to get in whenever our team acts as an iperf3 server, and we want to check the download speed. Normally in a wired network we are in a Full-Duplex environment, so the download and upload speed should be the same, unless there is a network with a lot of download or upload use, which then we could have differences.
Server
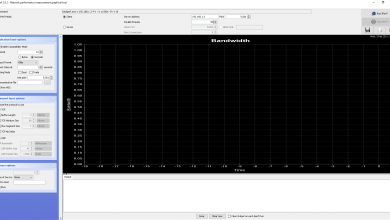
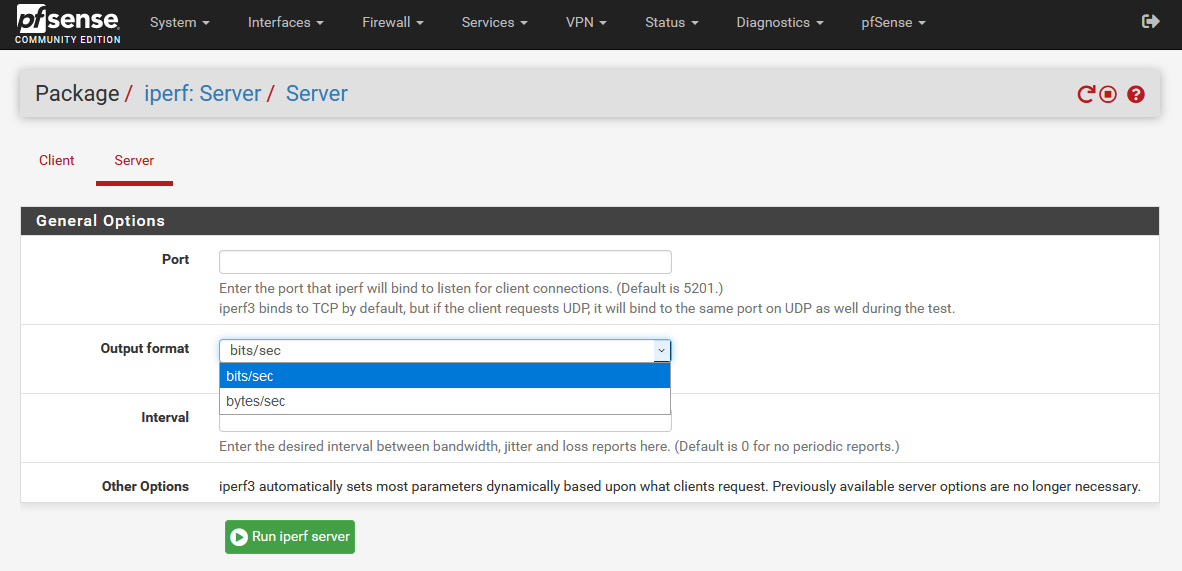
In the graphical user interface menu we will have the main configuration options that the iperf3 server has:
- Server TCP or UDP port
- Output format, bits / sec or bytes / sec
A very important detail is that the iperf3 server will detect if we are sending TCP or UDP traffic and will act accordingly, by default port 5201 is used as is usual in iperf3. Other options available in the server section is the «Interval» that will indicate the bandwidth, jitter and losses in real time.
Once we have configured these three parameters, we click on “Run iperf Server” and we can start launching performance tests from our client PC.
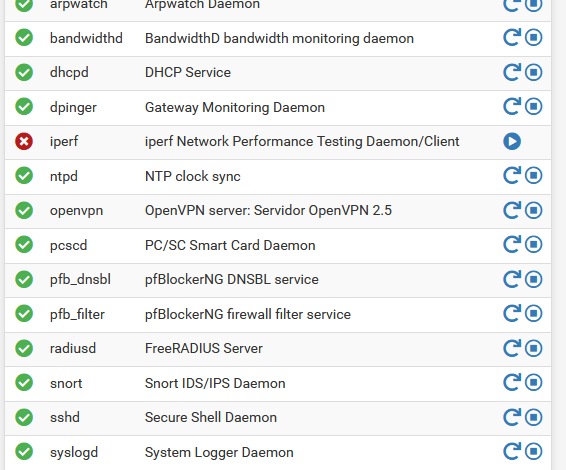
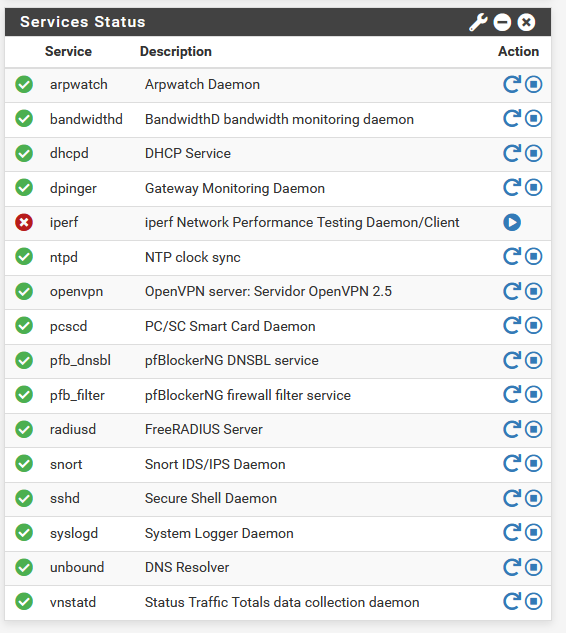
An important detail is that, if the iperf3 server or client is activated, it will be shown in the main menu in the status of the different services. It is advisable not to leave the iperf3 running if we are not going to be performing performance tests, as we have right now:
In the iperf3 client that we run on the PC, whether with Windows or Linux operating system, we must put the following command:
iperf3.exe -c 192.168.1.1 -P 50 -p 5201 -f g -t 5
./iperf3 -c 192.168.1.1 -P 50 -p 5201 -f g -t 5
- -c 192.168.1.1: works in client mode with the defined IP.
- -P 50: we send a total of 50 TCP connections
- -p 5000: we use port 5000, the default is 5201
- -fg: we show the speed in Gbps
- -t 5: we launch the test for 5 seconds.
Depending on the options we want to configure, we will modify the values behind the arguments. We hope that with this small tutorial you will know how to get the most out of iperf3 in pfSense, and check the speed in the local network and in the inter-vlan communication.