JPerf: Manual to measure bandwidth between two computers
Jperf is a Java-based graphical user interface that will allow us to use the popular iperf program to measure the maximum speed between two computers. In RedesZone we have been using Jperf for a long time, to measure the performance we obtain in LAN-LAN, LAN-WAN tests and also WiFi tests. JPerf is based on iperf2, and is currently not compatible with the popular iperf3 which is much more efficient. In this tutorial we are going to show you how to use this very interesting program to measure the real speed between two computers, regardless of whether they are connected to the local LAN or the Internet.
Jperf main features
As we have explained previously, Jperf is nothing more than a graphical user interface of the popular iperf program, therefore, we are going to talk about the main features of iperf. This program is a very simple to use client-server, it allows you to measure the maximum speed reached by two computers connected through the local network or the Internet, it is very useful to check the WiFi speed without the Internet connection becoming a bottleneck .
This Jperf program and also iperf is compatible with all operating systems, both Windows, Linux and macOS, since it is based on Java. We only need to have Java installed to be able to run the program correctly.
Iperf is compatible with both the TCP and UDP protocols, in addition, we will be able to configure the TCP window size and other very advanced parameters such as the buffer, the maximum segment size and more. We will be able to show the speed in different measurement units, such as in Mbits, MBytes, Gbps and others, in addition, we will be able to configure the data reporting interval, the duration of the test, and even the parallel streams that it will send. When using TCP and UDP, we must define the same TCP or UDP port on both the server and the client, otherwise, the client will not be able to communicate with the server. Of course, this program is compatible with both IPv4 and IPv6 networks.
Download and install Jperf
This program is discontinued, that is, we will not have new functionalities and the latest version is jperf-2.0.2. We recommend you download this latest version from this link that leads directly to the Google Code Archive. The latest version is 2.0.2 so we must use this one.
Once downloaded, we will have to unzip the ZIP file and we will be able to execute it, no installation is necessary, it is a portable program and compatible with all operating systems. Next, we indicate the steps to execute this program, we must bear in mind that the only requirement is to have Java installed on our computer, otherwise, it will return an error.
Running Jperf on Windows
Once we have unzipped the downloaded ZIP, we enter the folder and double click on the file that says “jperf.bat”. This script will do everything necessary to properly start the program and start using it.
Running Jperf on Linux or macOS
Once we have unzipped the downloaded ZIP, we must open a terminal and provide execution permissions to the file, otherwise, we will not be able to execute it.
sudo chmod u+x jperf.sh
Once it has execution permissions, we can execute it in the following way:
sh jperf.sh
It is not necessary to run it with administrator permissions.
Operation and first speed test
The operation of Jperf is very simple, the first thing we must be clear about is that we are dealing with a client-server program, therefore, we must have two computers, one that acts as a server and the other as a client.
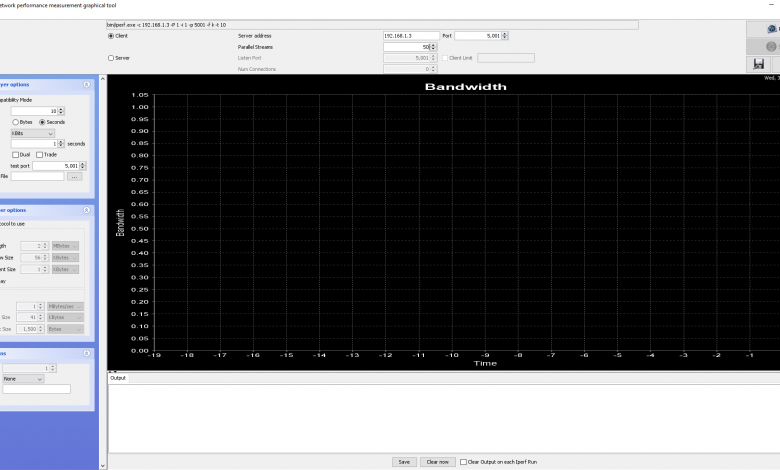
- Server: this computer has the IP 192.168.1.3, we click on Jperf in the “Server” section, Listen Port 5001 which comes by default, and click on “Run Iperf”
- Client: this device has the IP 192.168.1.2, we click on Jperf in the “Client” section, we put “Server Address: 192.168.1.3”, “Port: 5001” which is the default, and in “Parallel Streams” we can leave it to 1. We click on the button «Run Iperf!» and you should already establish communication with the server.
In the box below that indicates “Output” we can see everything that Iperf is doing in the raw, as if we were executing it through the command line.
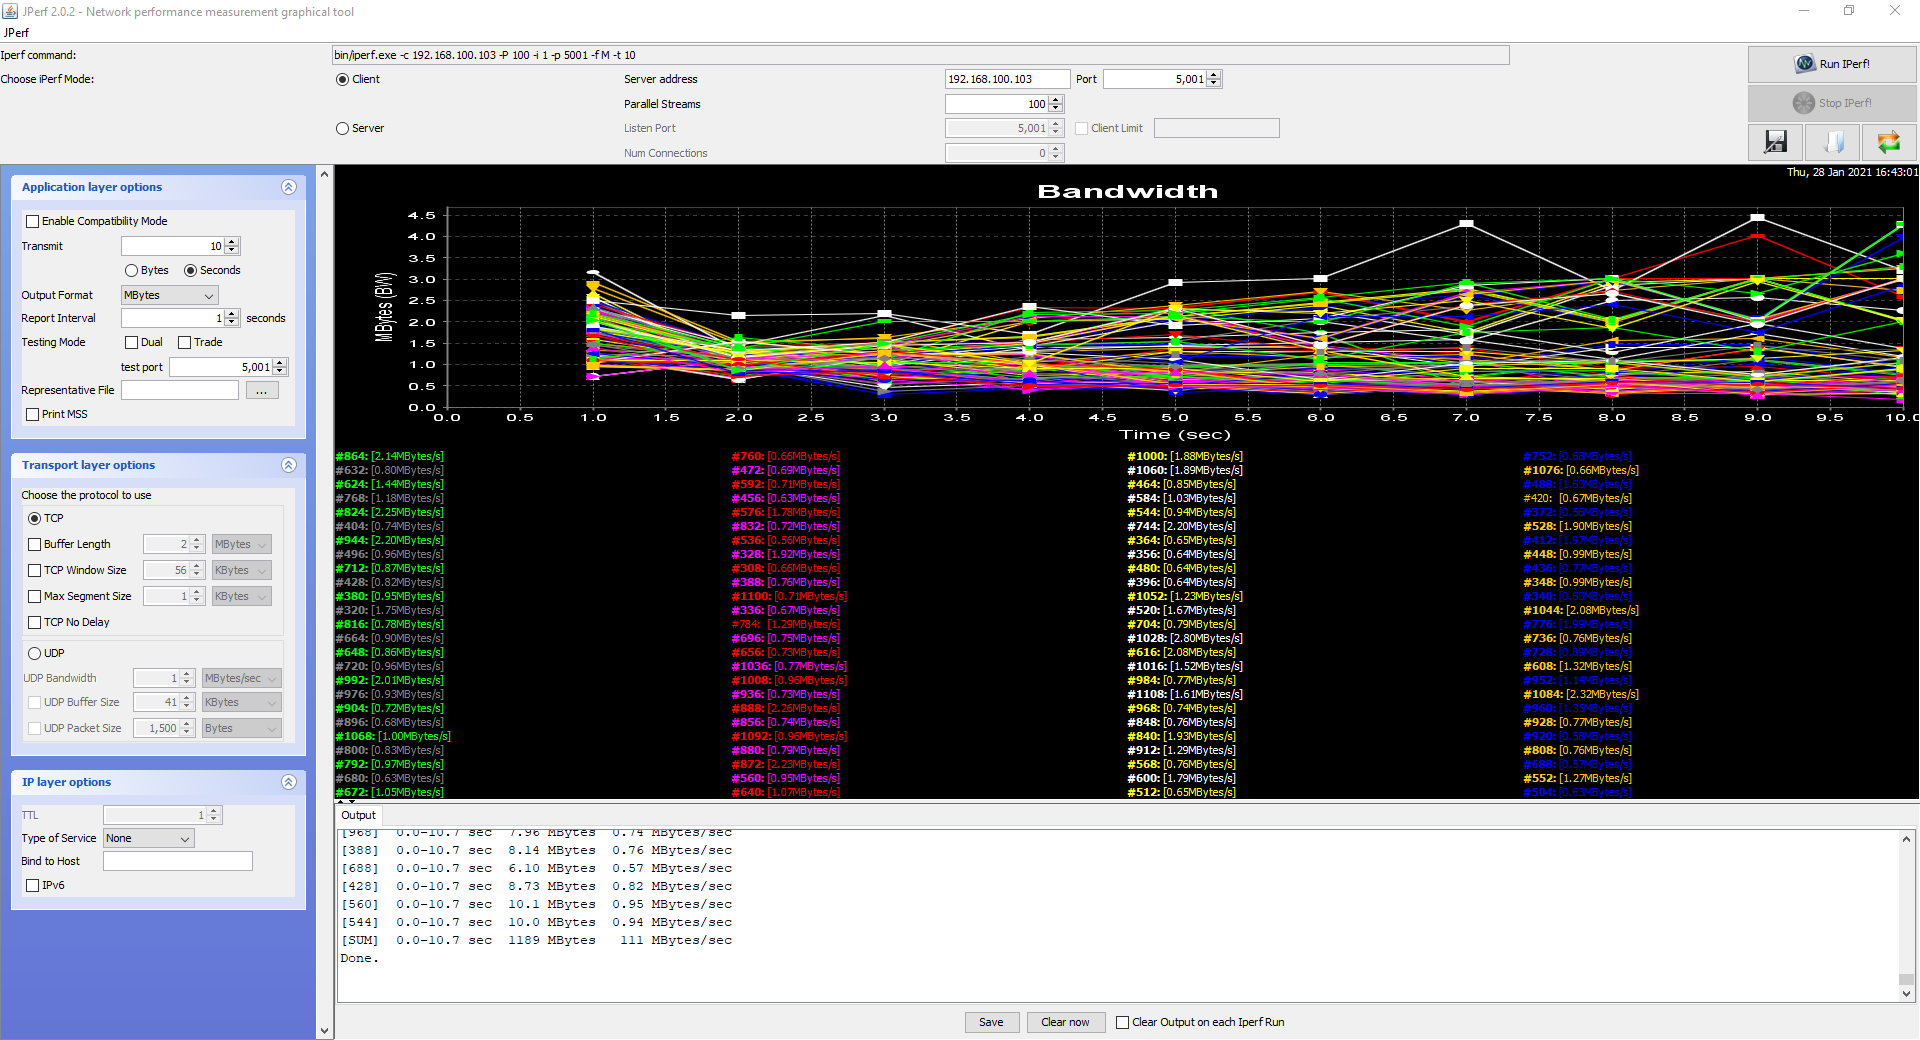
In the “Parallel Streams” section it is recommended to set a value of 50 or higher, to launch several simultaneous TCP or UDP connections and stress the link as much as possible.
Interesting configuration options
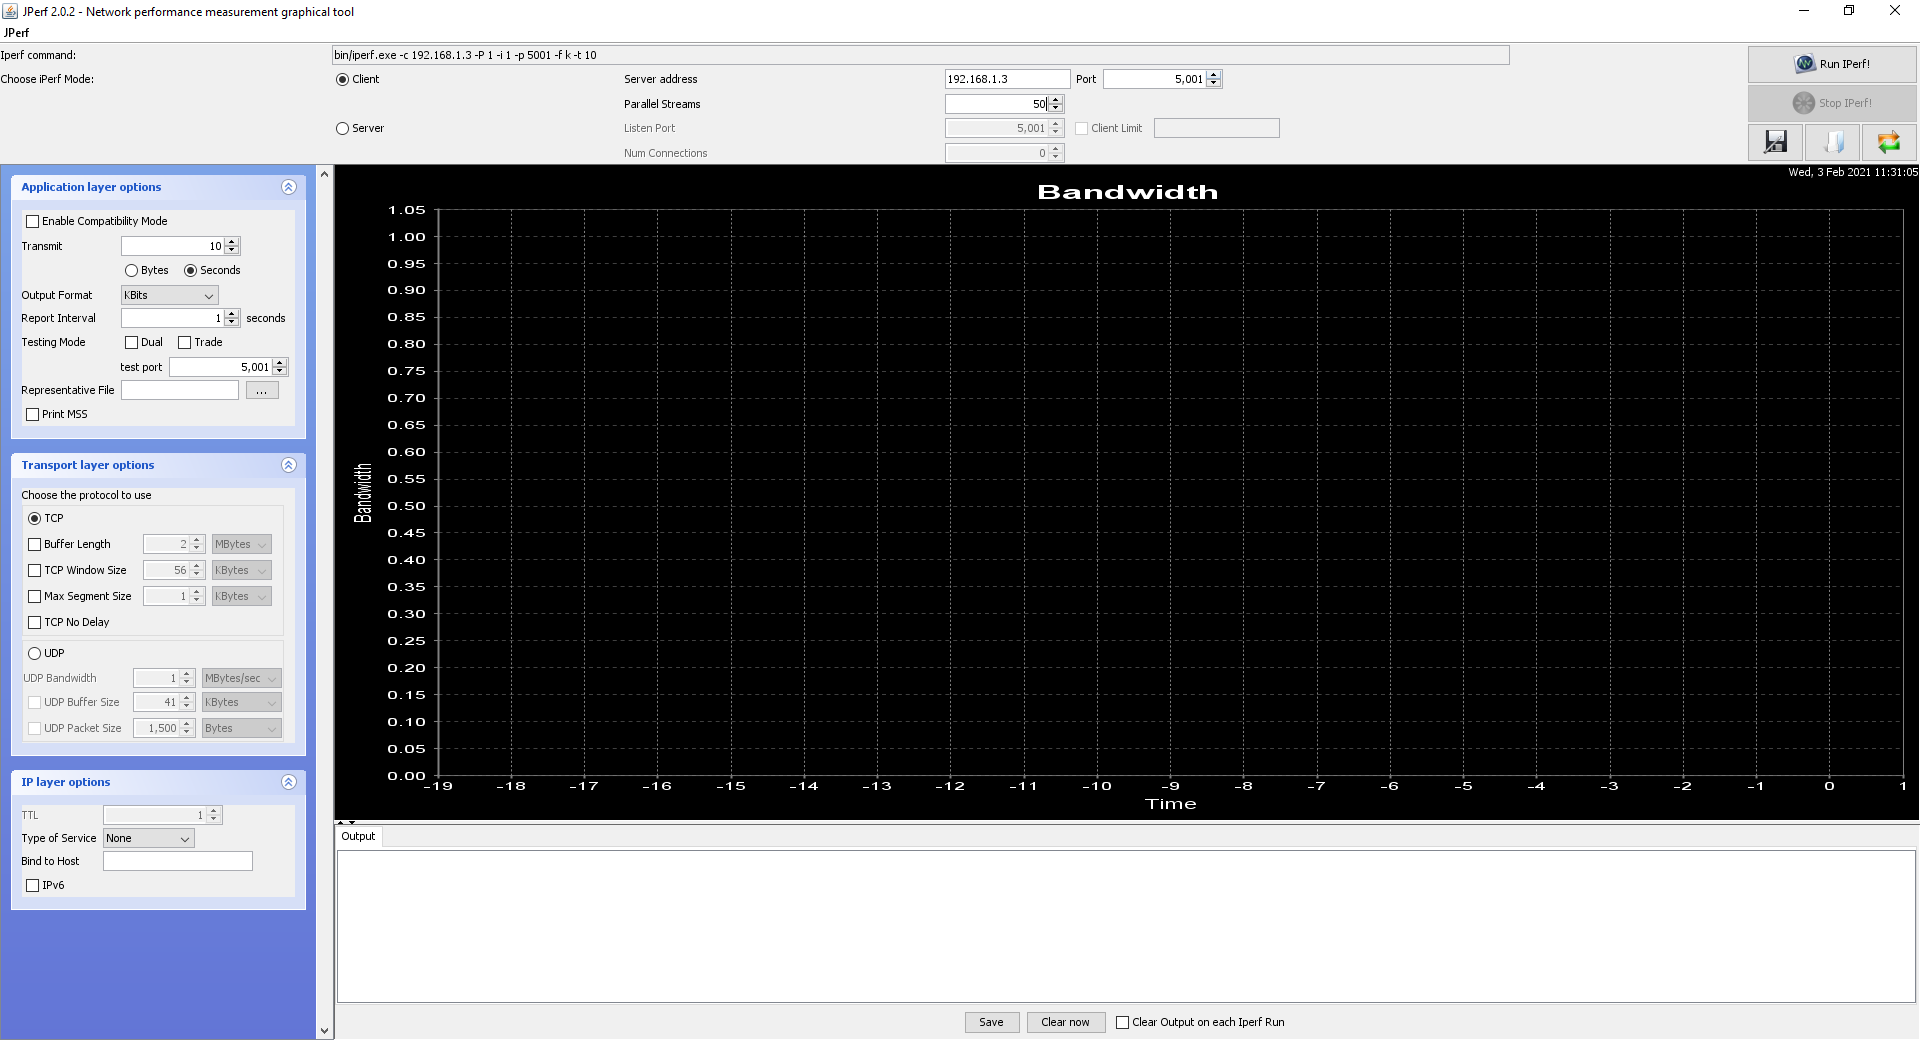
In the left part of the Jperf menu, we can see different configuration options that we are going to explain:
- Transmit : bytes or seconds. We can define whether to perform a performance test for 10 seconds, or until certain bytes are reached. Our recommendation is to use time, 10 seconds or whatever, to check the average speed during this time.
- Output Format : the output format, it is recommended for fast networks to use Gbps or Mbps, GBytes or MBytes can also be used to have the same unit as data transfer in Windows and other programs.
- Report Interval : how often it will provide us with data in the “Output” that we have at the bottom.
- Testing Mode : Dual and trade. These two options are very interesting. When we run a “normal” iperf, we are transferring data from the client to the server, upstream.
- Dual : it will perform the upload test and the download test at the same time, to check the Full-Duplex of the connection. Do not use in combination with “Trade”.
- Trade : it will first perform the upload test, and once it is finished, it will perform the download test. The upload and download is not done at the same time. Do not use in combination with «Dual».
- Test port : we leave it by default.
- Representative File : we leave it blank
- Print MSS : it will show us the MSS.
In the lower left, we can configure both the TCP and UDP protocols, in principle, these parameters should not be touched, unless you know what you are doing. Finally, we can also see the options at the IP level, select the ToS, and bind to an IP address, and activate IPv6 compatibility.
In the lower central part, we can see all the program’s exit record, we can save it, clean it, and even clean the registry every time we run a new iperf, ideal for not having to delete it manually.
As you have seen, this Jperf program is very simple because it allows us to run an iperf with a graphical user interface, without the need to introduce complicated commands and arguments.