Learn how to configure XigmaNAS for a home NAS server

Currently we can have a home NAS server or for small offices from manufacturers such as QNAP, Synology or ASUSTOR among other manufacturers. However, you can also mount a NAS with the hardware you want, you will only have to install an operating system oriented to a NAS server, such as, for example, XigmaNAS. This operating system is one of the best we can find to use as a NAS server, it comes with a large number of services already installed, and it will even allow us to install any software that is compatible with FreeBSD. Do you want to know everything about this NAS-oriented operating system and how to configure it from scratch?
In the following index of contents you will be able to access the specific configurations that we deal with in this tutorial, and in RedesZone we are going to explain the main characteristics of this very complete operating system, we are also going to teach you how to perform an installation in a virtual machine , although in a real server it would be exactly the same, you can also see the main general options of the operating system and then, we will get fully into the storage configuration with the ZFS file system. Finally, we will teach you how to configure in a basic way the different services that the operating system incorporates, such as the Samba server, FTP, DLNA, SSH, BitTorrent client and more.
Index of contents:
- Main features
- Installation and commissioning
- General operating system options
- Storage configuration with ZFS
- User and group settings
- Samba server configuration
- FTP server configuration
- DLNA Server Settings
- SSH server configuration
- OpenVPN server configuration
- BitTorrent Transmission Client Settings
- UPS configuration with NUT
- Dynamic DNS Configuration
Main features
XigmaNAS is a FreeBSD-based distribution that is specifically geared to function as a high-performance NAS server. This operating system can be installed on any x64 platform, and thanks to FreeBSD we will have compatibility with a wide variety of hardware. NAS stands for Network Attached Storage, and this operating system makes it extremely easy to use and configure different servers for easy access via Samba, FTP, NFS, and many other network protocols. This operating system allows clients with Windows, Linux or Mac to connect locally or remotely and work with files on a network.

Other very important features of this operating system is that it incorporates ZFS (OpenZFS), the most advanced file system that currently exists. It also allows you to configure different RAIDs at the software level, it allows you to encrypt the disk with AES-XTS, configure SMART and enable email reports. This operating system incorporates the following services:
- CIFS / SMB (Samba)
- Active Directory Domain Controller (Samba)
- FTP (Proftpd)
- NFS
- TFTP
- AFP
- RSYNC
- Unison
- iSCSI (initiator and target)
- At the network level we have HAST, CARP, Bridge and Link Aggregation, it also supports 802.1Q and WoL VLANs.
Other extra features of this operating system are the following:
- UPnP
- BitTorrent client with Transmission
- Integrated firewall and ability to create static routes
- iTunes / DAAP server
- iPerf3 to measure local network performance
- RRDtool for graphical statistics
- IPMItools
- Syncthing
- DLNA media server with Fuppes and miniDLNA (one or the other).
- Web server with HTTP and HTTPS (Lighttpd)
- VirtualBox with VNC server and also phpVirtualBox and noVNC (HTML5 / WebSocket VNC client) for managing the VM.
- NUT to monitor UPS (Uninterruptible Power Supply).
- Internal file manager in the operating system.
We would also like to highlight that XigmaNAS will allow us to install any FreeBSD package manually, to further increase the capabilities of this great operating system. All configurations are made through the graphical user interface, except for the additional software that you decide to install.
As for the development of this operating system, it is more alive than ever and every month they release one or more updates to the operating system, incorporating the latest versions of the internal software, and correcting different bugs, software security flaws and many other improvements to do so. really fast. We currently have two versions of XigmaNAS, the XigmaNAS 12.1 version is based on FreeBSD 12.2, and the XigmaNAS 11.4 version is based on the FreeBSD 11.4 version, therefore, depending on which base to choose, we must install one or the other. Our recommendation is that you use the XigmaNAS 12.2 version.
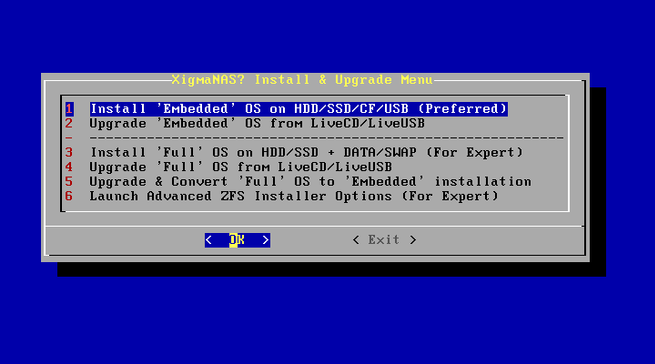
XigmaNAS allows two installation modes, the «Embedded Installation» allows us an integrated installation on an SD card, USB key or an SSD / HDD. In this installation mode, you cannot install additional software or advanced system-level settings. In the case of installing the operating system in “Full Installation” mode, we will carry out a normal installation where we will have a part for “DATA” where we will have all the additional software that we can install, and also a “Swap” in case we are short of memory RAM. Both installation methods allow an easy update, but it must be done “manually” by downloading the latest version, and it is not nearly automatic as in commercial NAS.
Installation and commissioning
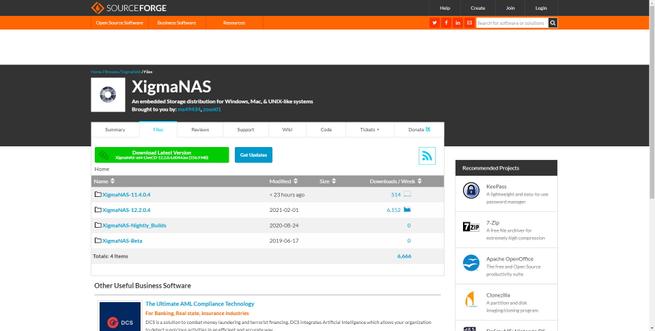
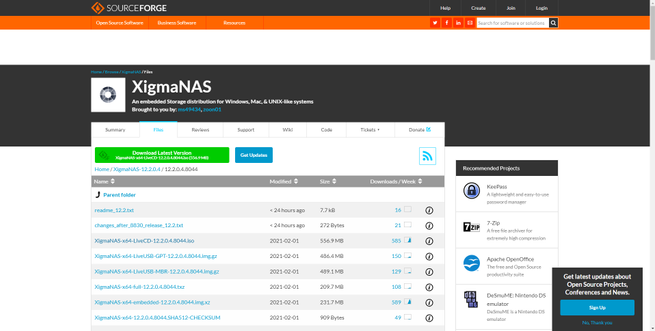
The download and installation of this operating system is very simple, the first thing we have to do is enter the official website of XigmaNAS, and click on the button from «Download». It will automatically take us to Sourceforge and we can download the latest version of the operating system. We can choose between several types of downloads, the ideal one is the LiveCD or LiveUSB version 12.2, as you can see below:

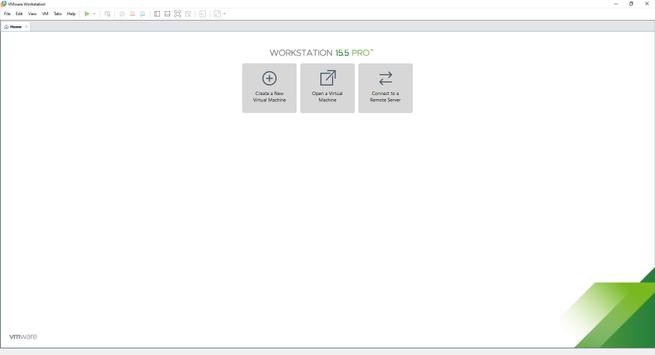
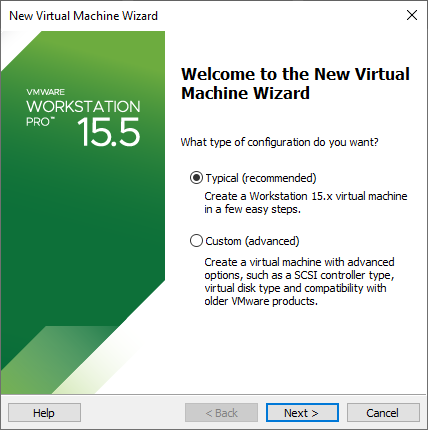
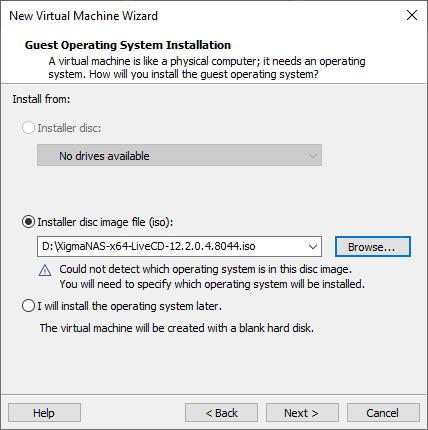
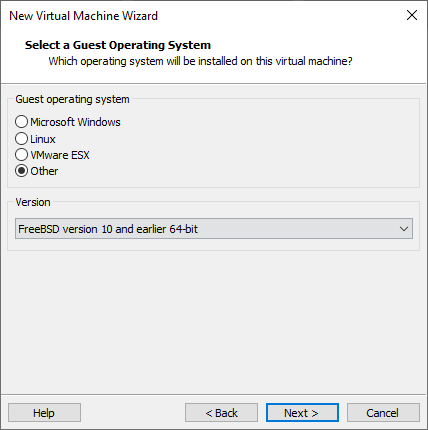
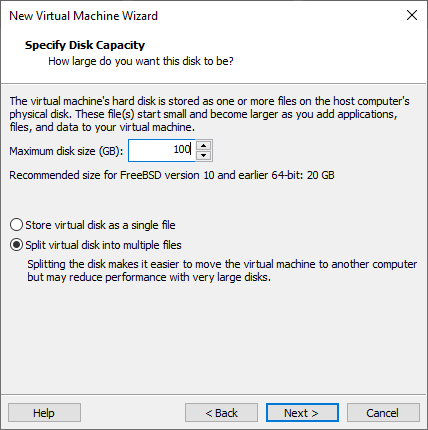
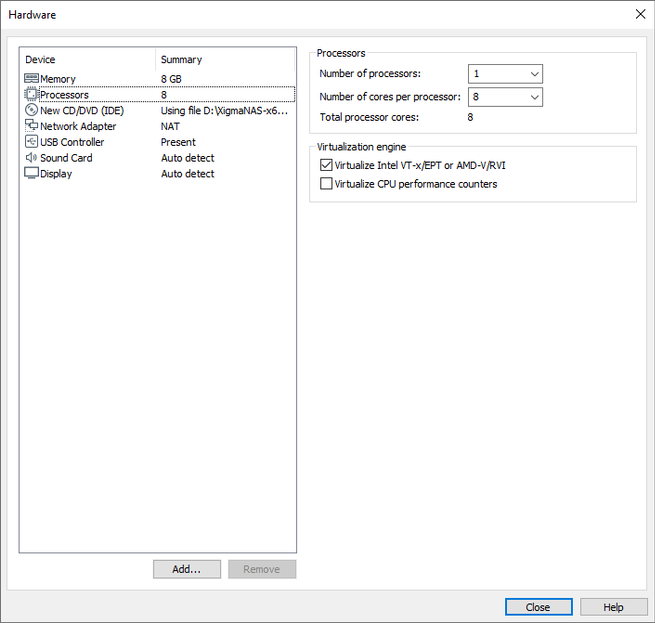
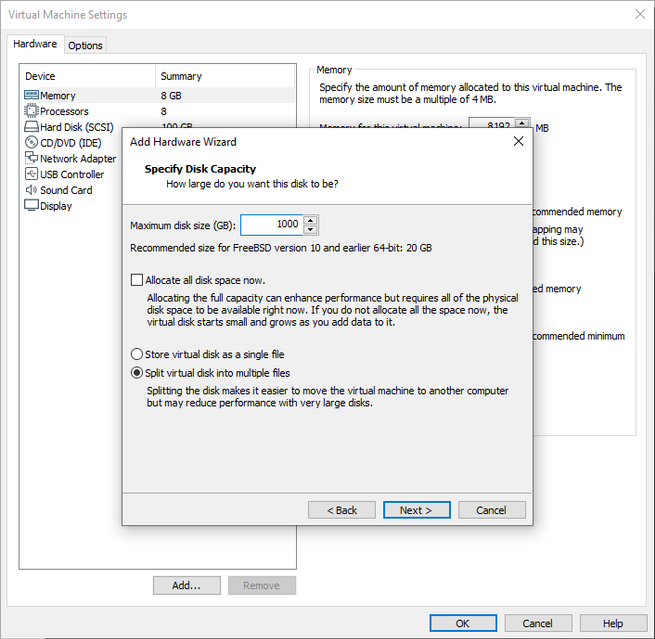
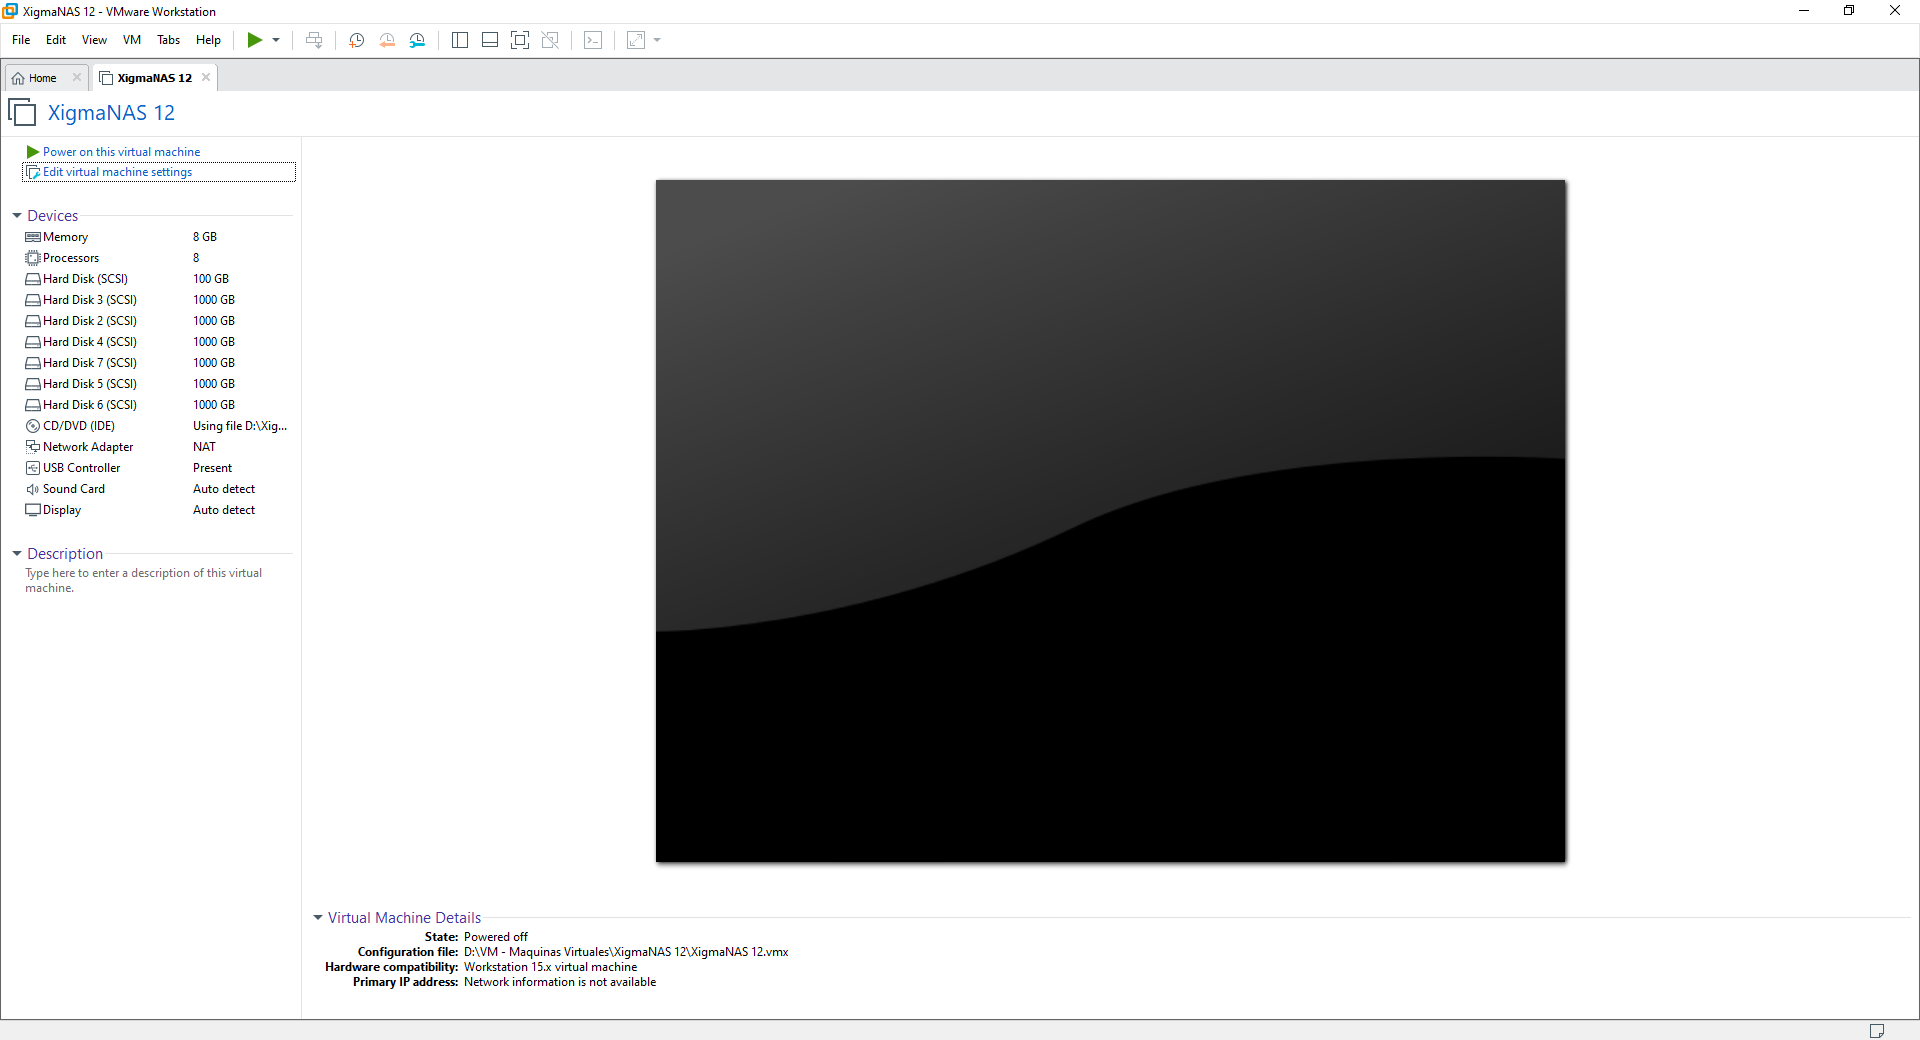
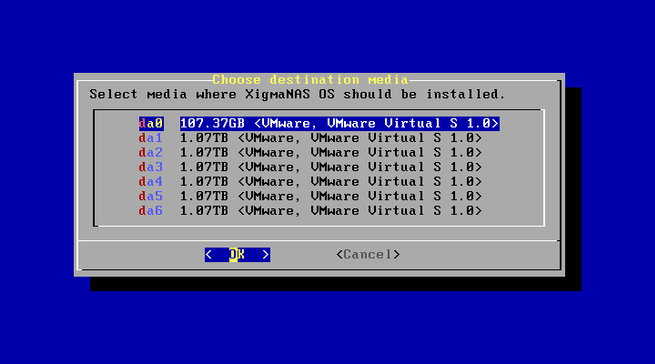
In our case, we are going to install this operating system in a virtual machine with VMware, to install several virtual hard drives and to be able to correctly configure the ZFS that we have available in the operating system. The installation is typical of loading the ISO image, selecting FreeBSD x64 as the operating system and configuring the CPU cores, RAM, and, above all, putting a total of 7 hard drives, the first one for the installation of the operating system, and the another 6 for data storage.
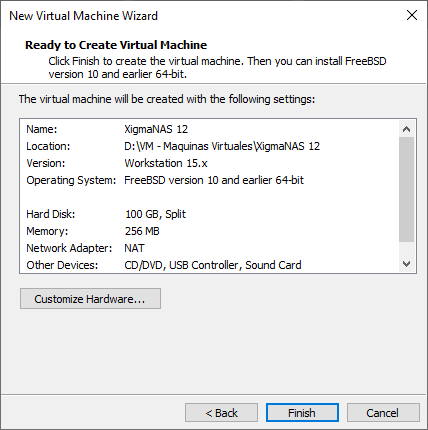

When we have configured the VM correctly, something like the following should appear:
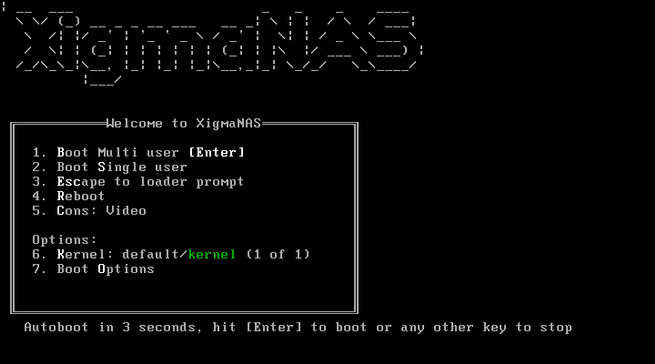
The operating system will load and we will have to press the number 9 key to proceed with the installation or update. In the following menu we can choose between “Install Embedded” or “Full”, as we have explained before, for the vast majority of users the first is sufficient, but if you want to install additional software on a dedicated data partition, you must choose the «Full» version.
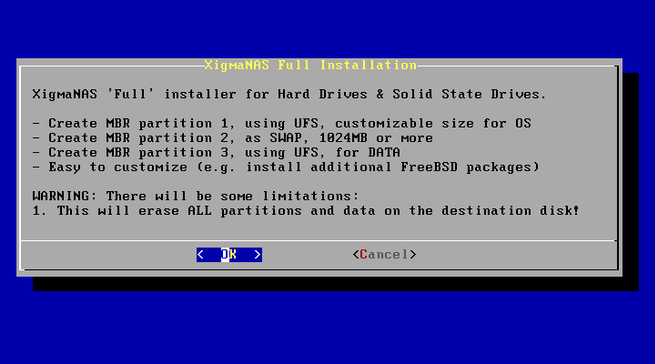
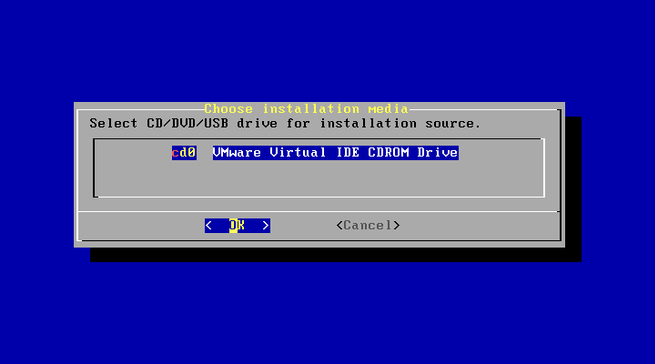
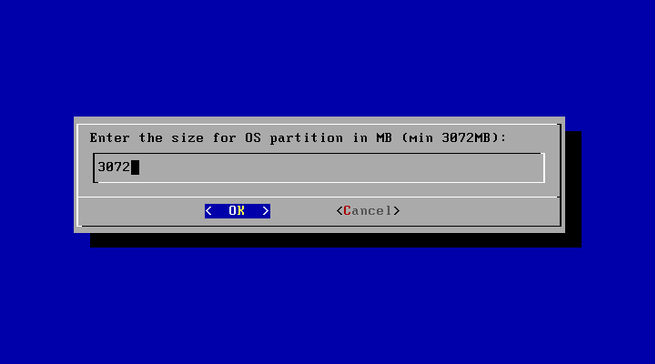
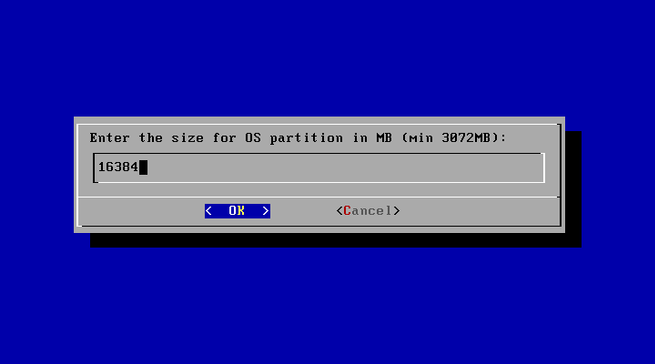
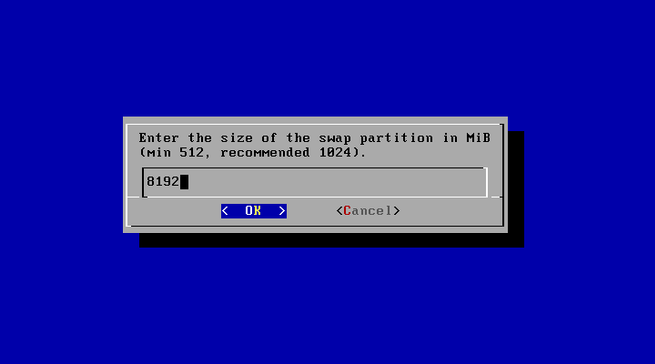
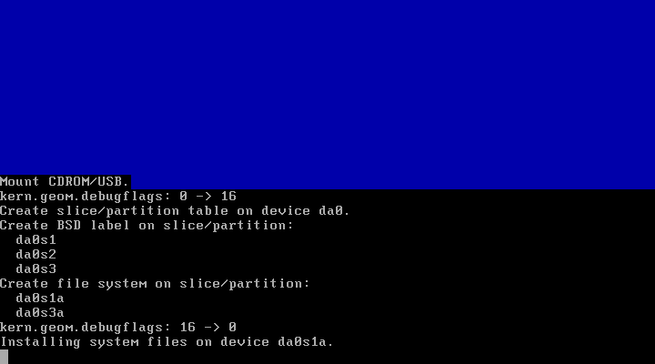
When choosing this version, we can choose between creating an MBR or GPT, the normal thing is to use MBR because we will use a low capacity disk. Once we have made the selection of “Install Full MBR”, it will indicate everything that is going to be done on the real hard disk. Next, we have to select the source of the data (the CD) and also the destination (the hard drive that we want to use for the operating system, this hard drive does not allow data to be shared as storage). Once the disk is selected, we define the size of the operating system partition, then the size of the SWAP memory, and finally, it will do all the necessary operations to install the operating system in its “Full” version.
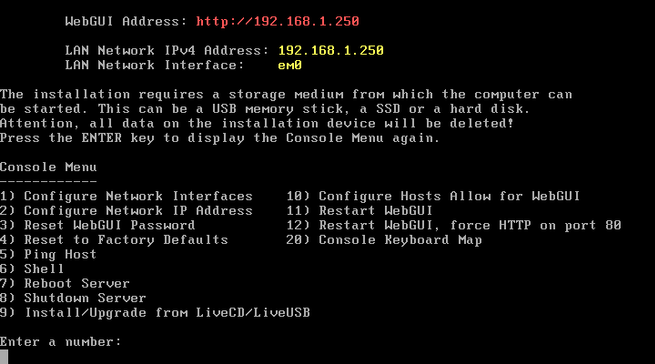

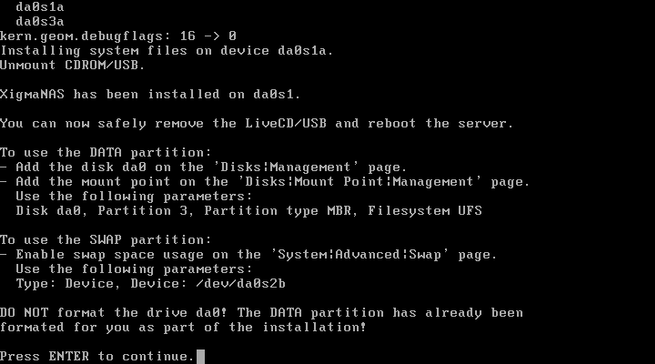
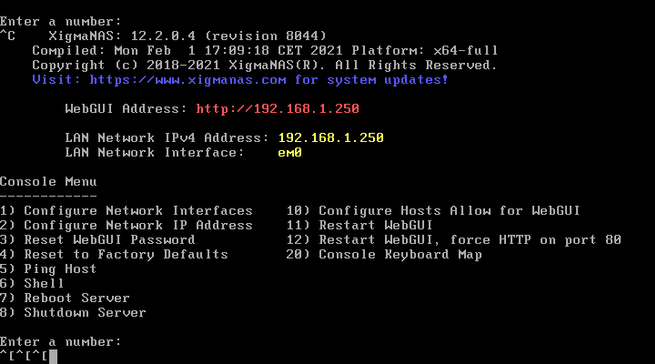
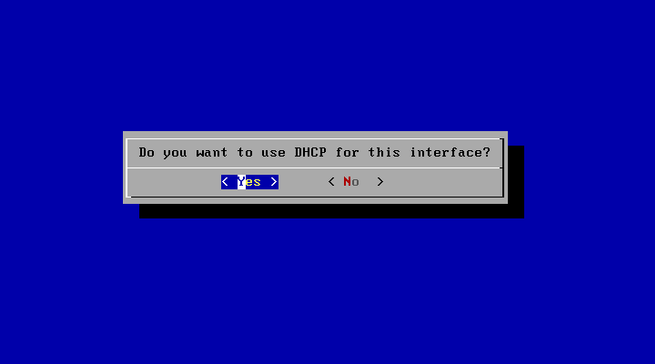
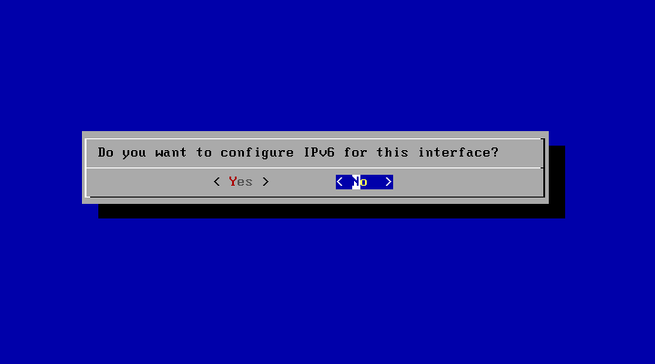
When it asks us to restart the operating system, we will restart and it will automatically load the operating system, now we will have to configure the network interface so that it obtains the IP address through DHCP. This is done by entering with the username “root” and password “xigmanas”, we choose option number 2 and follow the wizard, indicating that we want DHCP in the interface.
Once it is configured, we will have an IP provided by the DHCP server, and we can access via the web with http: // IP_que_nos_indique
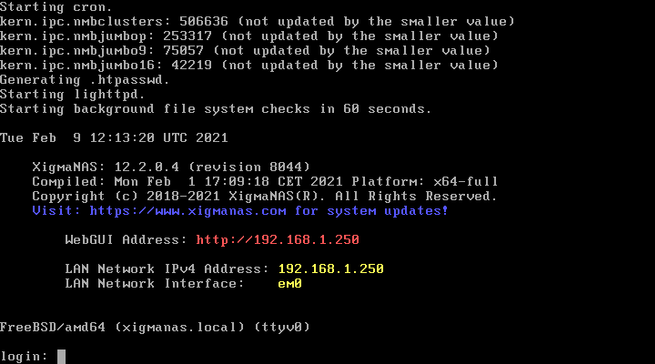
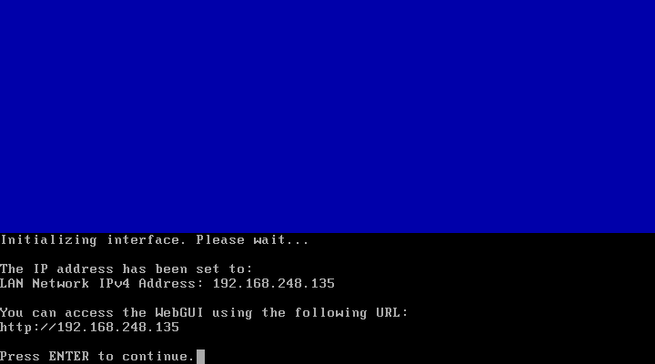
In our case, we have put http://192.168.248.135 in the browser. Later in the operating system configuration, we can configure the HTTPS protocol instead of HTTP.
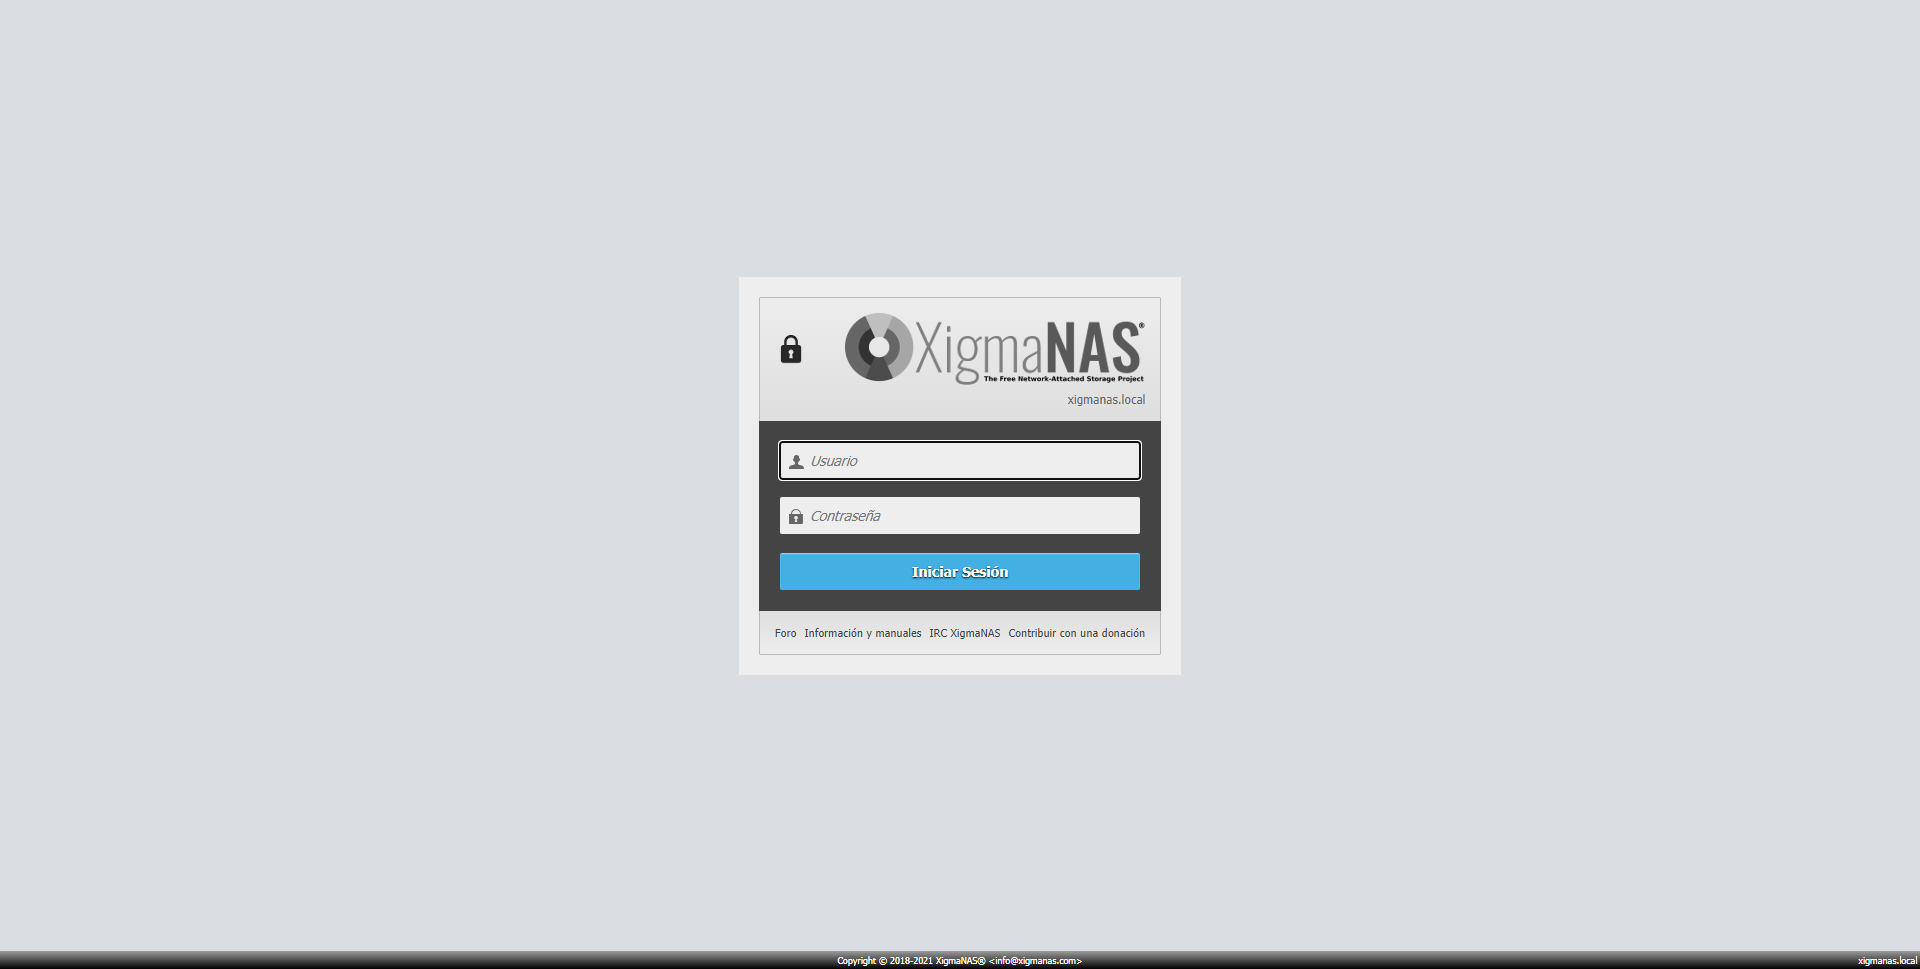
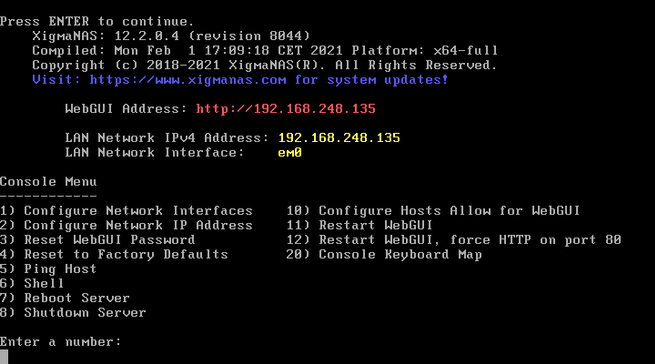
The username to access the administration via is “admin”, and the password is “xigmanas”. Once introduced, we will fully enter the graphical user interface of the operating system:
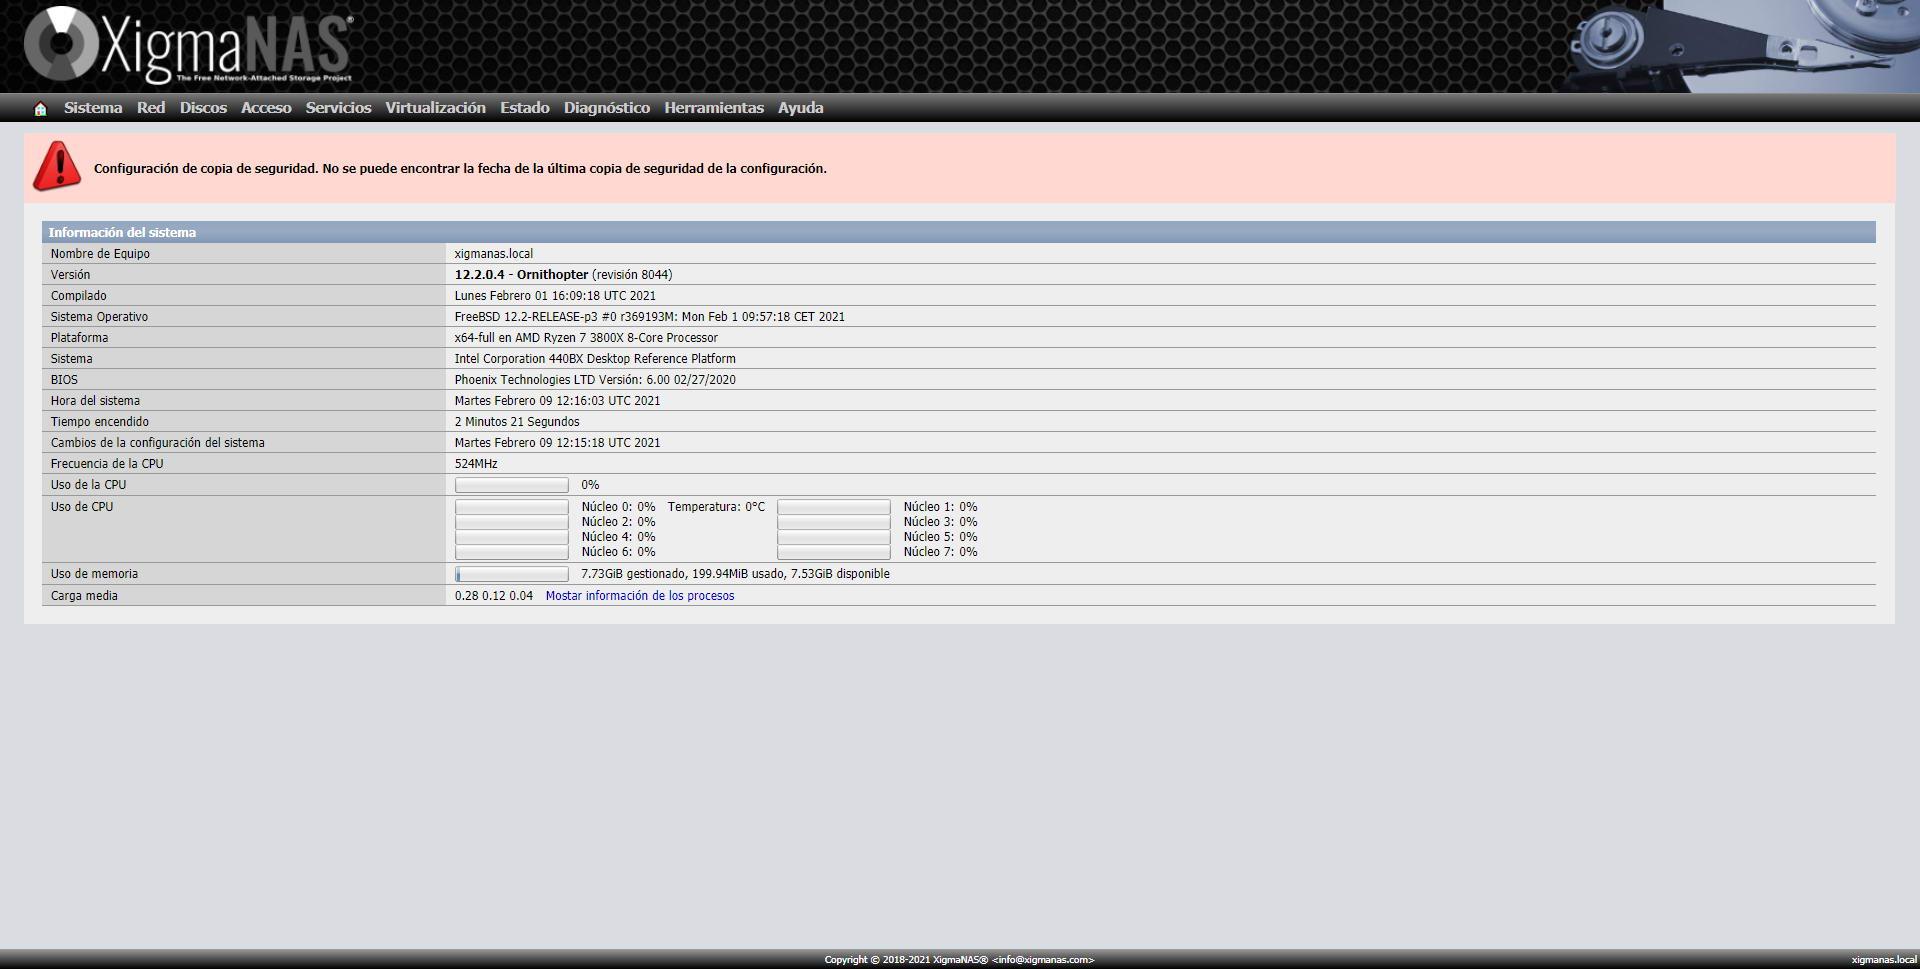
Once we have seen how this operating system is installed and how you can enter your operating system via the web, we are going to see the general options.
General operating system options
All the configurations that you can imagine are available through the graphical user interface of the operating system, but if you install additional software through the official FreeBSD repositories, then you will have to manage everything through the console or via SSH.
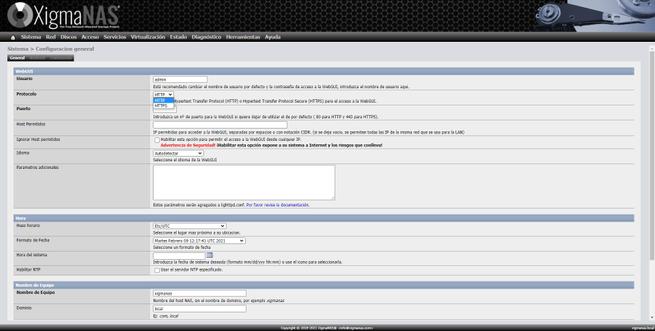
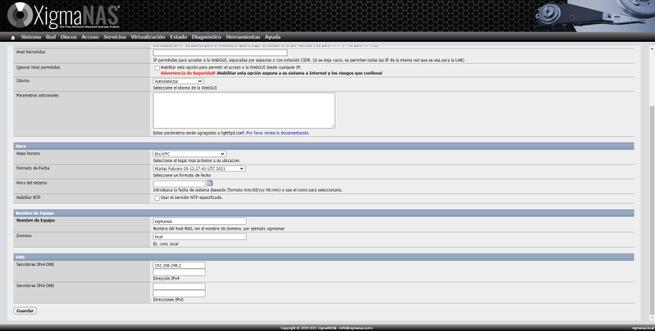
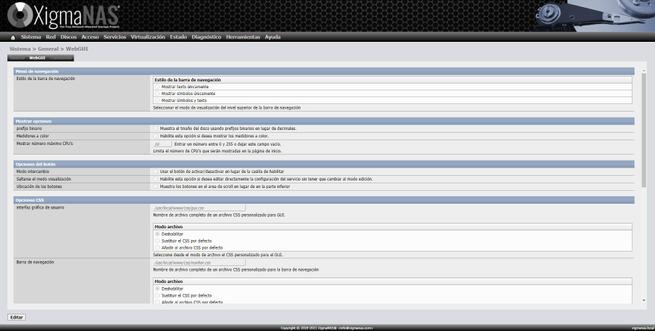
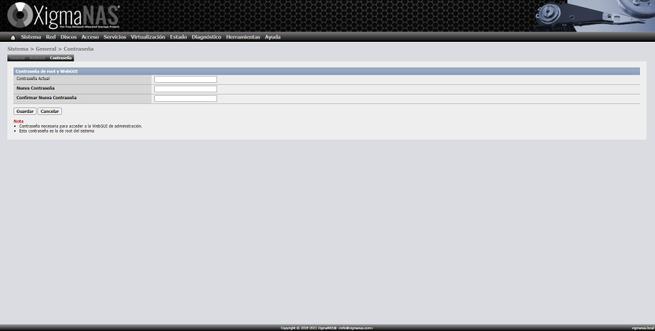
In the ” System / General Configuration ” menu we can change the administrator username, configure the HTTPS protocol, the administration port, and we can even limit by allowed hosts so that other subnets do not access the server, we also have the possibility of set the language, time and computer name. Other configurations are to put the DNS servers, configure the graphical user interface via web with icons and other CSS options, and also change the administrator password.
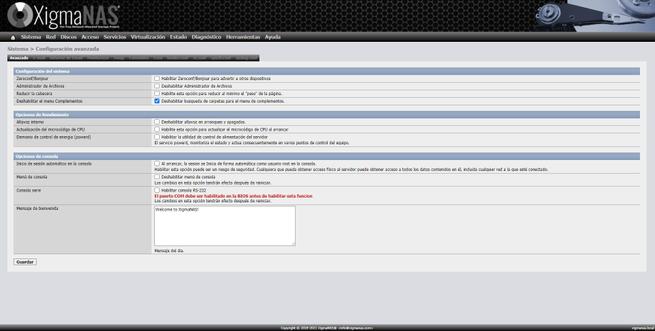
In the “System / Advanced Configuration” section we can configure in more detail all the operating system parameters, we can configure system, performance and console options, we can also configure the SMTP server to send us emails, configure the weekly email report Through a CRON, monitor different parameters of the operating system, configure the SWAP space, execute commands before starting the system or after starting, configure the cron in a personalized way, and also define different variables in the loader.conf, rc. conf, sysctl.conf, and the syslog.conf.