How to use Microsoft Paint 3D to create 3D models in Windows
The Microsoft company in its versions of Windows 10 surprises us by providing us with really new applications. As is the case with a very updated version of the old Paint program, now presented as an application called Microsoft Paint 3D.
Despite having the same name as its predecessor, which you can download normal classic Paint , this new version of Paint 3D offers us very advanced design alternatives. As for the example the fact of creating models in 3 dimensions.
How to use Microsoft Paint 3D to create 3D models in Windows?
With Microsoft Paint 3D we can create models in two and three dimensions with a variety of tools that the application offers us. As well as importing them into a library called Remix 3D, here we can work on already created models as well as edit them.
It also gives us the possibility of manipulating files that we ourselves create, for example taking a photo with our cell phone and transferring it to Paint 3D and then editing it. In the same way, if what we want is to design from scratch, we can also do it.
Likewise, we also have access to print our models directly on a 3D printer that we can use from our cell phone . Which is very rewarding, as we can design to our liking and then bring that design into real life.
On the other hand, although Microsoft Paint 3D may seem like a somewhat complex tool to use, the reality is another. It is a very versatile application with a simple to understand interface, in this article we will teach you how to create models in Microsoft Paint 3D.
First steps to use Microsoft Paint 3D
It is essential that our computer has the Windows 10 operating system downloaded and installed , since the application is included in this version. Having that clear, the first thing we must do is open Microsoft Paint 3D.
The main page will appear welcoming us and offering us the possibility of seeing a small tutorial where it will give us a tour of the most relevant tools. We recommend viewing this tutorial before starting.
How to create 3D models in Windows from scratch?
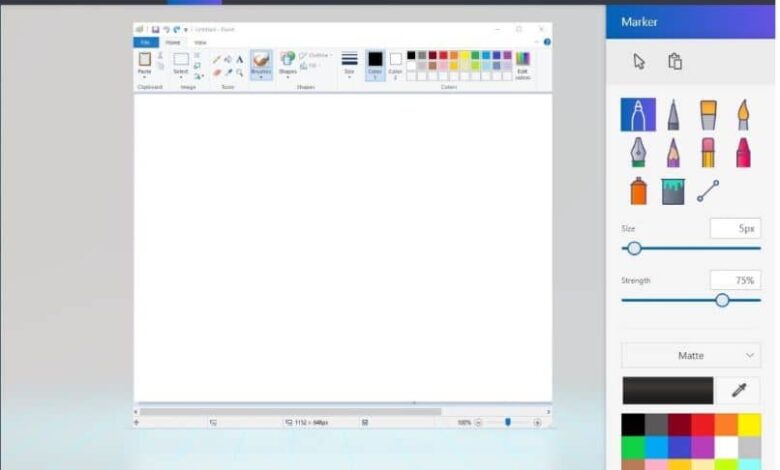
To start creating a 3D model from scratch, the first thing we have to do is open the menu located on the left side of the screen and click on the first option What’s New. A blank page will quickly open.
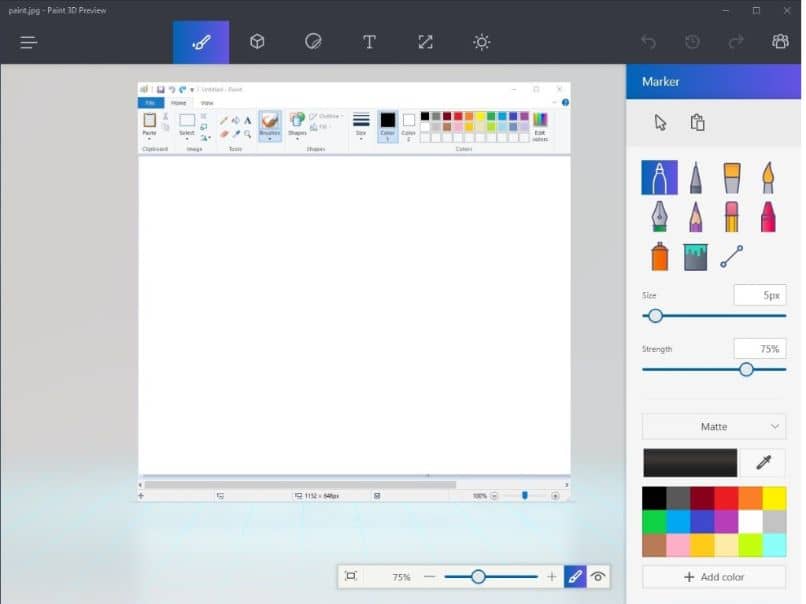
Next, what to do is observe the bar located at the top of the sheet, there are all the available tools. If we click on the three points at the end of the bar, the name of each tool will appear.
The first option is Design Tools, this is used to draw in a simple way in the best Paint style. If what we want is to create 3D models, it is advisable to first import an image to work on it.
For this we select the third Adhesive tools icon , on the right side of the sheet we will have 4 options, we select the last one. We click where it says Add adhesive and select the image we want to upload.
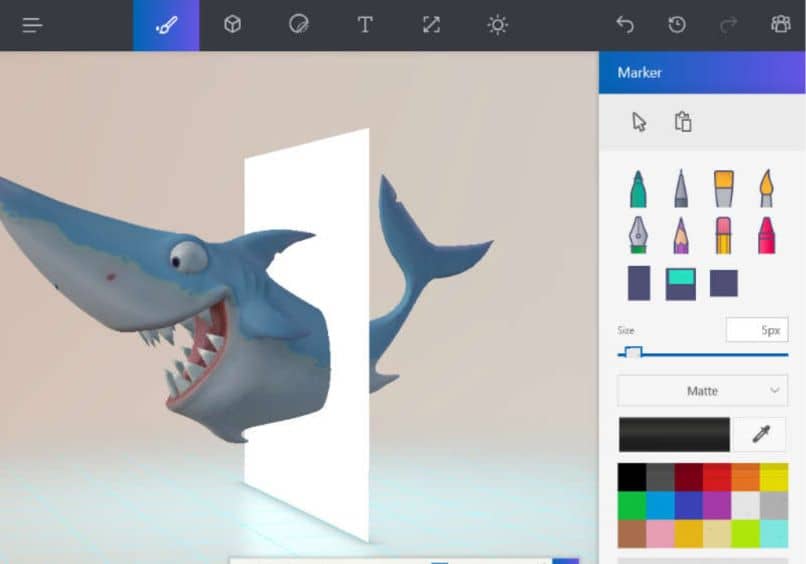
Then, we frame the image on the sheet and we go to the second 3D tools icon and click. On the right side we will get pre-defined 3D models, which we can select and edit to our liking.
On the other hand, if what we want is to create our own designs, we go down to the last option Doodle in 3D and select the second figure. Now we go to the sheet and keeping the left click pressed we draw what we want.
Then we can change the color, give it different shades, add figures as well as change its size, text and position. By pressing the button at the end of the bottom bar View in 3D we can see our 3D model.
Finally to save our file we go to the menu on the left and here we can save it on our computer, change its extension or upload it to Remix 3D.