Tools
How to easily darken or lighten a video with Camtasia Studio for free
What are the steps to easily darken or lighten a video with Camtasia Studio for free?
Camtasia Studio offers tools that go from eliminating the Chroma Key , to darkening or lightening a video, or a certain part of it to achieve a lighter or darker effect will be easier than you imagine, they are only a couple of steps to make your video look with the desired changes, pay attention:
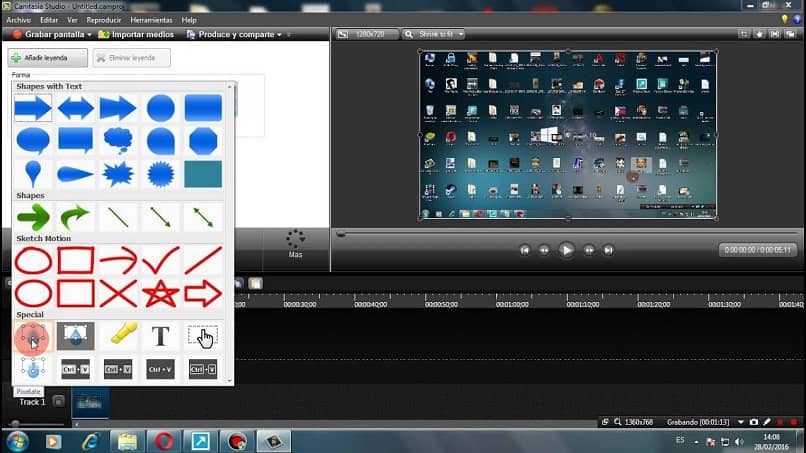
- First, to import the video into your project and use the colors, you must open the Camtasia program, and go to the “Import Media” tab (in this tab you access the menu to place text on your videos ),
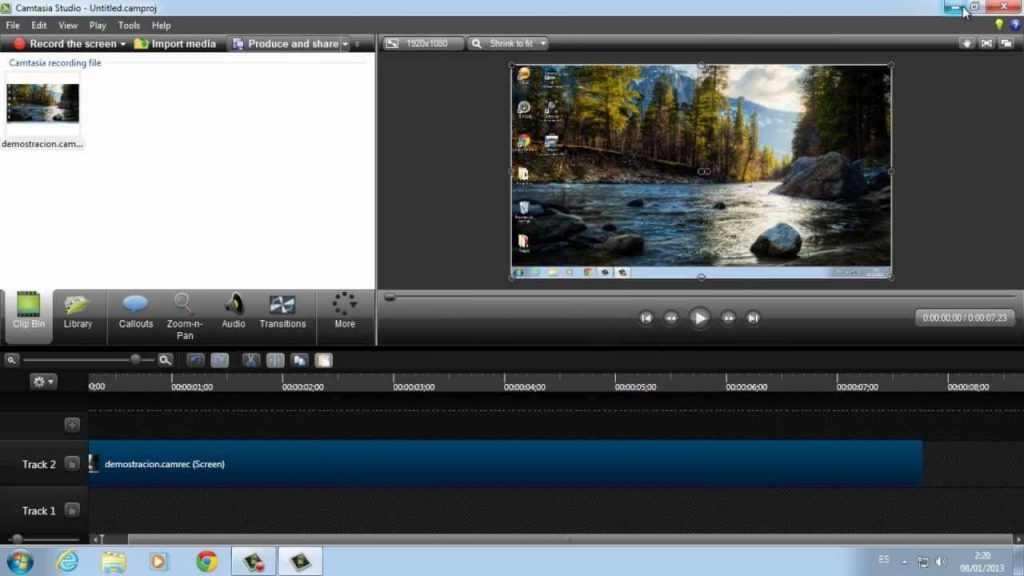
- Second, select the video you have recorded and drag it to Track 1 or 2, it should turn blue, if you don’t click on “Visual Properties”, select the track and now go back to “Visual Properies”,
First method to easily darken or lighten a video with Camtasia Studio
How to darken a video with Camtasia Studio?
- Follow the first and second steps that we previously showed you, now go to the option of visual effects or “Visual effects”, there select the Colorize box ,
- Click on “Color”, there the color palette will be displayed, select the black color so that your video darkens,
- In the “Amot” section , you can raise or lower the level of darkness, from the lightest to the darkest, when you raise the level the image will be perceived very dark, making it not quite distinguishable, so it is better not to use such high values.
How to clarify a video with Camtasia Studio?
- Taking into account the two previous steps, and just like to darken a video, go to the option “Visual effects”, there select the Colorize box ,
- Click on “Color” to display the color palette, select the white color to lighten, and the video will begin to lighten,
- In the “Amot” section , a little further down, you can raise or lower the level from the darkest to the brightest, this time when you level up the image will be perceived very clear and dim, but this will make it not very noticeable fine, so in this case it is advisable to use lower values.
Second method to darken or lighten a video with Camtasia Studio
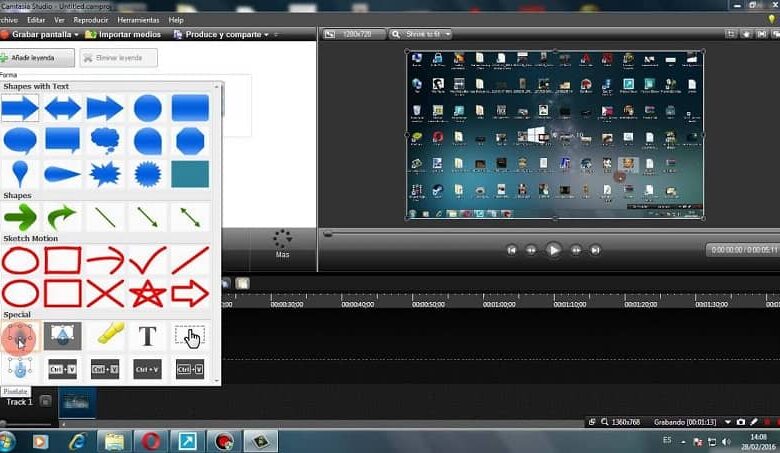
- After selecting the video, go to “Labels” and click on it, a menu of different geometric figures will be displayed, there select a rectangle,
- The rectangle will appear on the video you selected, select all its corners and enlarge it to the size of the video screen,
- Select the rectangle and then see the option “Visual Property”,
- Make sure that the Track indicator is at the beginning, now click on “Add animation”, go to the “Opacity” option ,
- To clarify only low level, so you will see how the image of your video takes a clearer effect.
How to change the tonality of your videos?
- Now if what you want is to change the tonality of your video, change the rectangle to its original color, following the previous steps select the rectangle and go to “Labels”,
- Being there in “Color” select the color of your preference, some choose black to darken their video with a special effect and in “Borders” you can also change the color of the border of the rectangle,
- In “Visual property” choose “Add animation” and right there in “Opacity” lower the level so that the video image looks darker.
Do not forget to do the respective tests in preview to determine if you achieved the desired effect, remember to download the latest version of Camtasia Studio that you can also get for free. Do your best job of editing videos with the most striking effects , using darken or lighten a video with Camtasia Studio for free.