Syncplify: Features and configuration of this FTP, FTPES and SFTP server for Windows
In Windows systems there are a large number of alternatives to mount an FTP server, secure FTPES and also an SFTP server using the SSH protocol. Syncplify is a great program with hundreds of advanced configuration options, ideal to fully adjust all the necessary parameters to meet all our needs. Today in RedesZone we are going to see this Syncplify program in detail, we will teach you the main features and also how to configure it.
We are facing a complete secure, scalable, automatable and easy-to-use SFTP, FTP, FTPES server. It is used by such important companies as NASA, Coca-Cola, Dell, Nike, ING, and many other widely known companies. This server is compatible with all versions of Windows, including desktop and server versions from Windows Server 2008 to 2019, in its 64-bit version in all of them.
How to install Syncplify and get started
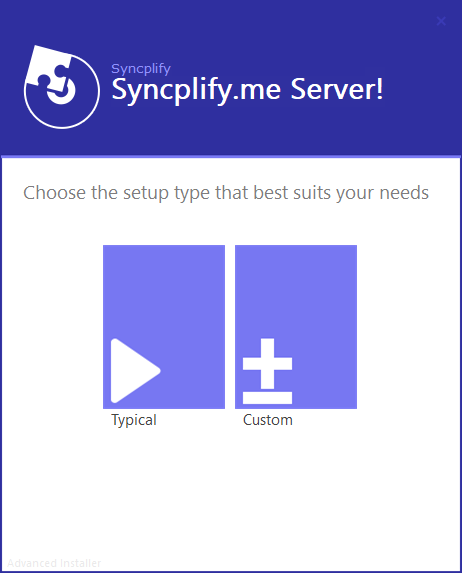
The first thing we must do is go to the official Syncplify download website, and download the server directly from there. Once downloaded, we must execute it, and during the installation process it will give us to choose what type of installation we want, “Typical” or “Custom”, we recommend choosing “Typical”.
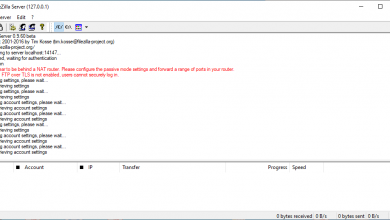
Once the Syncplify installation is finished, the server setup wizard will automatically open. It may be the case that it takes a while to load the wizard. While loading you will see this image:
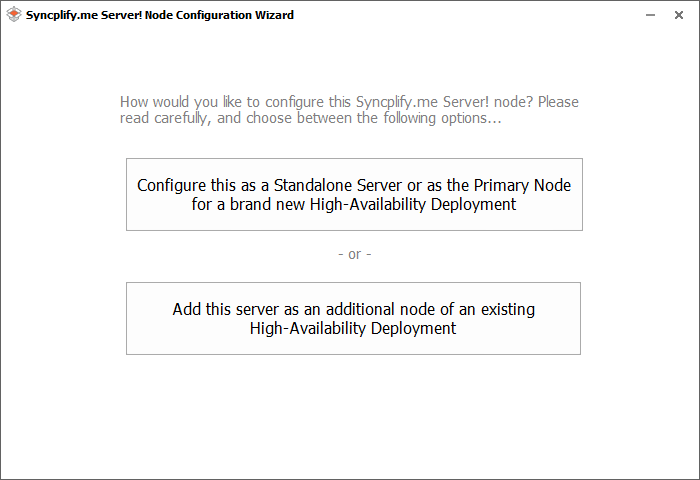
Once loaded, a screen appears where we can choose two options. The first is to configure the server as new, and the second option is to add it to an existing node. In our case we choose the first option, configure it as ” Standalone Server “.
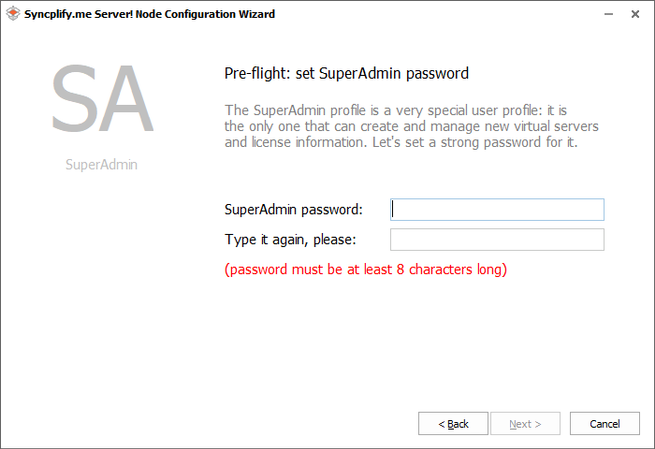
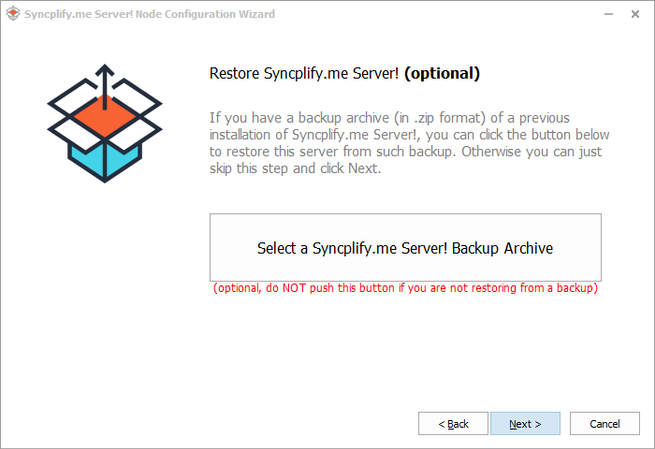
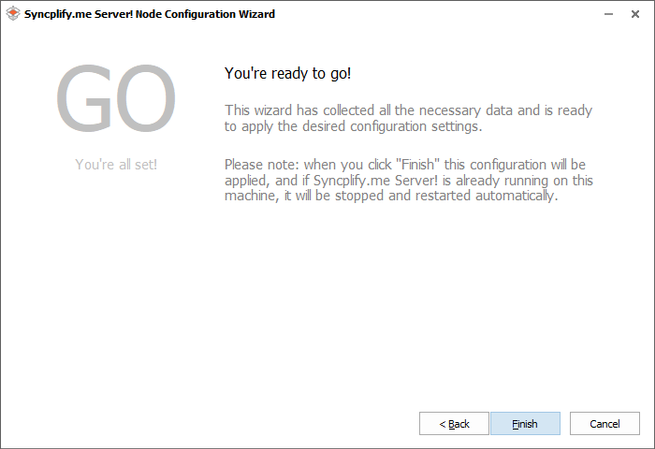
The next step it asks us is to enter the password we want for the ” SuperAdmin ” user . Minimum asks us for eight characters. Then it gives us the option of recovering a previous backup if we wish, in our case we will give the next one without recovering anything, since it is the first time we have configured this server. Once finished, the initial menu would already be completed.
Configure Syncplify Server on Windows
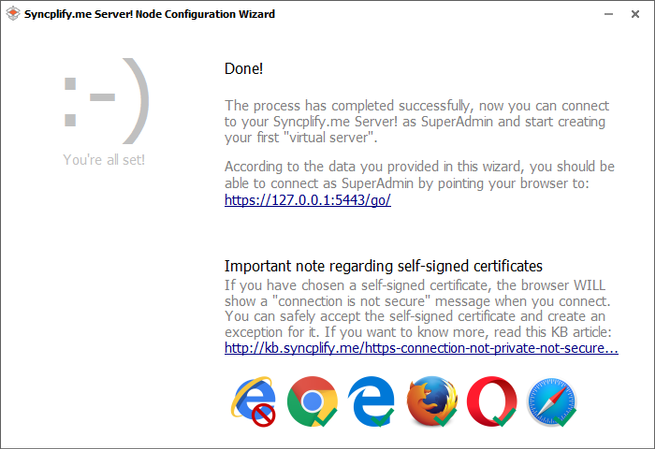
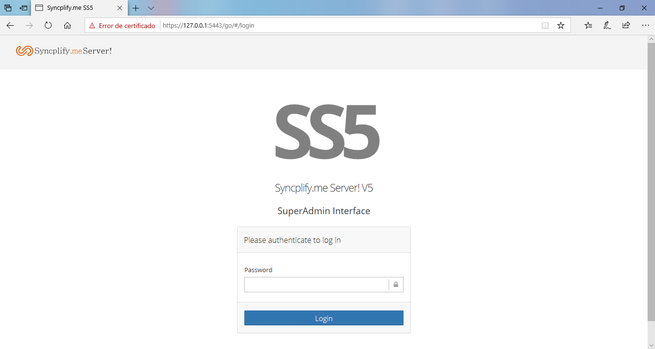
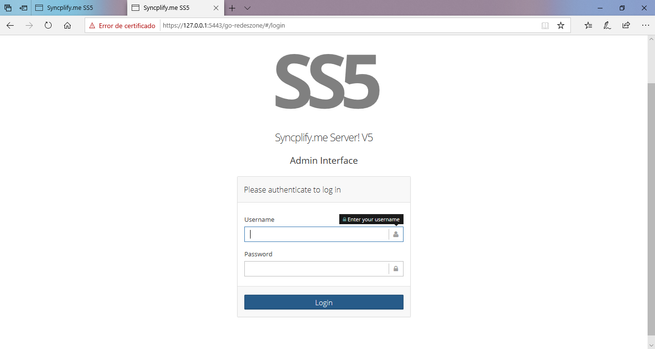
Once the previous wizard is completed, a window appears indicating that we must connect from any browser, except Internet Explorer to the IP address: https://127.0.0.1:5443/go/, or also to the address https: // localhost : 5443 / go /
Once connected to the Syncplify administration website, a security warning appears regarding the certificate that we can completely ignore and click on “access”, where it will ask us to enter the password of the “SuperAdmin” user that we created previously.

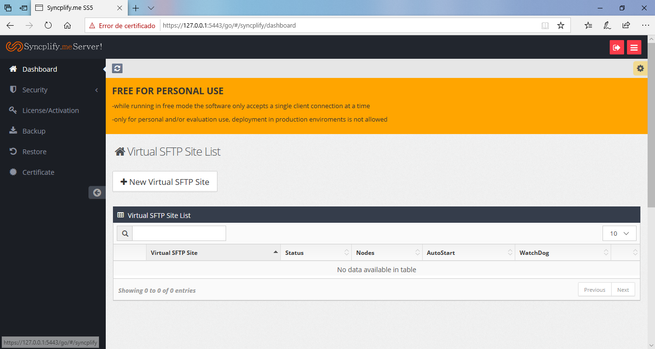
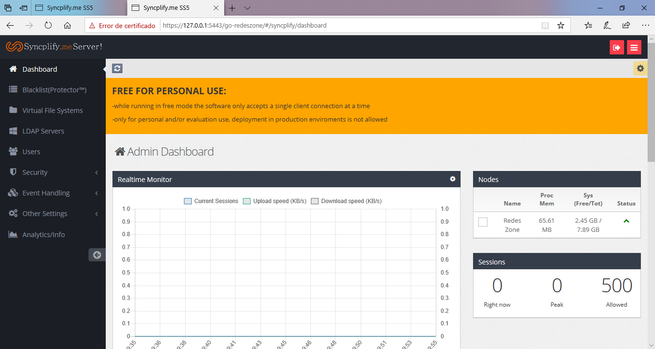
Once inside we find a website with clear and easy-to-use menus that we are going to see below.
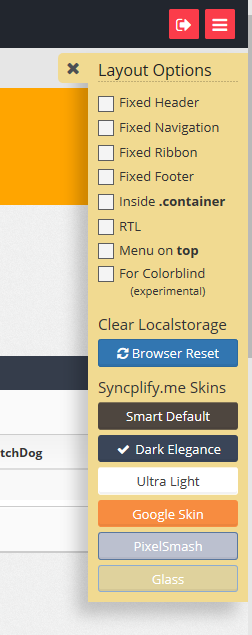
Starting with the top menu, on the left side, we have two red buttons, the first one starting from the left is used to close the session of the configurator we are in, and the second button is used to hide the menu on the left of the screen. Below this menu we have a yellow wheel, which if we click, a menu called ” Layout Options ” appears where we can configure the different options that you can see in the menus.
Dashboard
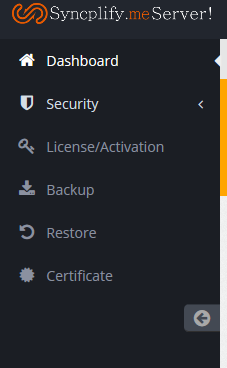
On the left side, we have different menus, starting with the first one called “Dashboard” which is where we are currently, we can see and configure virtual SFTP servers.
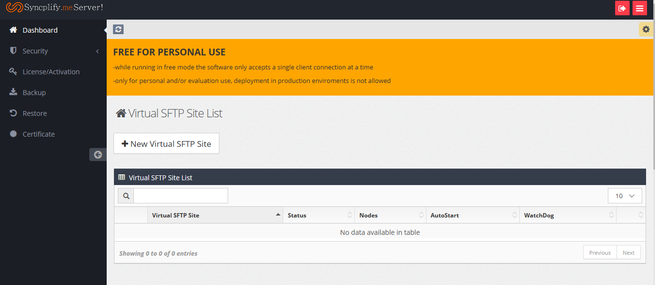
To create a new virtual SFTP server, we must click on the button that says ” New Virtual SFTP Site “, where a wizard will load us with some very simple steps to use that we will see below:
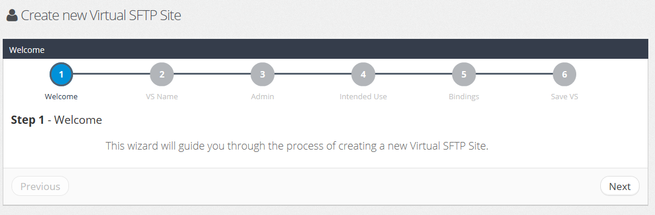
- Welcome : welcomes us, and we simply have to click on the “Next” button located to the right of the wizard.
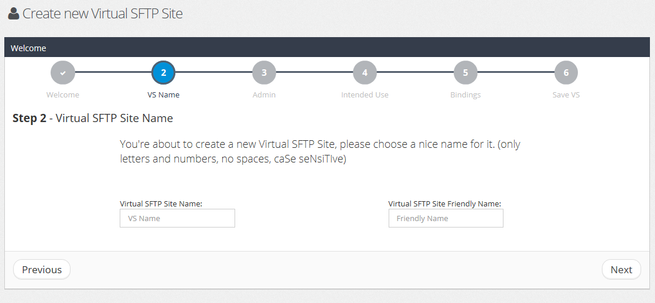
- VS Name : we must enter the name we want for our SFTP virtual server, entering a name without a space in the box on the left, and in the box on the right we can enter a name that is easier to recognize.
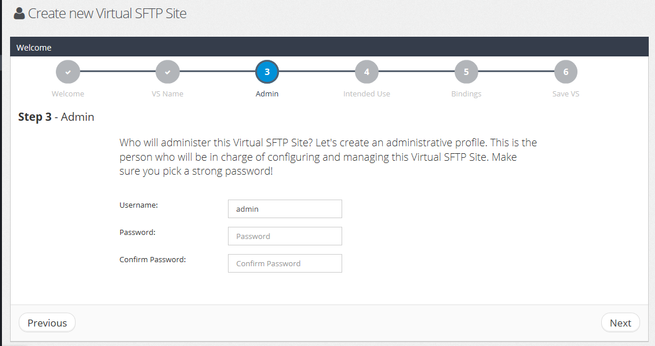
- Admin : we must enter the username and password we want to manage the SFTP virtual server.
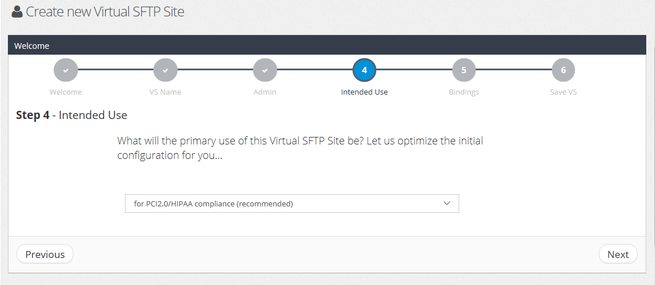
- Intended Use : we must choose the most appropriate option for the use of the server that we are going to give it. Our advice is that we leave the recommended
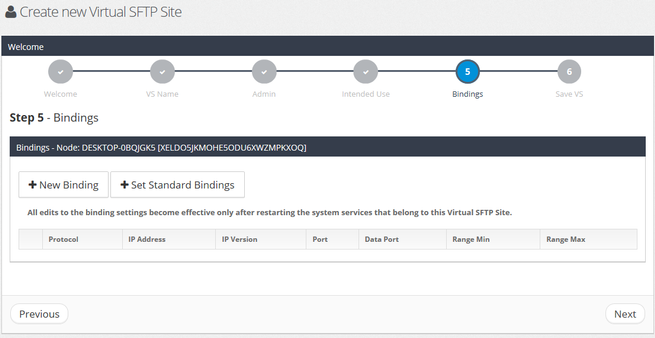
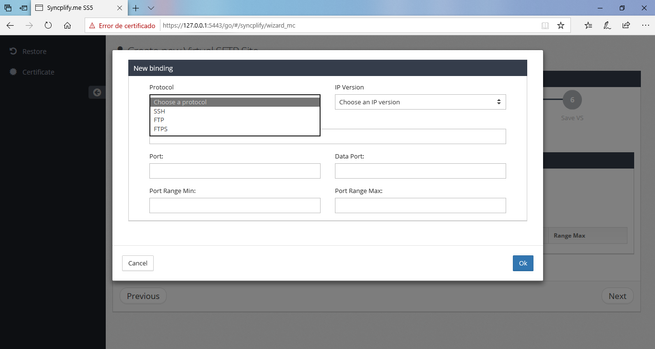
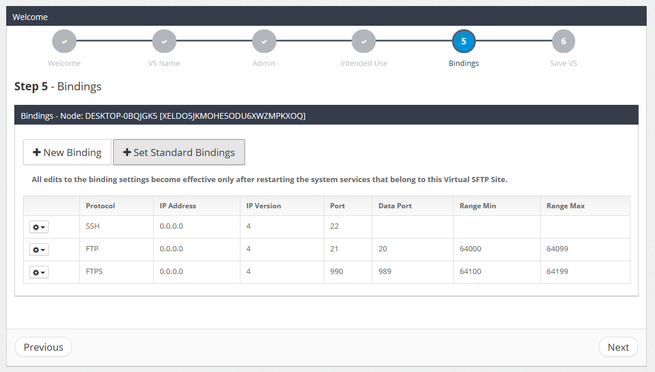
- Bindings : we must configure the different ports that the SSH, FTP and FTPS protocols will use, for this we can press the ” New Binding ” button where we can manually configure the port and IP that each protocol will use, or if not, clicking on the button “Set Standard Bindings” will create an automatic configuration with the default ports.
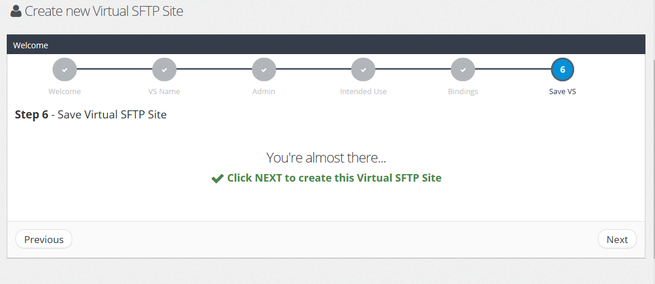
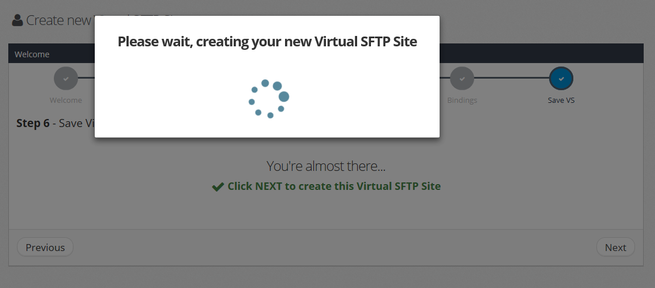
- Save VS : we will simply have to click on the “Next” button and the new SFTP virtual server will be saved and created.
Later we will see how to handle this virtual server that we just created.
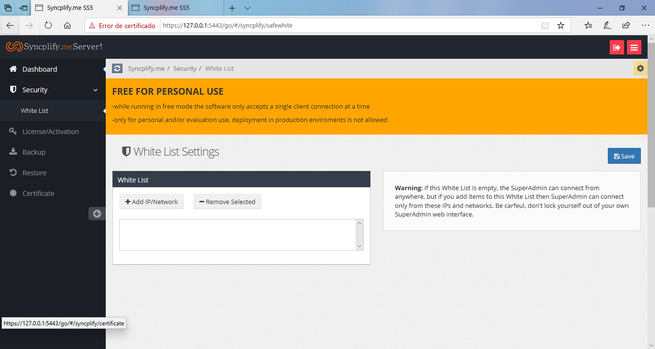
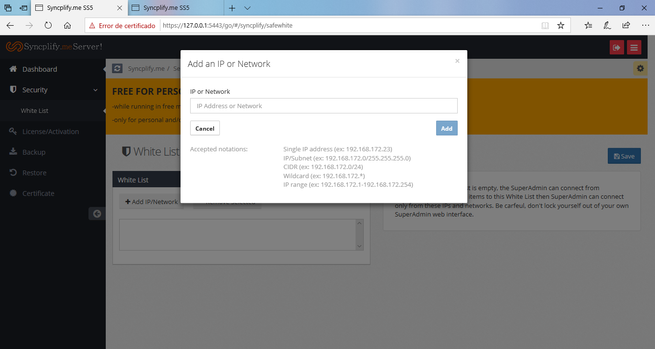
Security
In this menu we can configure which IP addresses, IP ranges, subnets, etc. They can connect to the Syncplify.me administrator. If we leave it blank, any IP can connect.
License / Activation
In this menu we can see the license that we have active, both from our team, and from others on the network. In addition, we can manage the licenses or buy a new license.

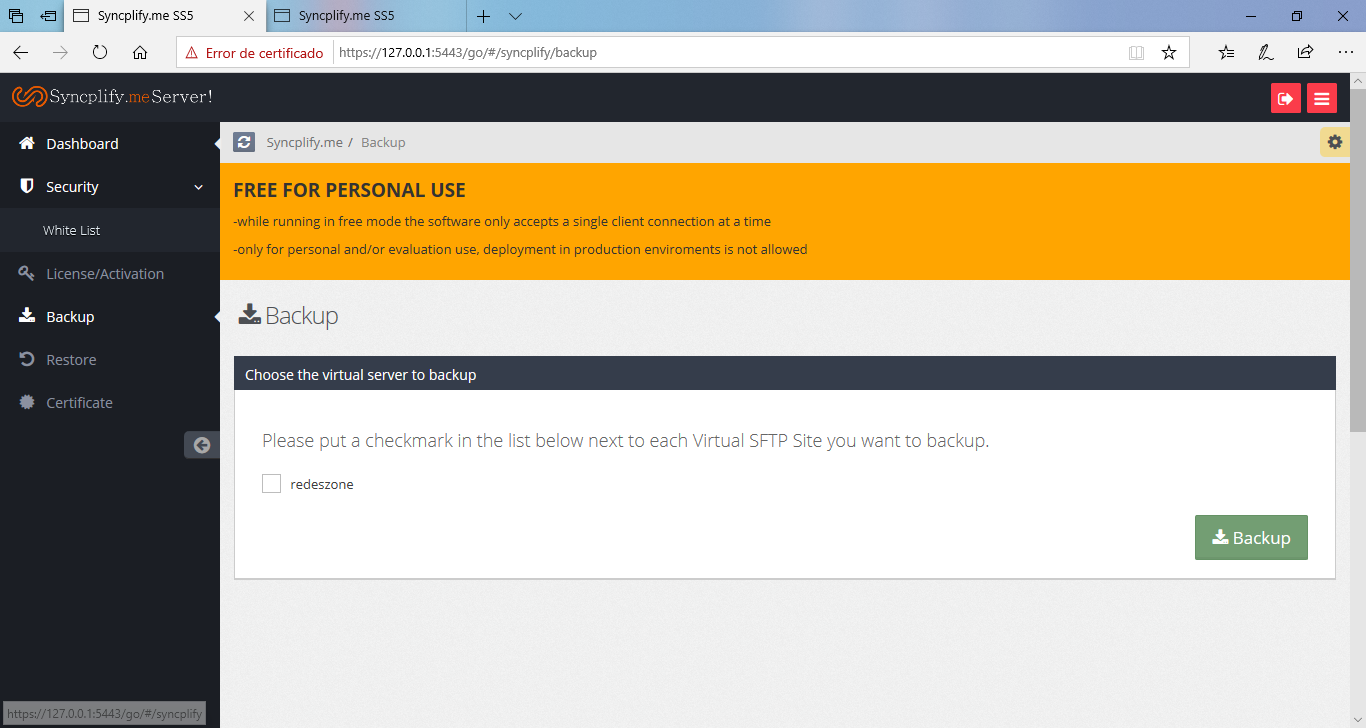
Backup
In this menu we can make a backup copy of all the virtual servers that we have created. For this we must select them and click on ” Backup ” where a * .zip file will be generated.
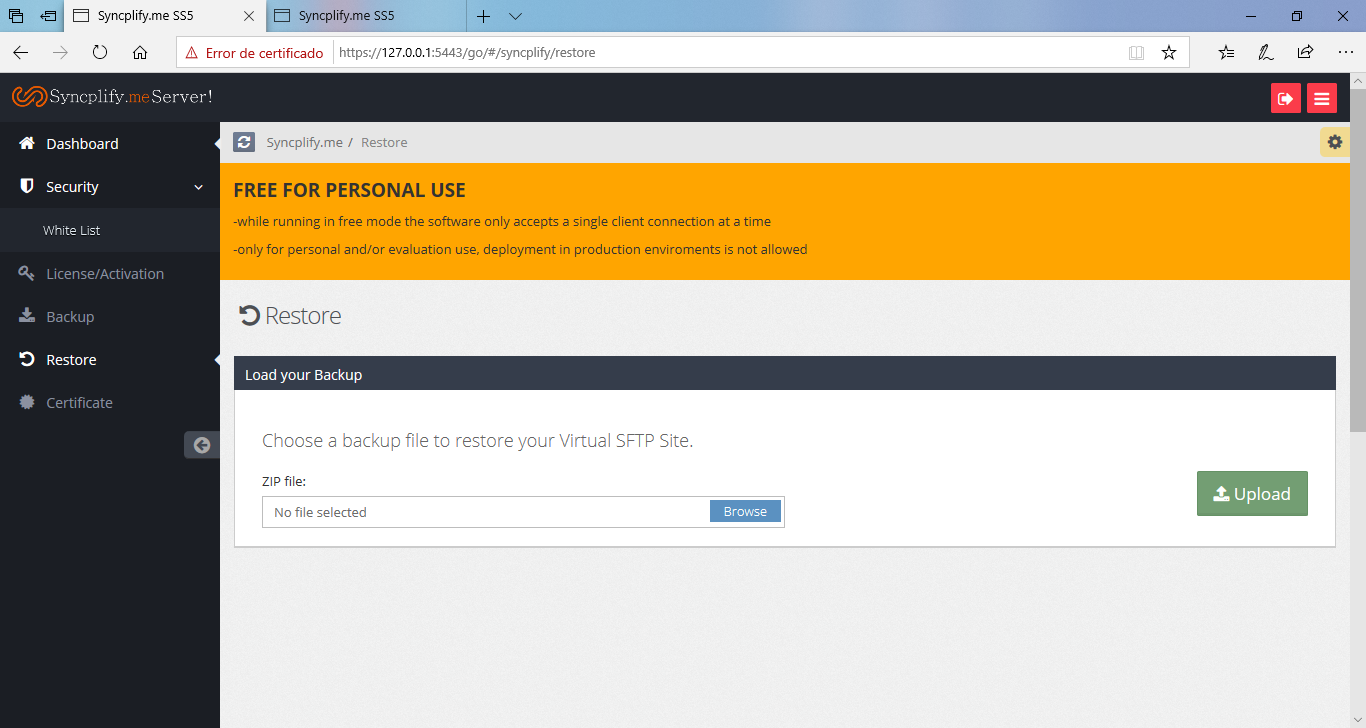
Restore
In this menu, we can restore a backup that we have previously made of all the virtual servers that we have created at the time we made the backup. To do this, we must select the .zip file that was created for us when making the backup copy and click on “Upload”.
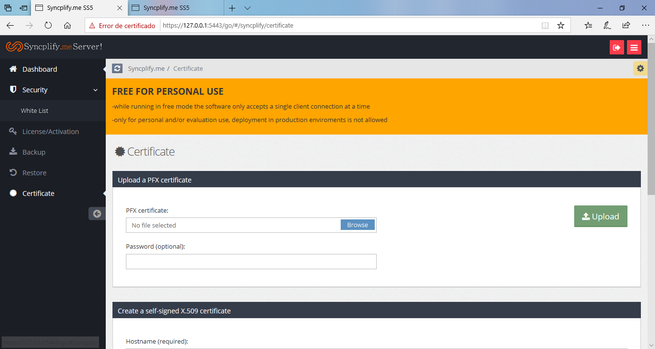
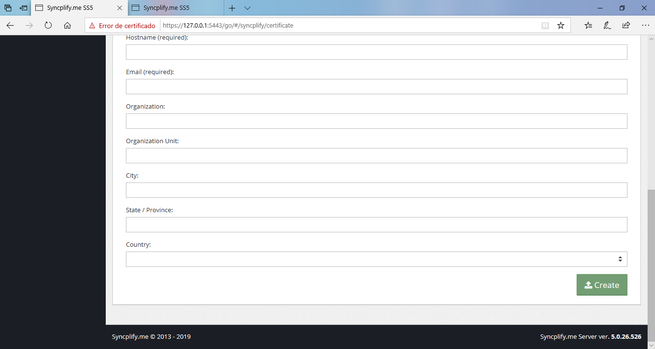
Certificate
In this menu we can load a “PFX” certificate, or create a signed X.509 certificate, filling in some simple information.
And with this, the left menu would be complete, where we will now see in detail how to manage a created virtual server.
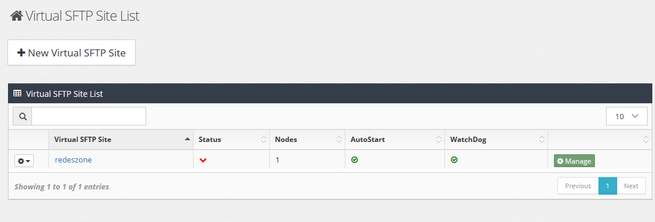
How to manage the virtual server created
Returning to the dashboard menu, and once the SFTP virtual server has been created, we can recreate a new one by pressing the ” New Virtual SFTP Site ” button, or modify the servers that we have created and that appear in the list. To do this, we must click on the green button located to the right of each virtual server, called ” Manage “, where a new tab will be opened and we must enter the username and password created during the virtual server creation process. SFTP.
Once we log into the virtual server, we find a series of menus on the left, which we are going to review one by one. The first is “Dashboard”.
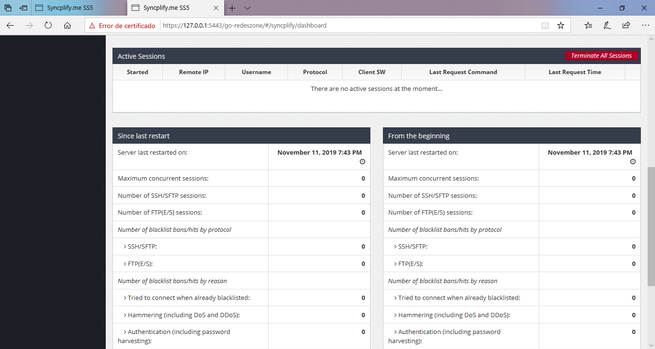
Dashboard
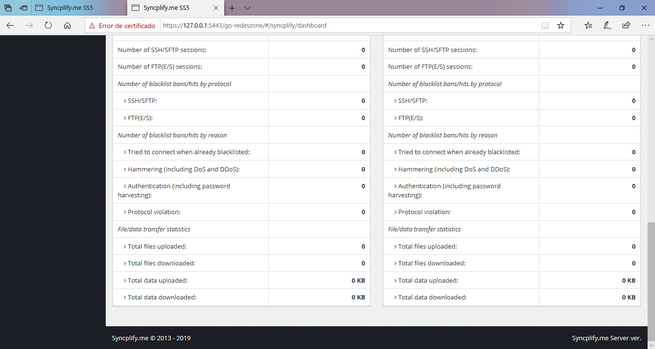
In this menu the first thing we find is a real-time monitor on the status of the server, indicating download and upload speeds, free server memory, active sessions. Below the graph we have the option ” Active Sessions ” that indicates the active sessions that are currently on the server and that, if we wish, we can end one by one or all at once with the red button that indicates ” Terminate All Sessions ”. Lastly, we have a summary of all the data since the last server restart.
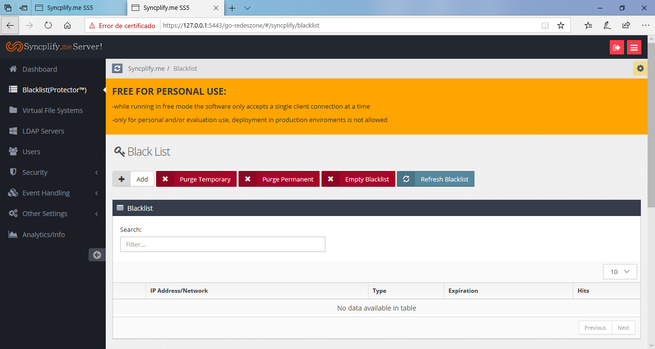
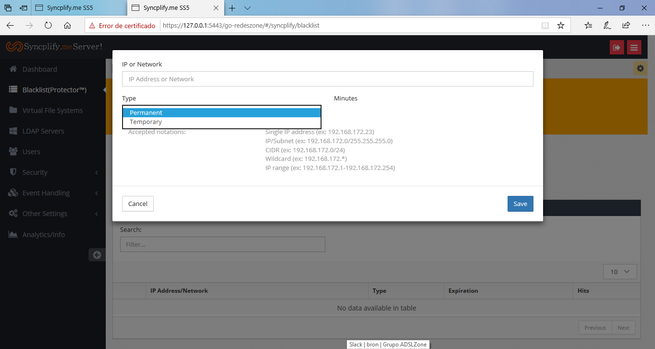
Blacklist
In this menu we can see and add blocks to IP addresses that are or have used our server, adding or removing different types of “penalties”.
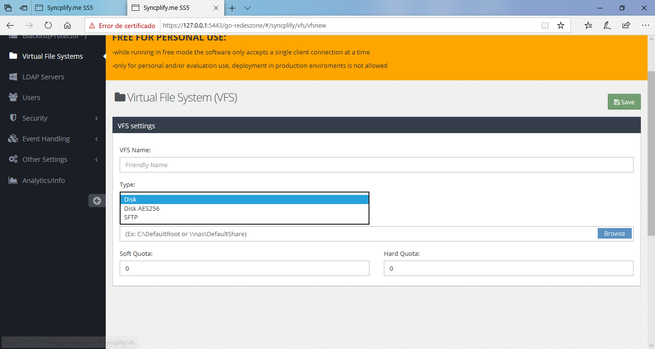
Virtual File System
In this menu we can add and manage virtual hard drives, either local hard drives or other network hard drives such as NAS servers. To add a new one, we must click on the ” Add ” button , and a new window will open where we must put a name that we want for the hard disk, then we must choose what type of hard disk it is, among the options, ” disk ” , ” Disk AES2562 ” or ” SFTP “. Afterwards, we have to select or add the path manually, and, finally, configure the “quota” of the hard disk that we want to use.

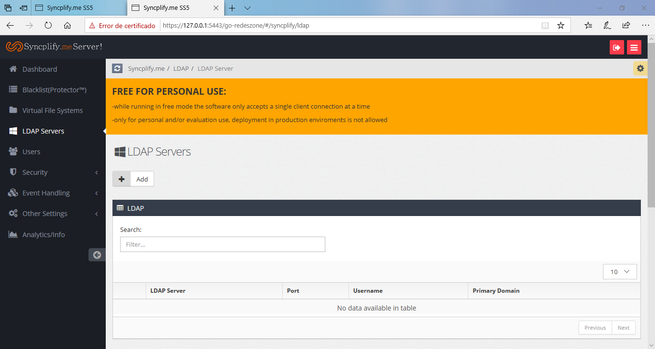
LDAP Servers
In this menu we can easily consult, manage and add LDAP servers. To do this, we must press the “Add” button and fill in the boxes with the server’s IP address, the port used by the LDAP server, then the username and password, and, finally, the main domain.