freeFTPd: Configuration of this FTP, FTPES and SFTP server for Windows
If you need to configure an FTP, FTPES or SFTP server on Windows operating systems, a highly recommended alternative is to use the freeFTPd software. This program will allow us to set up a highly configurable FTP server, and very quickly and easily, without having to have extensive knowledge of networks or systems. This freeFTPd is completely free software, and if we use FTPES or SFTP, we will have guaranteed communication security by using data encryption.
Installation of freeFTPd
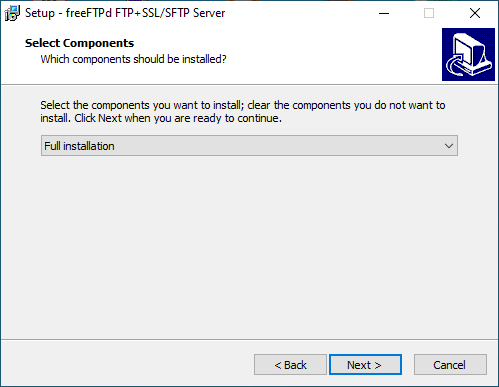
To install freeFTPd, the first thing to do is download the installer from the freeFTPD official website. Once downloaded, we will have to run the installer, and during the installation it will ask us which components we want to install. You will have to choose the only option that it allows, which is ” Full installation “, that is, complete installation.
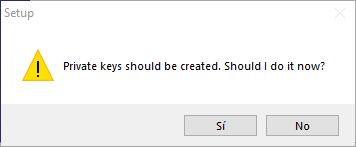
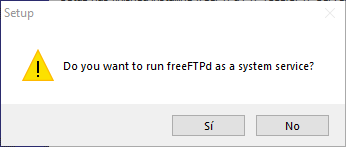
Once the installer has been completed, a pop-up window will appear telling us that, if we want to create the private keys now, we must answer yes, in this way, we can connect through secure protocols such as FTPES and SFTP to the server itself. Then it will ask us if we want to start the freeFTPd service, we must also answer yes. And with this, we would already have the server installed on our computer.
FreeFTPd startup and configurations
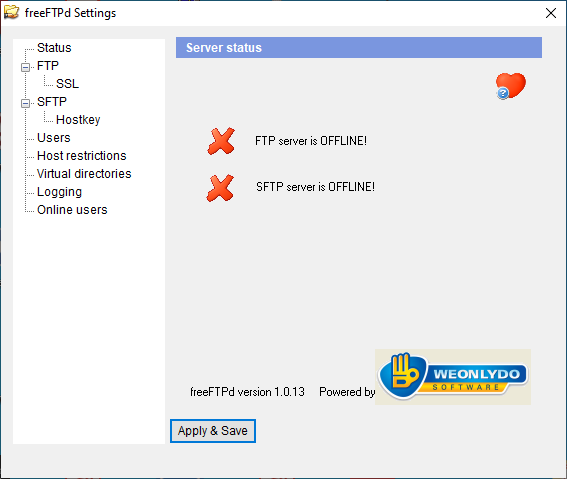
The first time we run freeFTPd, we will find a window with a left side menu with different options, and on the right a window with the selected option. Being the first time we run it, in this case, it appears that the FTP and SFTP server are turned off since they are not configured yet.
FreeFTPd administration menus
We are going to go through the different menus starting from top to bottom.
Status : In this menu it shows us the status information of the FTP and SFTP server, in addition, we can also see the server version that we are using at the bottom. In this case the version is 1.0.13.
FTP : In this menu we must configure all the FTP options, in addition, it is divided into another submenu called SSL, where we must configure the secure FTPES protocol. Let’s see what options we have within FTP.
- Listen address : In this option we must choose which interfaces the FTP server will admit, that is, we can choose, all the interfaces, only localhost, or the different IP addresses, all the network cards that we have configured in the equipment.
- Port : Here we must specify which port the FTP server will use, by default it is port 21.
- Max number of connections : Here we can specify how many maximum connections our FTP server will allow. If we leave it at 0, it is considered to have no connection limit.
- Idle timeout : This option is used to specify how many seconds must pass before it returns a timeout error. If we leave it at 0, it is considered that it has no limit as to how many seconds must pass.
- Greeting message file : Here we can select a file with a * .txt extension, inside we can have a message written that will appear to the user every time they connect with a client to the configured FTP server.
- Goodbye message file : Here we can select a file with a * .txt extension, inside we can have a message written that will appear to the user when they disconnect from the FTP server.
- FTP root directory : This option is used to specify the directory of the FTP server.
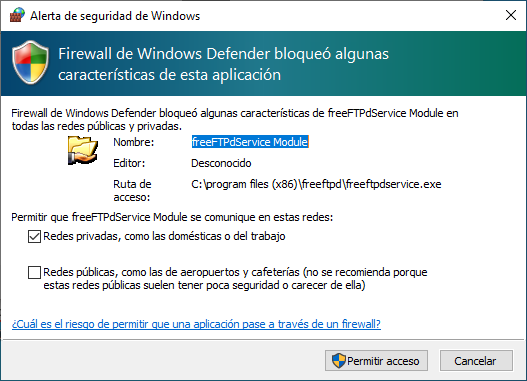
- Server status : It shows us the status of the server. Right next to it we have the ” Start ” button to start the server in case it is stopped, or “Stop” to stop it in case it is started. The first time we start it, if we use Windows 10 we will get a warning from the firewall so that we authorize access to freeFTPd.


Within the FTP menu, we have a submenu called SSL, where we can activate the options of using FTP + SSL and using implicit FTPS. As we have explained previously in RedesZone, it is recommended to use FTP + SSL (FTPES) but not FTPS (Implicit). Below we have the option of uploading, displaying or using a new certificate.

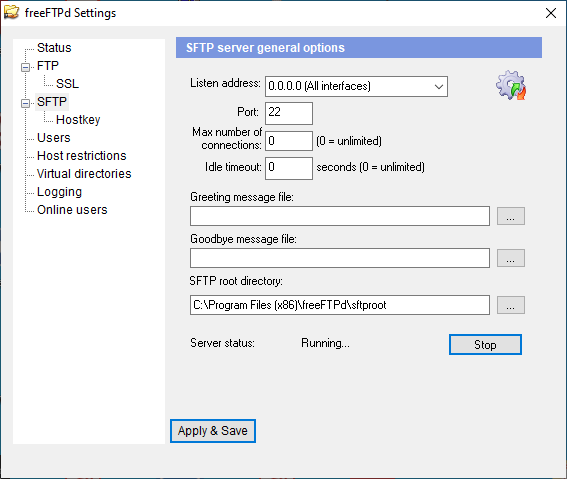
SFTP : In this menu we must configure all the options of the SFTP server, a protocol based on SSH, but we also have it available here. Also, we have a submenu called Hostkey. Let’s see what options we have within SFTP, which are the same as we had in the FTP menu.
- Listen address : In this option we must choose which interfaces the SFTP server will admit, that is, we can choose, all the interfaces, only localhost, or the different IP addresses, all the network cards that we have configured in the equipment.
- Port : Here we must specify which port the SFTP server will use, by default it is port 22, the well-known port of SSH.
- Max number of connections : Here we can specify how many maximum connections our SFTP server will support. If we leave it at 0, it is considered to have no connection limit.
- Idle timeout : This option is used to specify how many seconds must pass before it returns a timeout error. If we leave it at 0, it is considered that it has no limit as to how many seconds must pass.
- Greeting message file : Here we can select a file with a * .txt extension, inside we can have a message written that will appear to the user every time an SFTP client connects to the SFTP server.
- Goodbye message file : Here we can select a file with a * .txt extension, inside we can have a message written that will appear to the user when they disconnect from the SFTP server.
- SFTP root directory : This option is used to specify the directory of the SFTP server.
- Server status : It shows us the status of the server. Right next to it we have the Start button to start the server in case it is stopped or Stop to stop it in case it is started. The first time we start it, if we use Windows 10 we will get a warning from the firewall so that we authorize access to freeFTPd.

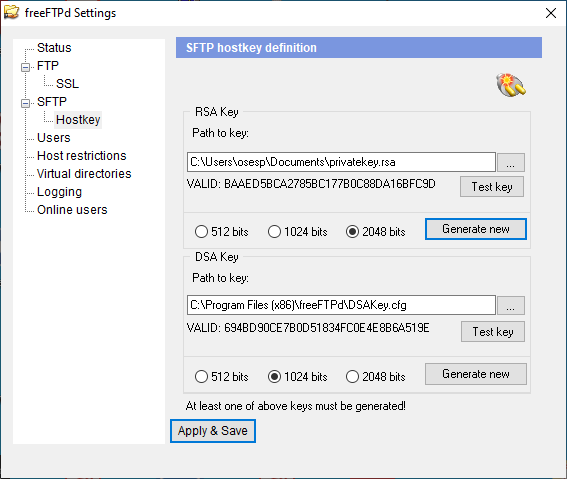
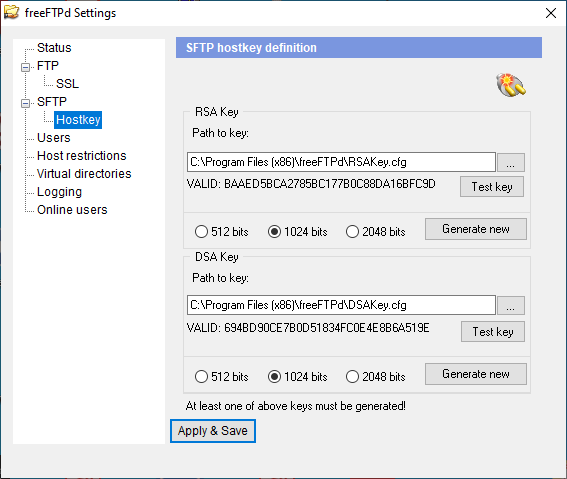
Within the SFTP menu, we have a submenu called Hostkey, this menu is very important since here we have the different keys that our SFTP server will use.
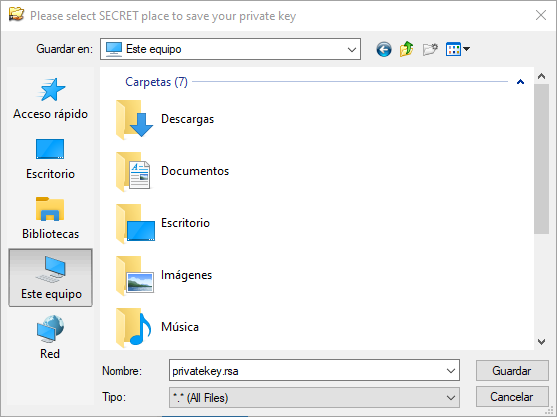
The first key is RSA Key, here we can select the location of the key, and it allows us several options such as testing the key, and generating a new one using 512 bits, 1024 bits or 2048 bits. If we click on generating a new key, Windows Explorer will appear, asking us where we want to save the new key. We can choose the place we want. Once saved, the location will be automatically updated in the RSA Key menu.
The second key is DSA Key, here we can also select the location of the key, and it allows us several options such as testing the key, and generating a new one using 512 bits, 1024 bits or 2048 bits. If we click on generating a new key, Windows Explorer will appear, asking us where we want to save the new key. We can choose the place we want. Once saved, the location will be automatically updated in the DSA Key menu.
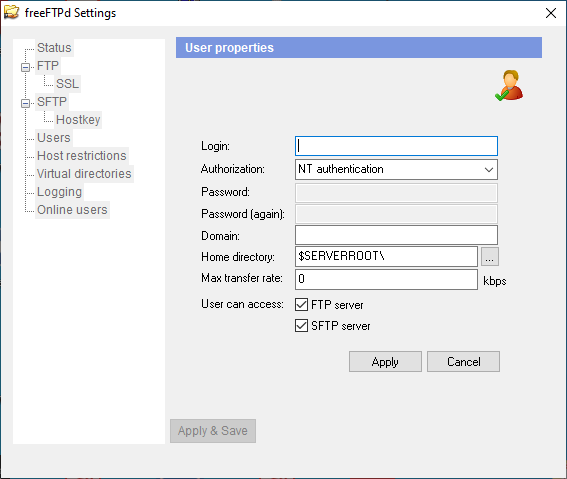
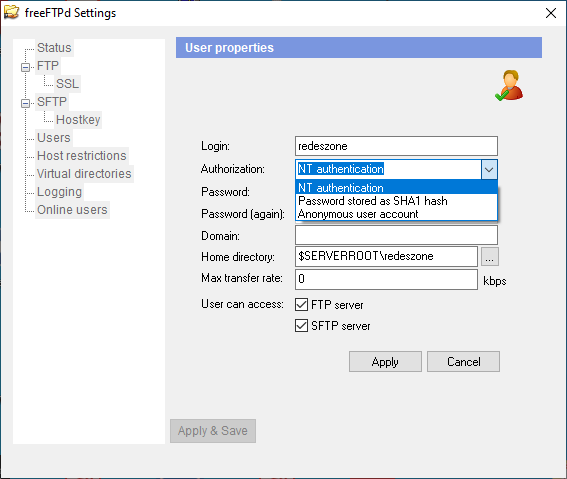
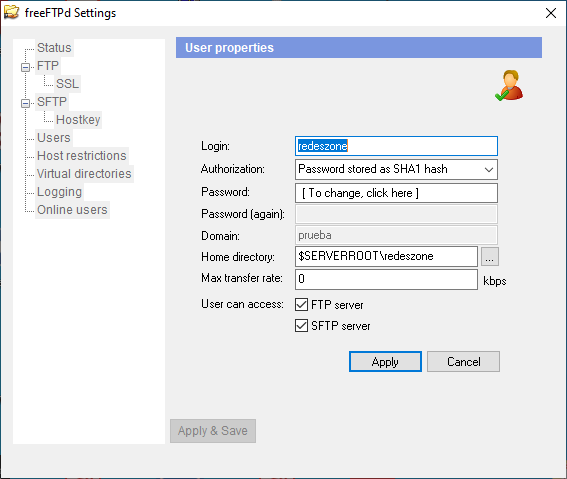
Users : In this menu we can create, modify and delete users. To create a new user we must click on the ” Add ” button . A new window will open where we must fill in the following information:
- Login : Here we must put the user’s name.
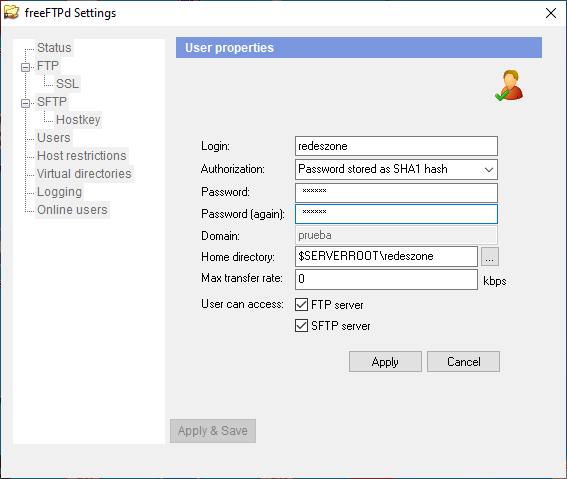
- Authorization : We must choose which login method to use, I recommend you use the second option ” Password Stored as SHA1 hash ” since the one that comes by default, which is “NT authentication”, is used to log in with the Windows user account . The other options that we can choose are “Password stored” where the credentials are stored in plain text, or “Anonymous user account”.
- Password : We must enter the password we want for the user we are creating. This option will only be activated if we select in “Authorization” the option of “Password stored as SHA1 hash”
- Password (again) : We must re-enter the password that we have entered in the previous box.
- Domain : We can specify a group.
- Home directory : Here I advise you to leave it as it comes by default. This option is used to specify the “home” directory, root, of the user we are creating.
- Max transfer rate : Here we can limit the maximum speed in kbps that the user can download or upload. If we leave it at 0, it is considered unlimited.
- User can access : This option allows us to specify which protocols the user can use, for that we can choose between FTP and SFTP or both. Our advice is to either leave both, or just leave SFTP to ensure security.
To save the user we must click on “Apply”, and then it will be saved.
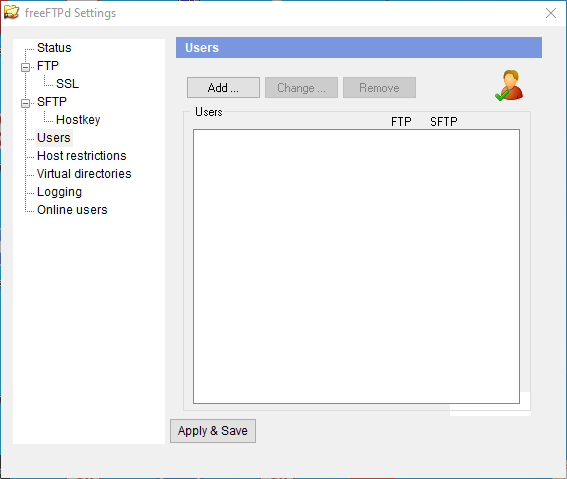
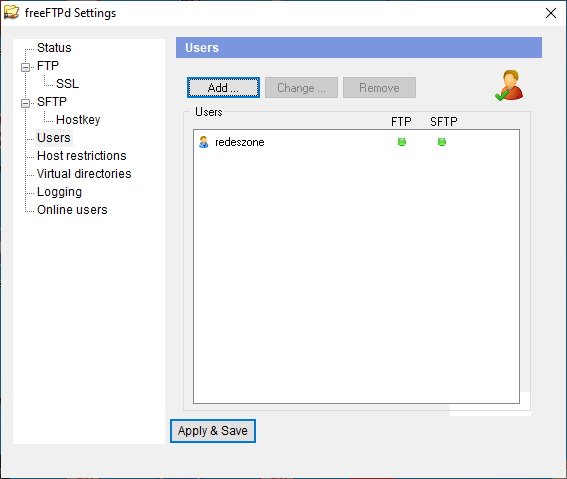
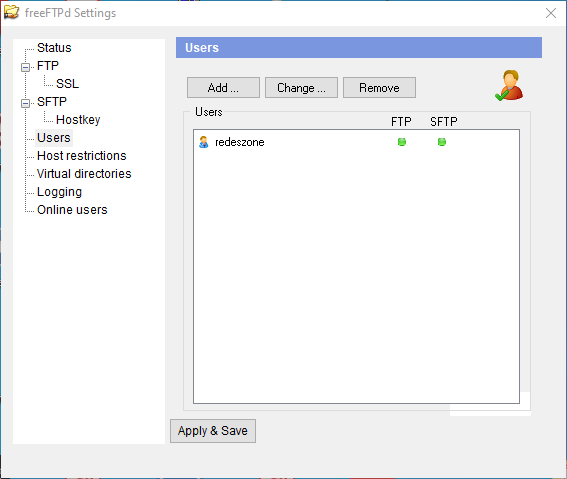
To modify a user that we have created, we must first select it from the list of users, and then the option in the upper menu called “Change” will be activated. If we click on “Change”, the same menu that we used to create the user will open again.
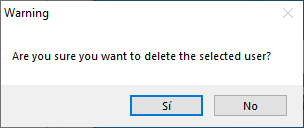
To delete a user that we have created, we must first select it from the list of users and then the option in the upper menu called “Remove” will be activated. If we click on “Remove” a window will appear asking us if we are sure we want to delete the selected user. We must answer yes, and the selected user will be deleted.
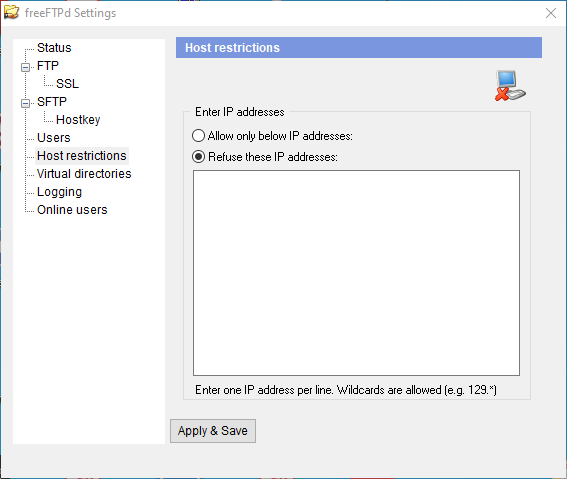
Host restrictions : In this option we can add a list of IP addresses that are allowed or denied access to the server. Depending on the option chosen, the IP addresses that we have entered will be able to access the server, or they will have access blocked. By default, it is configured so that they cannot access.
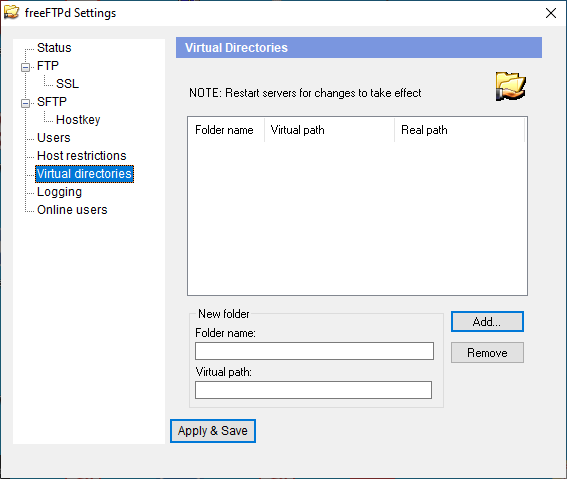
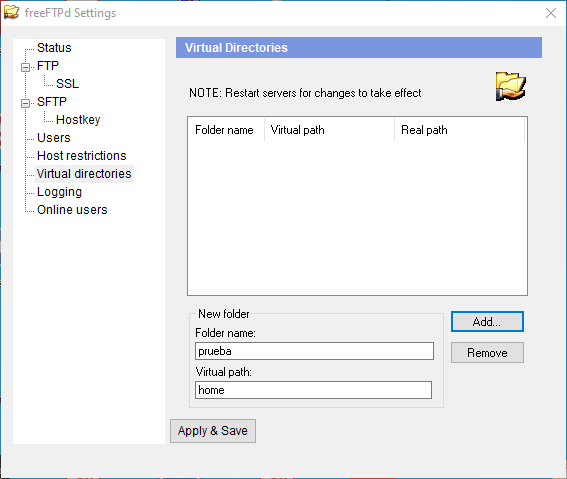
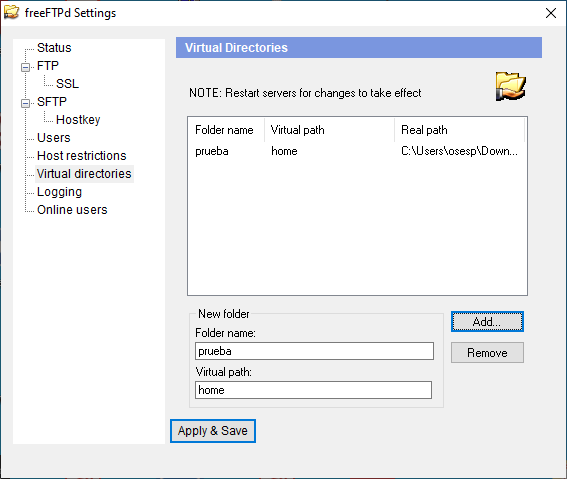
Virtual directories : In this section we can see the directories that we have virtualized, being able to see their virtual path and their real path.
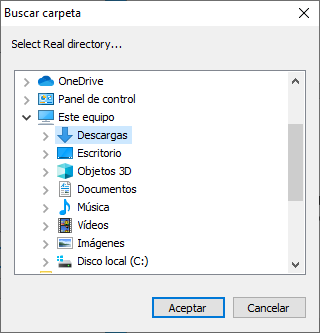
If we want to add a new virtual directory, we must enter a folder name in the “ Folder name ” section, the name of the “ virtual path ” and click on the “Add” button and select the real folder that we want to virtualize in the virtual path. Once done, the folder will appear in the upper menu. If we want to delete a virtual directory, the first thing we must do is select it in the upper menu and then click on “Remove”, and it will automatically be deleted.
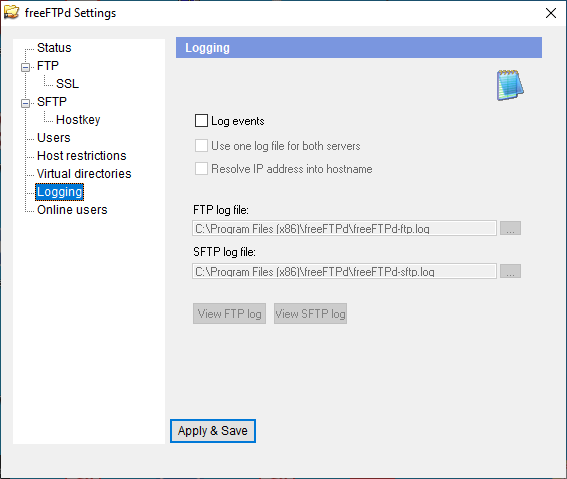
Logging : In this section we can enable a log to be kept of everything that happens on the server. For this we must activate the “Log events” box. Once activated we have several very interesting options. The first is to use a single file for the log of the FTP and SFTP servers, if we do not activate that option, each server will have its log. It is advisable to leave it separately, and that we have an independent log for each server. The second option is to resolve the IP address instead of the computer name.
Finally, we can specify the directory where the log file of the FTP and FTPS server is saved, and we also have a button to access the server’s log.
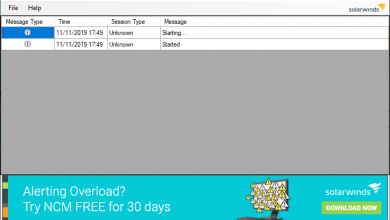
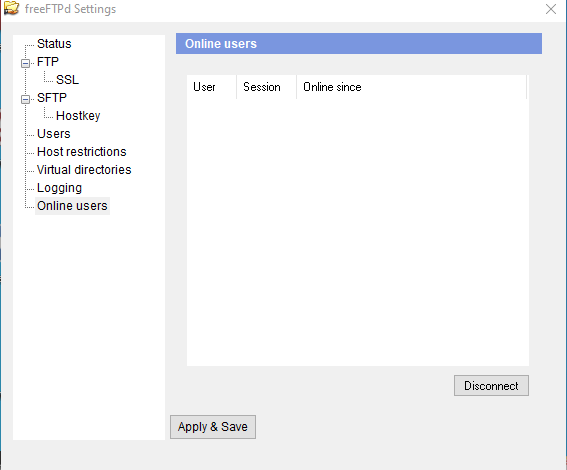
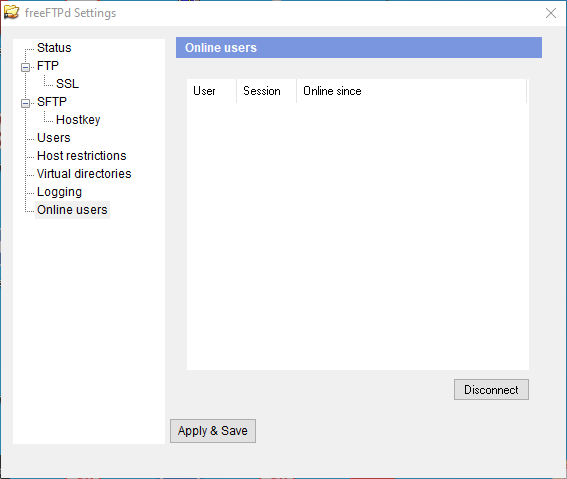
Online users : In this last section, the users who are currently connected to our FTP or FTPS server will appear, showing us information such as their username, their type of session, and since when they are online. At the bottom right, we have the “Disconnect” button that will allow us to disconnect a user if we wish.
As you have seen, this is a server that is compatible with the FTP and FTPES protocols, very complete in terms of options, but very simple to use at the same time. We must also highlight the support for the SFTP protocol based on SSH, in case we want to use it instead of FTPES.