How to download all my photos from iCloud to my Windows PC or Mac?
We have already told you about iCloud on several occasions. With useful guides on how to configure iCloud file storage , therefore, in this article we will see in detail how you have to do to download all the photos that you have in iCloud on your computer, whether you have Windows or MacOS with the application Apple official, the process is extremely simple.
Follow this tutorial step by step and you will not have any kind of problem in getting all the images you have in your iCloud gallery, a good way to share your photos or create a backup is to have them on your computer.
How to Download Photos from iCloud on Windows
- The first thing we should do is download the official iCloud app. Then we will proceed to install it and restart the computer.
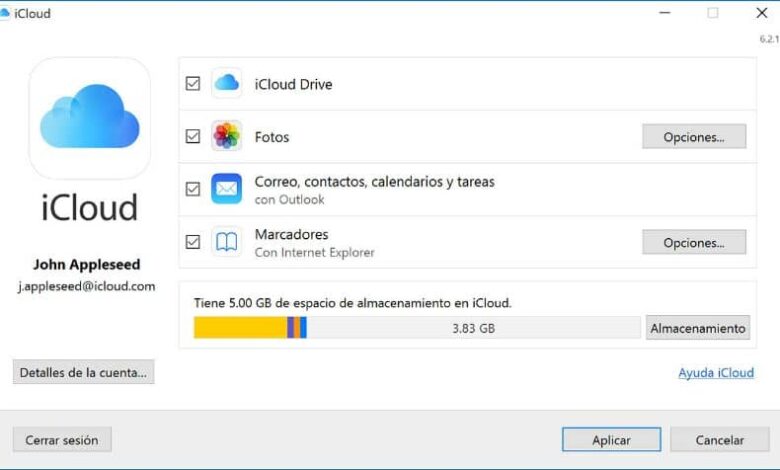
- After the computer starts, we are going to open iCloud and log in with the Apple account.
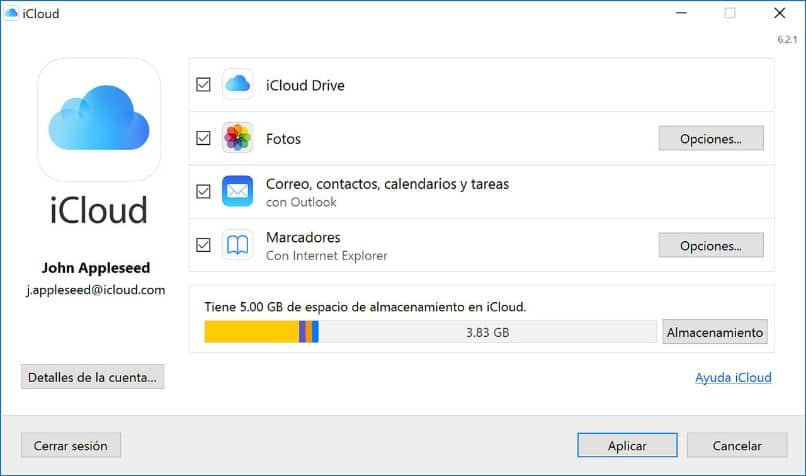
- As soon as we log in, we will see the possibility of synchronizing iCloud with the computer in question. We must leave marked “iCloud Drive” and “Photos “.
- Then you will have to open “Photos ” and mark “iCloud Photo Library ” you will also have to choose the folder where you want to download all the photos. Click on the “Change ” button to select the location where your photos will be downloaded.
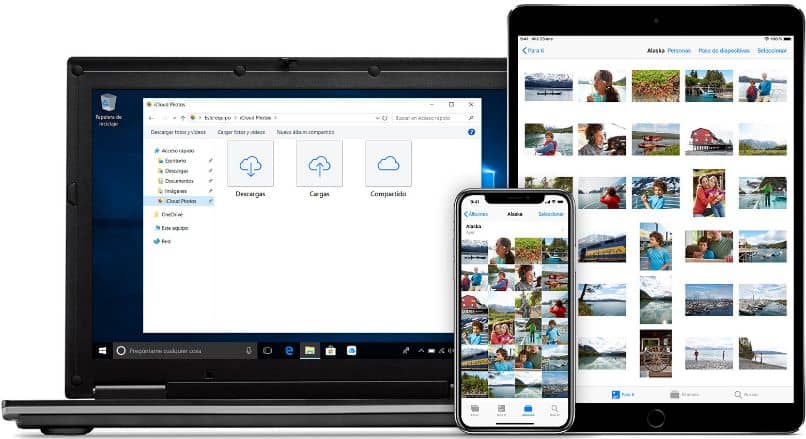
- Now you will have to go to “My Computer ” where the access to the hard drives is located and you will see that “Photos in iCloud ” appears.
- By double-clicking on this icon and we can see two more: one for downloads and another for uploads. You can imagine that the first is to download photos and the second is to upload them.
- Click on the download button and a window opens where we can choose the photos we want to download per year or if we want to download everything. Then click on the “Download ” button and the process will begin.
On the other hand, if you have problems, remember that there is the possibility of changing your Apple ID account . Without further ado, let’s continue with the method that exists for Mac
How to Download All Photos from iCloud on Mac
- In the case of Mac we will have to open the photos application and in the preferences part you will have to confirm that you have the iCloud photo library activated. You should also have the “Download originals on this Mac ” option enabled.
- After this we go to “Edit ” and then “Select all ” to choose all the photos.
- Next, we will have to go to the “File ” menu and then “Export ” here another submenu will appear that will say “X items “, the “X ” being the number of photos you have in your photo library.
- A pop-up window opens where it proposes a few options. You can choose the file type, the video quality, etc. The ideal is to leave everything by default and simply click on the “Export ” button that is located at the bottom right.
- To finish you can choose the option “Name of the moment ” so that the photographs are generated in subfolders for each moment in which they were created. In case you choose “None “, all the photos will be downloaded in the same folder.
- When you click on “Export ” the process will begin and the time it takes will depend on the number of photos you have. Obviously the more photographs you have, the longer it will take.
On the other hand, if you want to do the opposite, there is also the possibility of deleting a folder or file in iCloud from iPhone without major problems.
Remember that if you still have any kind of doubt about how to download photos from iCloud in Windows or MacOS you can leave it a little lower in the comment box and we will be happy to help you as much as possible.

